Heavenly Popcorn for Holiday Gifts

Dubbed Wendy’s Crafty Sweatshop years ago, the week or two before Christmas is time to make all the treats to go along with the jars of jam and veggies put up over the summer.  This year added caramels to the lineup (recipe and pics soon) that always includes biscotti and chocolate covered popcorn.

I came across this recipe a decade ago through in an email newsletter from Worldwide Recipes. It’s been in the holiday line-up ever since.

A few notes- doubling this recipe makes about 14 gift-sized bags of popcorn, fewer servings if you pack it in tins.  I like to mix the white & the chocolate together.

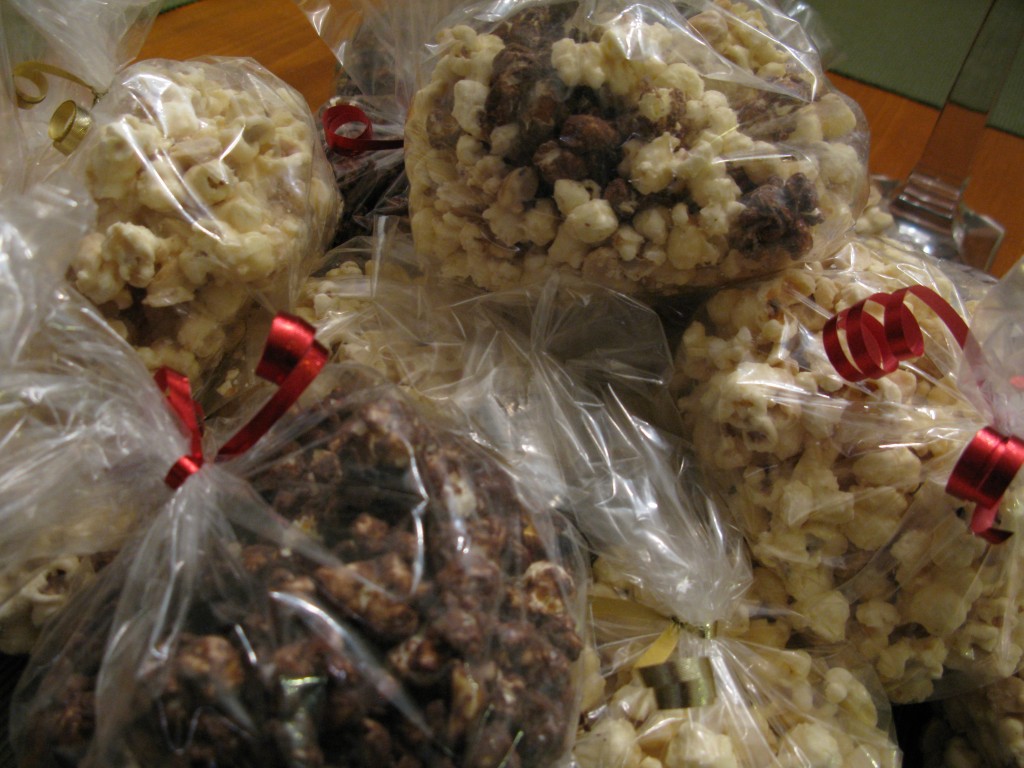
Heavenly Popcorn packed into gift bags.

Heavenly Popcorn packed into gift bags.

 HEAVENLY POPCORN

  • 14-15 cups plain popped corn (remove uncooked kernels)
  • 2 cups dry-roasted peanuts
  • 1 lb confectionery coating *
  • 3 TBS creamy peanut butter

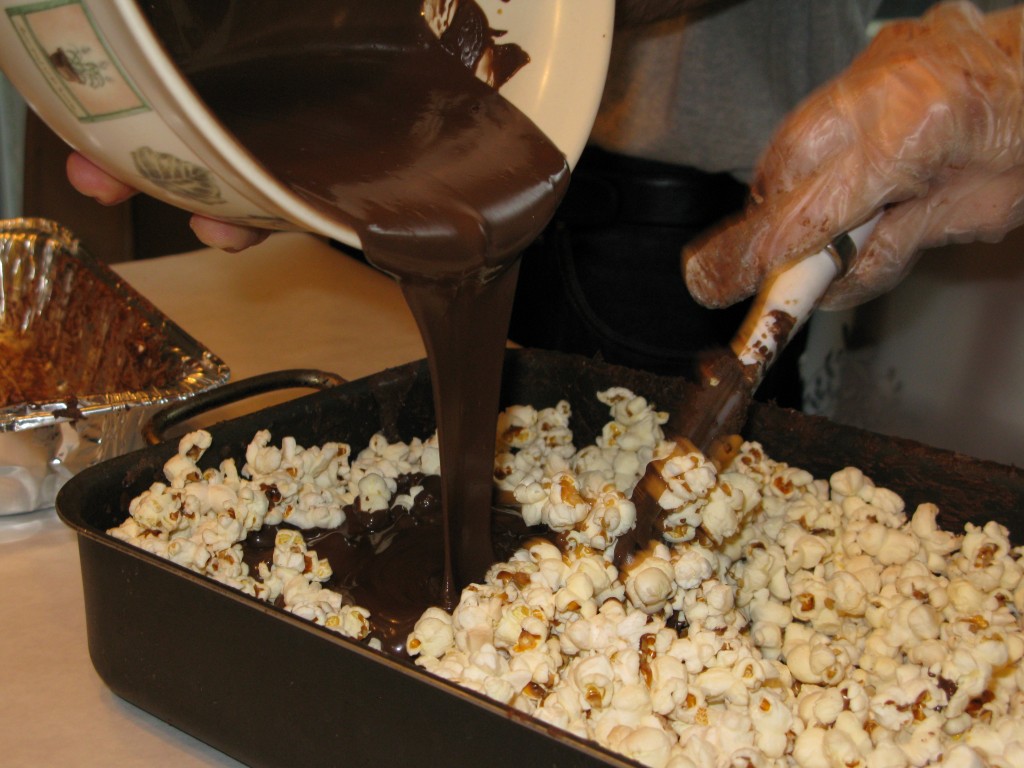
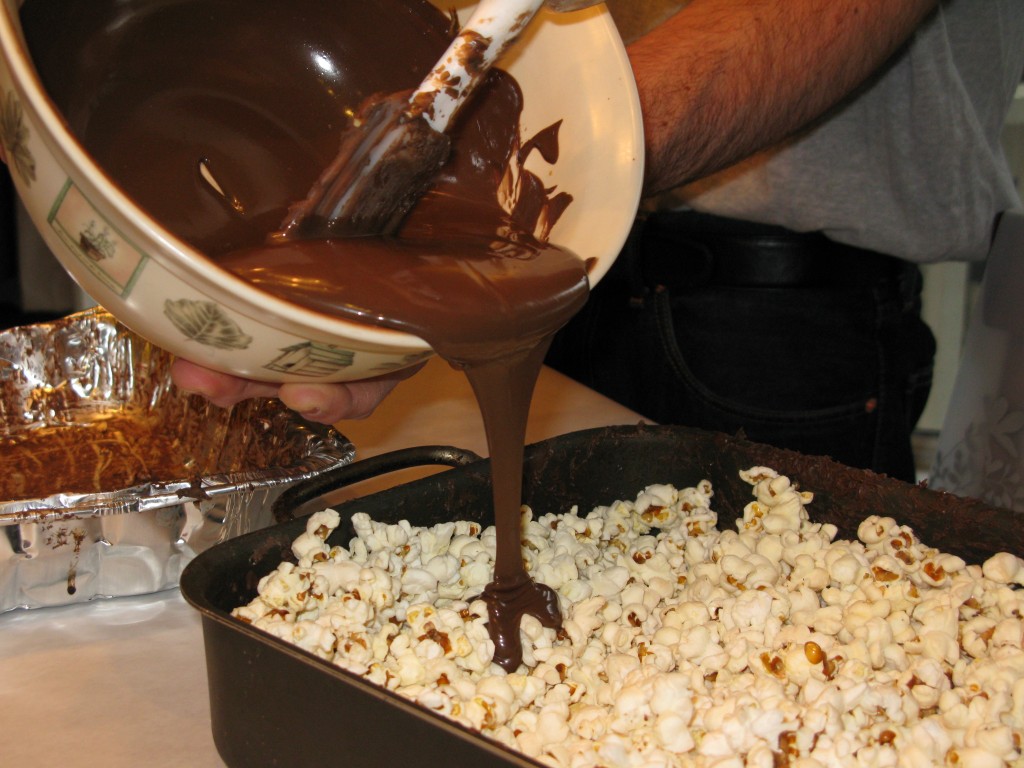
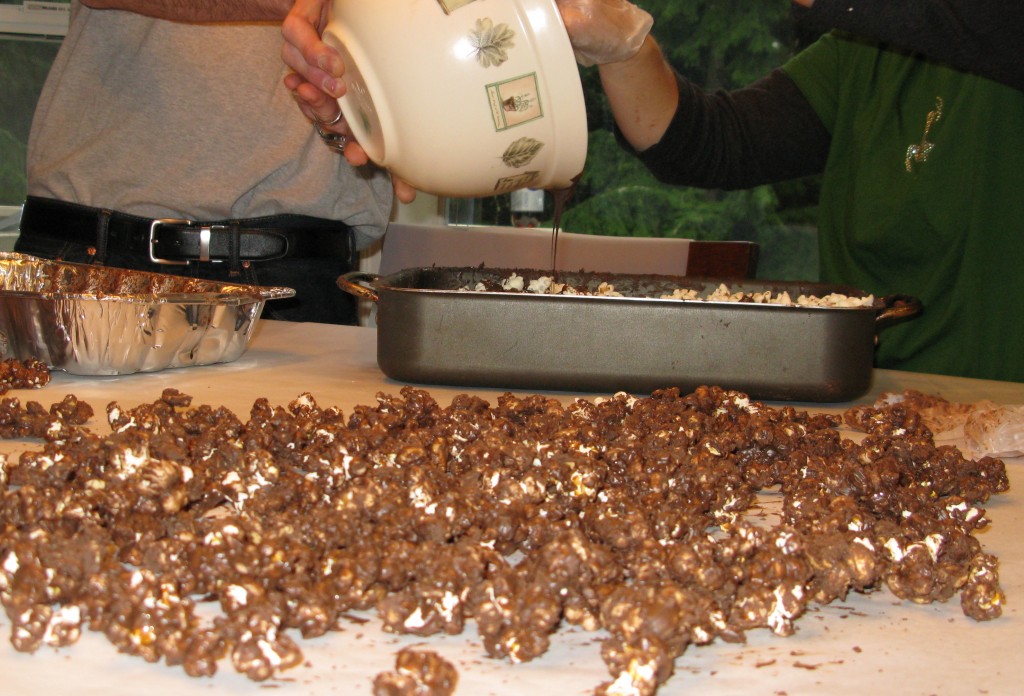
In a large deep roasting pan, combine popcorn and peanuts.  In the top of a double-boiler over simmering water, melt coating and peanut butter, stirring occasionally (I did this step in the microwave).  Pour over popcorn and stir to coat.  (Take off rings or use gloves- this makes a mess).  Spread evenly on waxed paper and allow to set for about an hour before bagging.

IMG_5267 IMG_5266

Coat the popcorn, allow to set on waxed or parchment paper.

Coat the popcorn, allow to set on waxed or parchment paper.

* Look for confectionery coating (also called bark, almond bark or candy coating) in grocery stores with baking supplies or in stores selling chocolate candy discs for melting and pouring into molds.  I would not recommend using a regular chocolate candy bar.  I don’t think it will set for you correctly when it hardens.
Mini Pizzas for Everyone!

In full accordance with the “Meanest Mom Ever” title I hold proudly, I do not make a separate meal for the kid who suddenly doesn’t like what we’re having for dinner.  I do try though to make meals that are modular so the kid that doesn’t like red sauce can have pesto and the kid that likes pineapple doesn’t impose it on the one that claims not to like it (though I suspect he’s never actually tried it).  Mini pizzas are a great way to satisfy everyone, especially when hosting other kids for a sleepover.  Plus, kids are much more inclined to eat something they made (shhhhh don’t tell them!)

My basic pizza dough recipe is adapted from Cooking Light’s All-Purpose Pizza Dough recipe (which is fine on it’s own, but of course I have tweaked it!)

Ingredients

  • 1 package dry yeast (about 2 1/4 teaspoons)
  • 1 1/4 cups warm water (100° to 110°)
  • 3 cups (360 grams) flour* (plus additional for dusting the rolling surface)
  • 1/2 teaspoon salt
  • 1 TBSP honey
  • 2 TBSP olive oil
  • Cooking spray

* the recipe calls for all-purpose.  I use white-wheat or half AP and half whole wheat.

Preparation

  1. Dissolve yeast and honey in warm water in a large bowl, and let stand 5 minutes. Lightly spoon flour into dry measuring cups, and level with a knife (or weigh). Add 1 cup flour, salt and olive oil to yeast mixture, and stir well. Stir in 2 cups flour, 1 cup at a time, stirring well after each addition. Turn the dough out onto a floured surface. Knead until smooth and elastic (about 10 minutes), and add enough flour, 1 tablespoon at a time, to prevent the dough from sticking to hands (dough will feel tacky).  (DISCLOSURE: Once the yeast has proofed, I dump everything into my stand mixer, turn in on, walk away, check facebook and when I come back it’s pizza dough.  You can also skip this step entirely and buy pre-made dough at Trader Joe’s for 99 cents.  I will not judge you).
  2. Place the dough in a large bowl coated with cooking spray, turning to coat top. Cover and let rise in a warm place (85°), free from drafts, 1 hour or until doubled in size. (Press two fingers into dough. If an indentation remains, the dough has risen enough.) Punch dough down; cover and let rest 5 minutes.
  3. Heat oven to 450 degrees (if you have a baking or pizza stone, put it into the oven to heat up).

Now for the fun part!

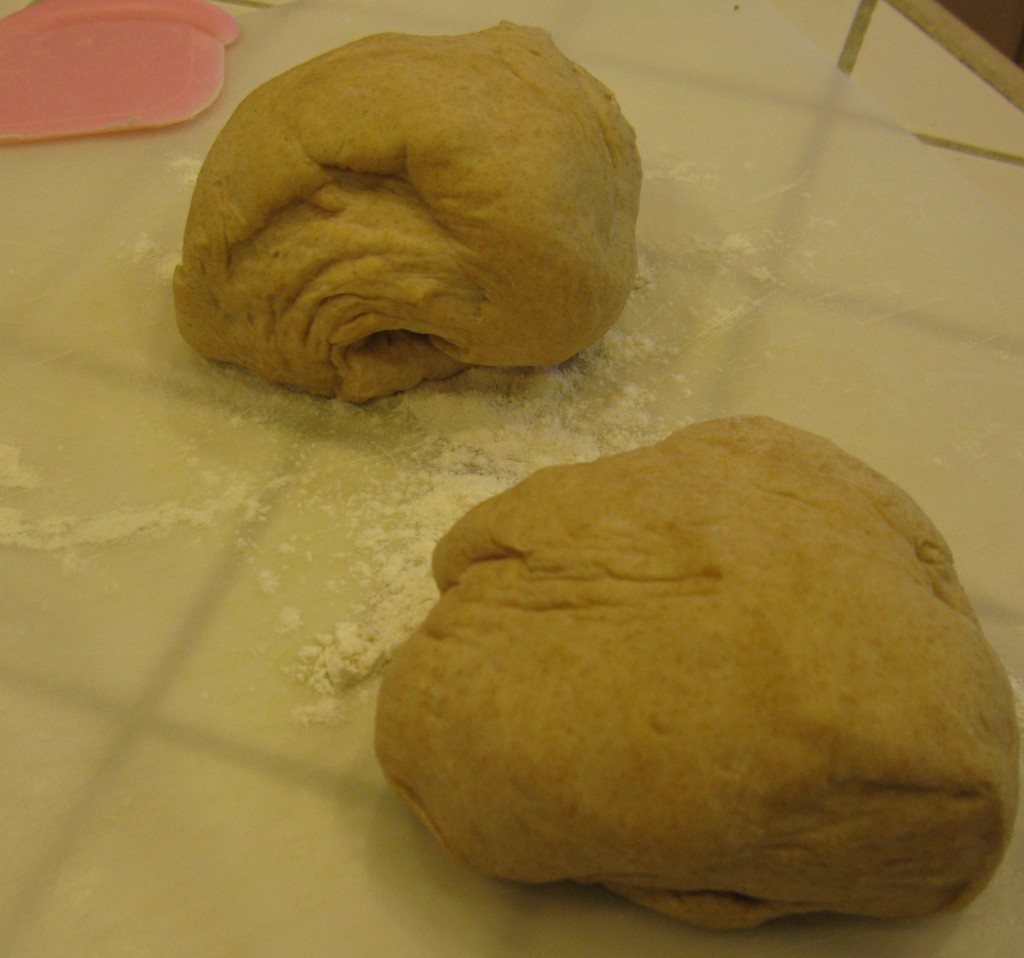
dividing the dough

One recipe above makes enough dough to make four adult-sized-servings. Sometimes I get obsessive and weigh them to make sure they’re equal (and will cook at the same rate). With kids, I make smaller portions.

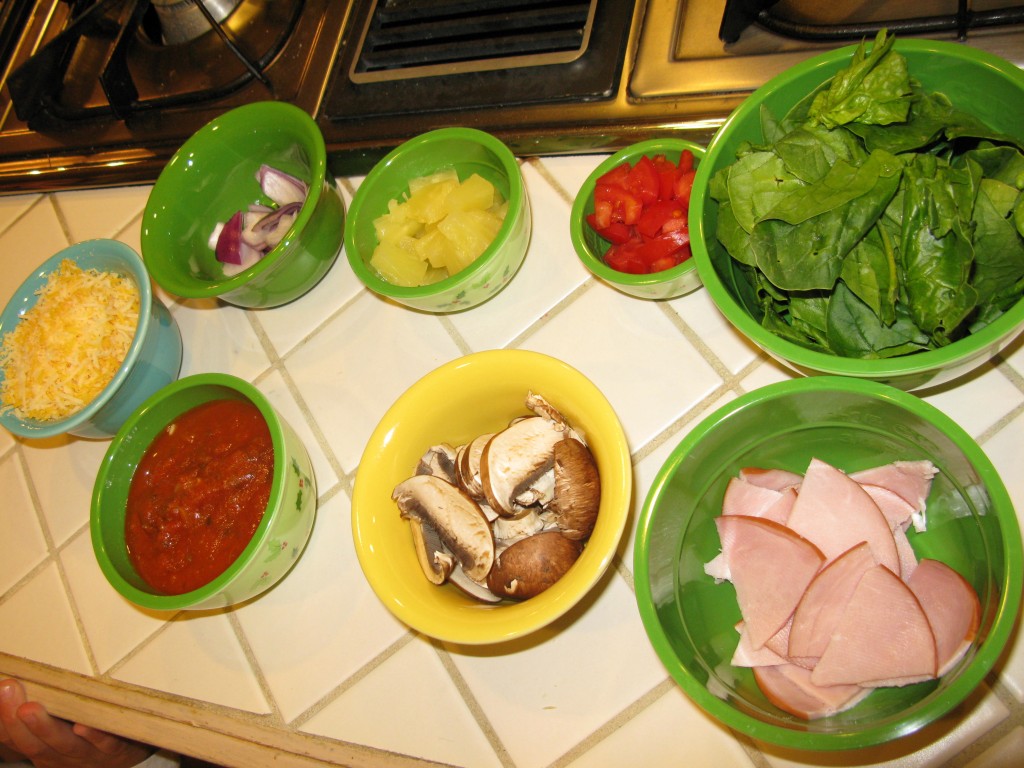
topping bar

Lots of different topping allow for the pickiest of eaters to be happy.


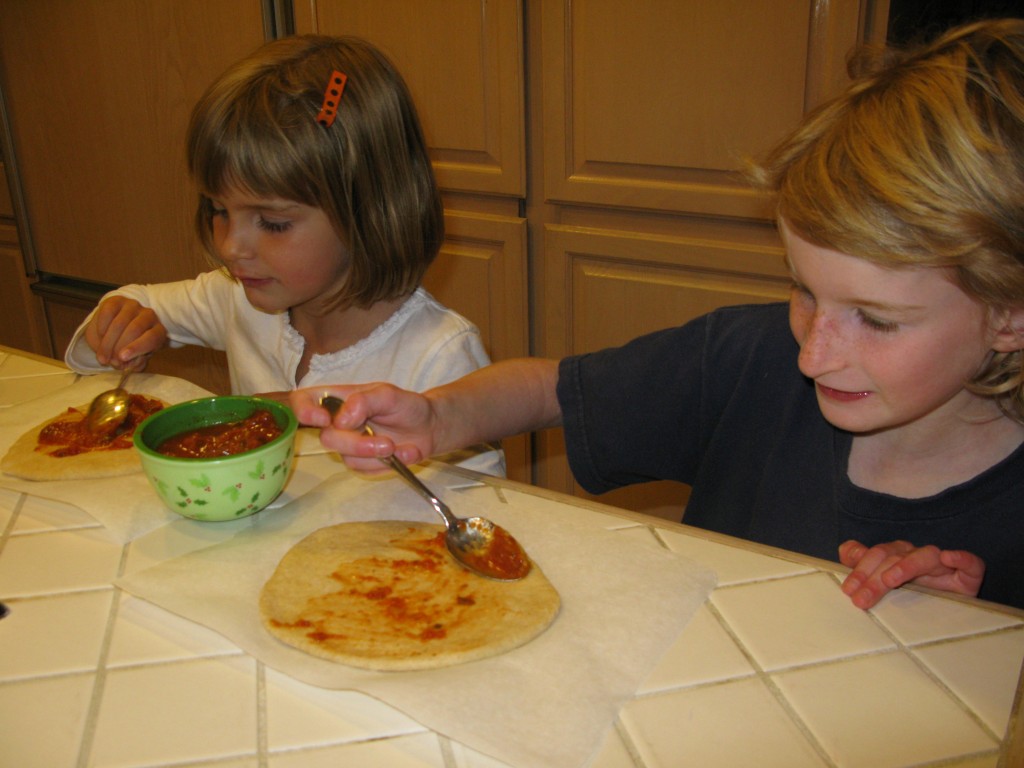
topping their pizzas

Kids really like to roll out and shape their own dough.

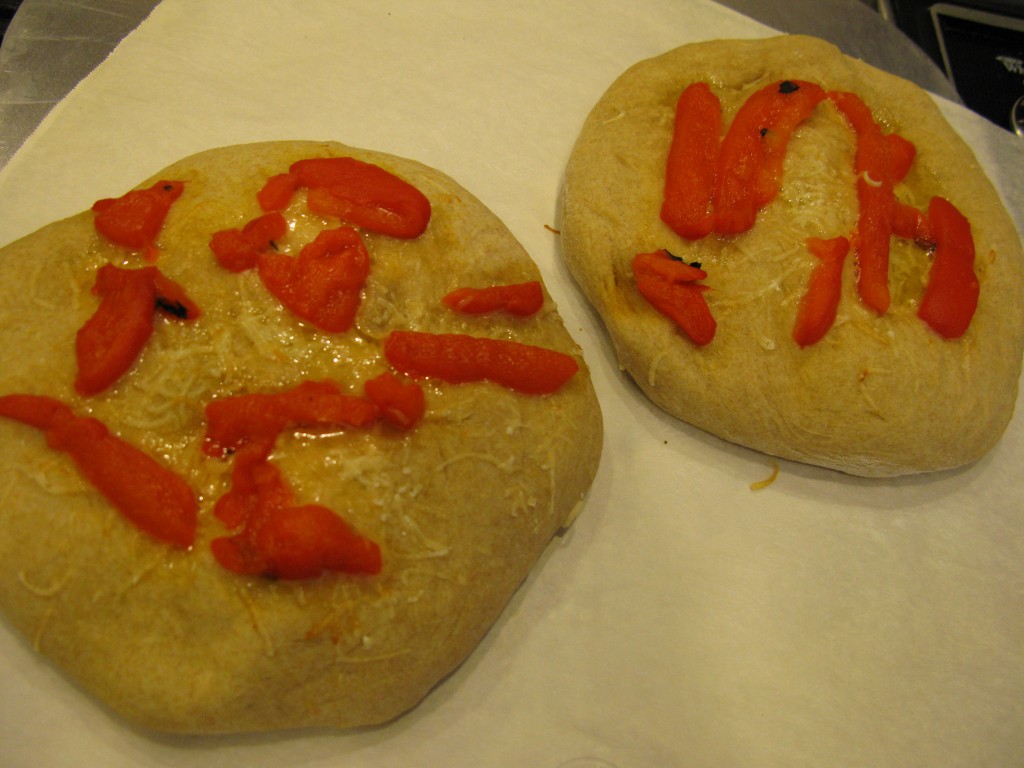
par-baked

I like to top mine with parm cheese and brush with olive oil (a few lonely roasted red peppers I found in a jar in the fridge also made their way onto the crust).


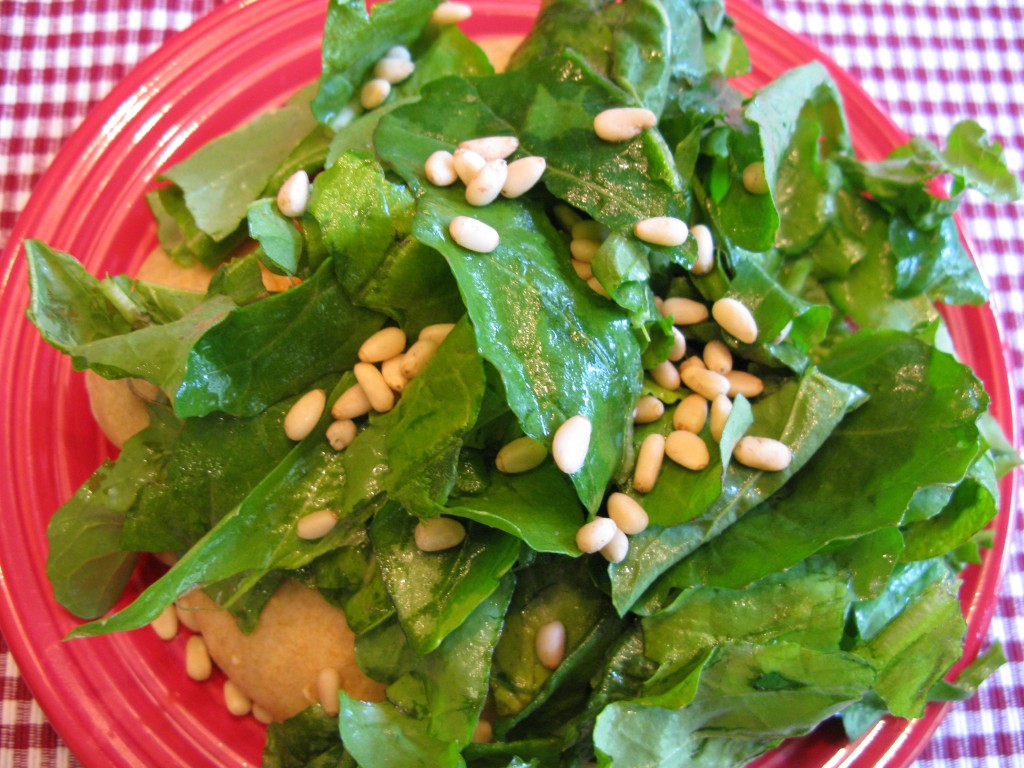
topped with salad

Once the crust is baked, I top it with arugula tossed with olive oil and lemon juice, then sprinkle on pine nuts (and pomegranate seeds if I have them).

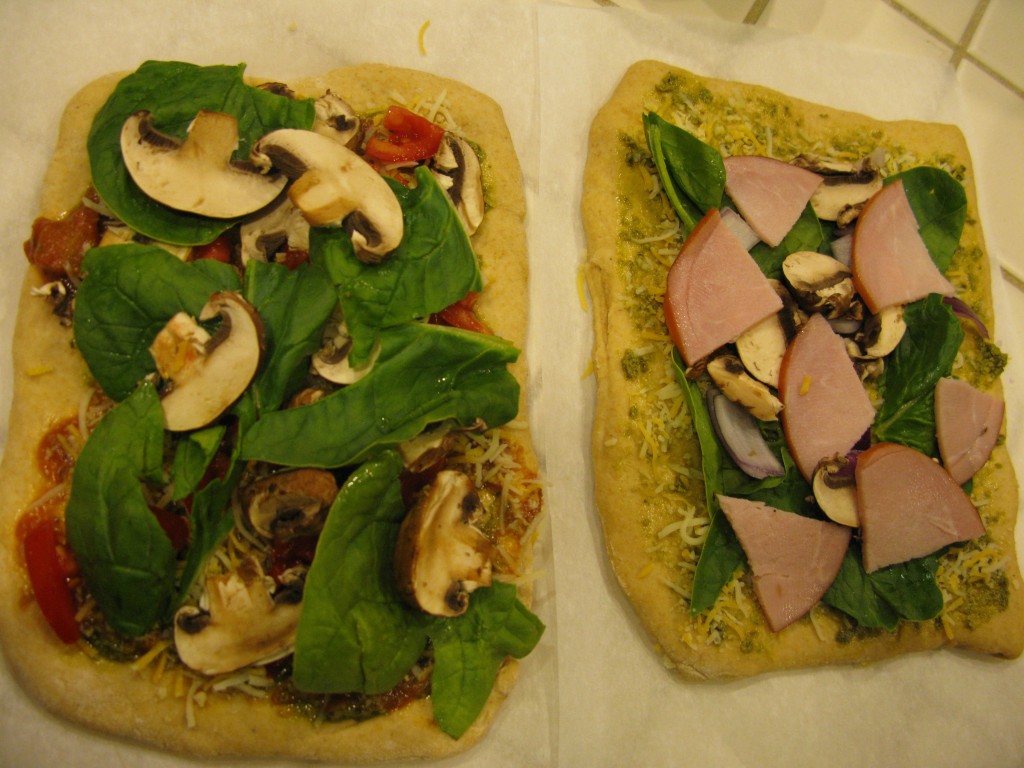
mini pizzas

Your possibilities are endless.

4.  I roll out and shape the pizzas on parchment paper (which CostCo now carries!).  Once topped, use a pizza peel if you have one to slide onto the heated baking stone (keep pizzas on paper).  If you don’t, bake on a cookie sheet on parchment paper or covered with foil and sprinkled with cornmeal.  Check the bottom of the crust to make sure it’s not burning.

5.  Bake at 450 for about 8 minutes.  Cooking time will vary based on your own oven, size of pizza and cookie sheet vs baking stone.

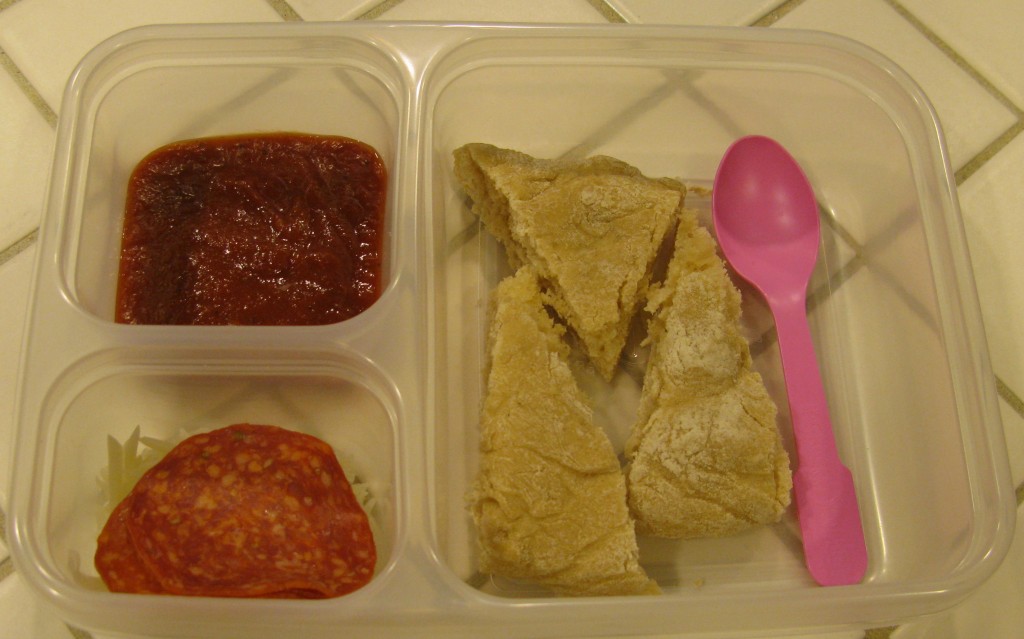
homemade lunchable

Extra dough? Bake up a few plain crusts and use to make your own version of Pizza Lunchables.


Mini Pot Pies

1) Use up stuff in the fridge.

2) Goes together quickly.

3) Kids actually excited to help AND eat.

Score!!!!

This ingenious recipe from Kiwi Magazine uses egg roll wrappers instead of crust, saving both time and calories.  I make it even quicker by saving a few cooked chicken breasts in the fridge from a previous night’s dinner and skip the chicken cooking step.

Active time: 40 minutes

CHICKEN POTPIE BUNDLES

Ingredients

  • 2 1/2 tablespoon extra virgin olive oil, divided
  • 2 medium carrots, peeled and cut into 1/4-inch pieces (about 1 cup)
  • 1 small onion, finely chopped (about 1/2 cup)
  • 2 cloves garlic, minced
  • 1 pound boneless, skinless chicken breast halves, cut into 1/2-inch pieces
  • 2 teaspoon chopped fresh tarragon
  • 1/2 teaspoon kosher salt
  • Pinch of black pepper
  • 1 cup all natural chicken broth
  • 4 teaspoon cornstarch
  • 3/4 cup frozen petite peas, thawed
  • 3/4 cup frozen corn kernels, thawed
  • 2 tablespoon grated Parmesan
  • 12 egg-roll wrappers

Directions

  1. Preheat oven to 350°F.
  2. Heat 1 tablespoon of olive oil in large nonstick skillet over medium-high heat. Add carrots and onion and cook, stirring frequently, until they soften, about 5 minutes.
  3. Add second tablespoon of olive oil and garlic, and cook 1 minute more.

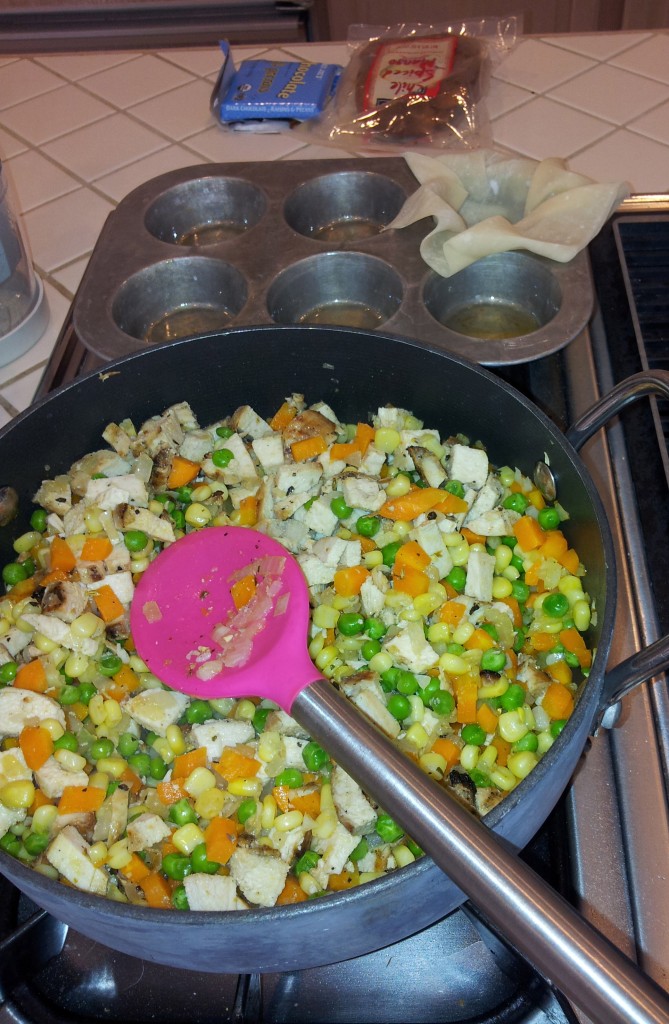
    mire poix

    If someone in your house eats one of the chicken breasts you had planned to use in this recipe, some chopped steamed potato works well too. (Yes, the chili covered mango and dark chocolate is an essential snack while making dinner).

  4. Add chicken, tarragon, salt and pepper. Cook until chicken is no longer pink, about 5 minutes.
  5. In a bowl, whisk chicken broth and cornstarch until well combined. Add to skillet, along with peas and corn, and bring to a simmer, stirring constantly. Continue to simmer and stir gently until the sauce thickens, about 2 minutes.
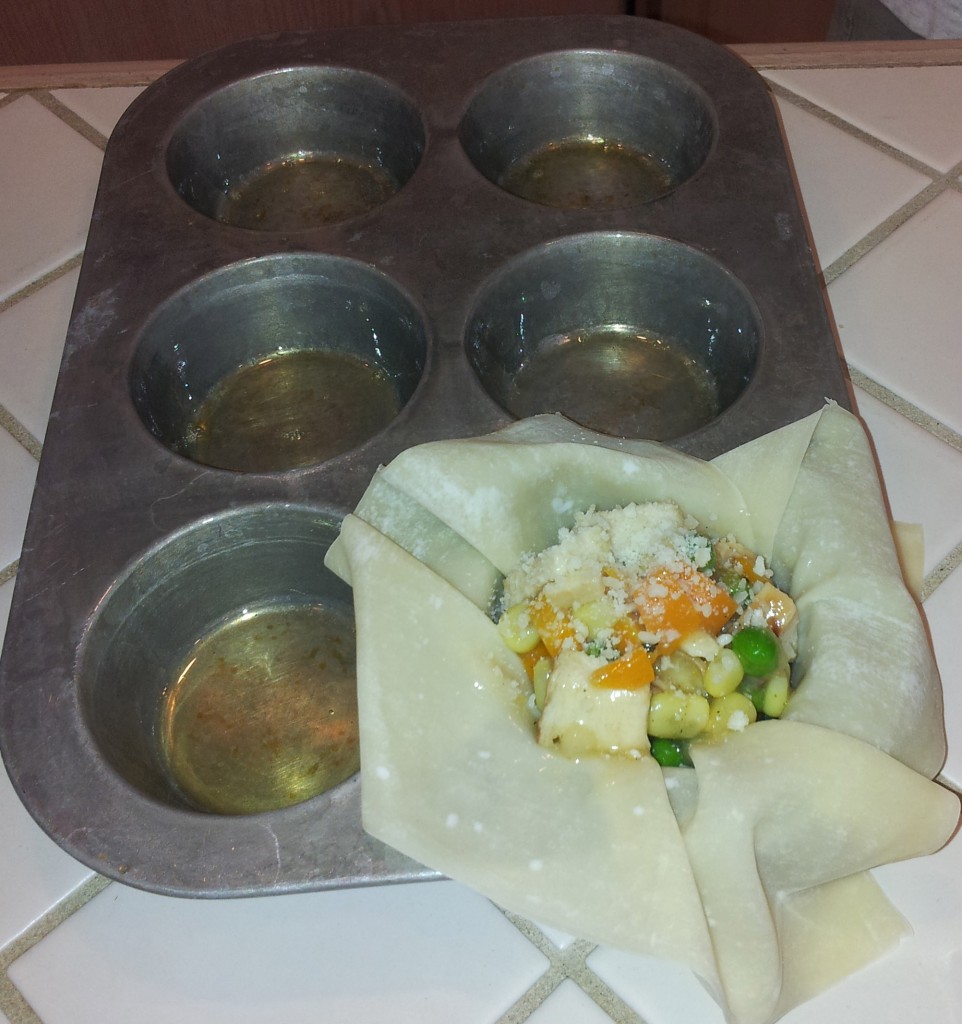
  6. To prepare the bundles, use a nonstick muffin pan with 12 medium-size cups. Gently place 1 egg-roll wrapper into each cup, letting it extend over the sides.
  7. Place a generous 1/4 cup of the chicken mixture into each wrapper.

    egg roll wrapper with filling

    Fill, top with parm cheese, then twist closed.

  8. Sprinkle Parmesan evenly on top.
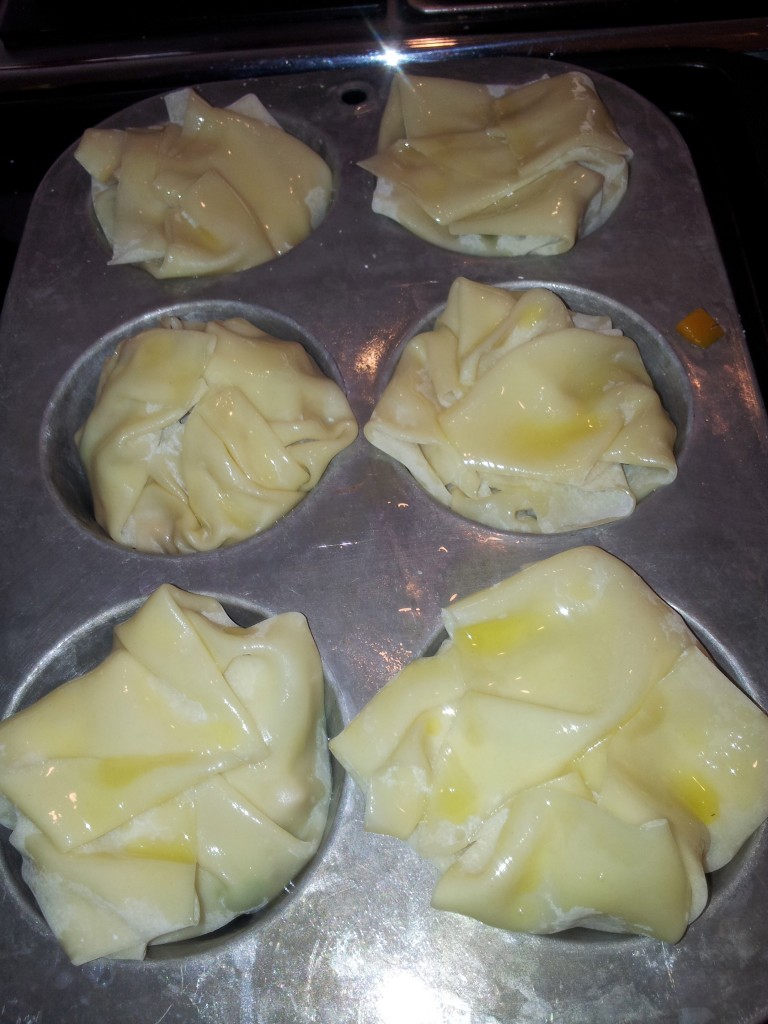
  9. Bring the corners up and over the top of the filling, pressing and folding to seal the edges together (it doesn’t have to be perfect!).

    ready for the oven

    Ready for the oven.

  10. Brush the remaining oil on top of each bundle. Bake until golden, about 15 minutes. Let cool 5 to 10 minutes before serving.

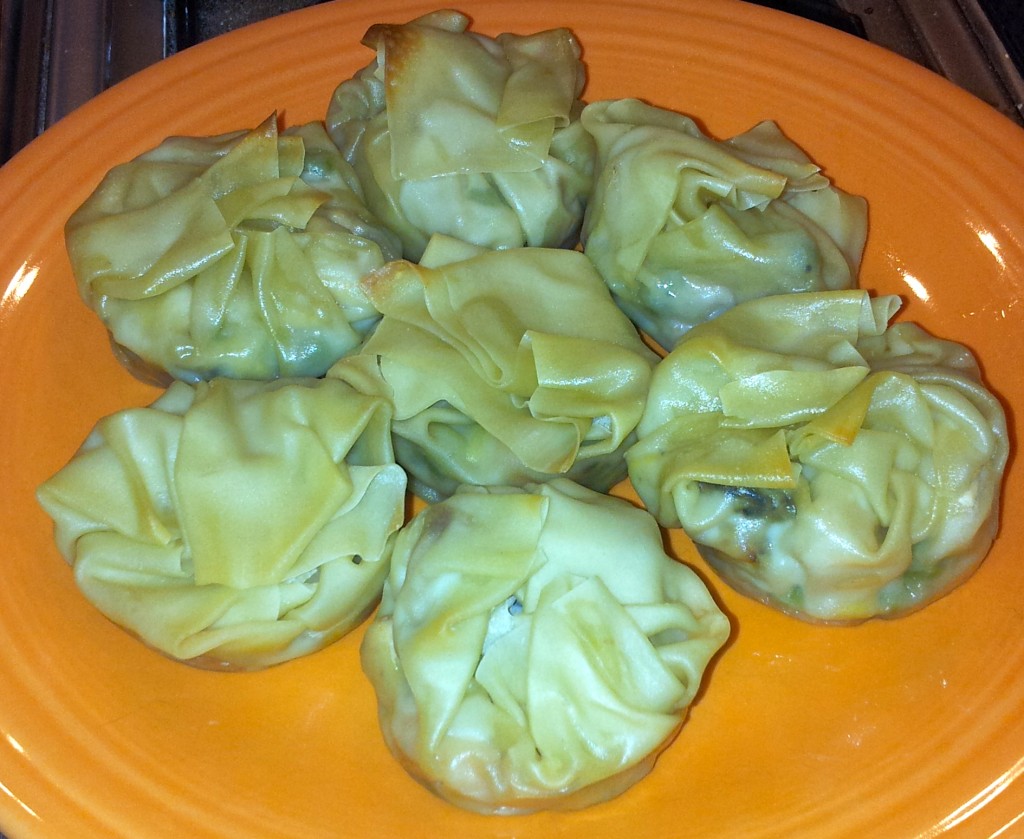
    finished pies

    These are a HUGE hit in my house. Whatever is left over from dinner goes to school in lunches the next day or is gobbled up as an after school snack.

Serves 6Per serving (2 bundles): calories 380, fat 9g, protein 24g, carbohydrate 48g, fiber 4g, sodium 650mg

Basil Beer Bread

I am a big fan of spoon breads (breads you mix up with a spoon as opposed to a yeast bread that needs to be kneaded and rise and be kneaded again and rise again….)  A spoon bread can be ready for the oven before the oven is ready for the bread.  I was intrigued by a spoon bread that also required yeast but no rise time.  After a rainy afternoon spent on the soccer field I wanted a bread that could be ready quickly but also complemented the baked ziti I was making for dinner.  Beer breads usually go best with chili or stew but I was willing to give this one a try.  As a added bonus, it was easy enough to put together that Princess Leia could actually do most of the work.

Basil Beer Bread from Real Simple

Makes 1 loaf | Hands-On Time: 10m | Total Time: 1hr 05m

Ingredients

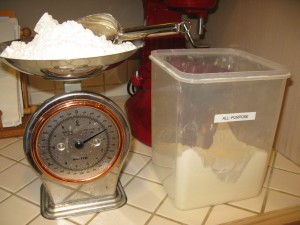
scale

Get into the habit of weighing your flour. It’s faster, less messy and more accurate.

Directions

  1. Heat oven to 400° F. Oil a baking sheet. In the bowl of a standing mixer on low, or in a large bowl using a spoon, combine the flour, yeast, salt, pepper, and Parmesan.

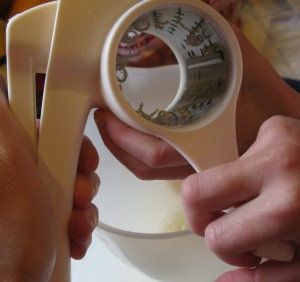
    grating cheese

    Lots of jobs for little hands.


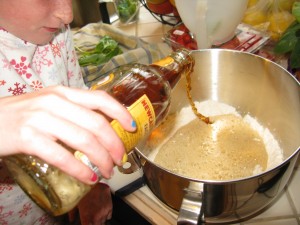
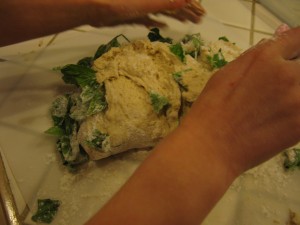
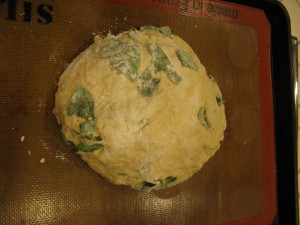
2.  Add the beer and mix just until the dough comes together. Turn the dough onto a lightly floured surface. Sprinkle with the basil and knead gently just until incorporated. Shape the dough into a round loaf and transfer to the prepared sheet.


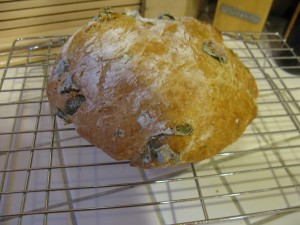
3.  Bake until the loaf is lightly browned and a toothpick inserted in the center comes out clean, 40 to 45 minutes. Turn the loaf onto a wire rack. Let cool for at least 10 minutes before slicing.

Basil Beer Bread

The finished loaf.

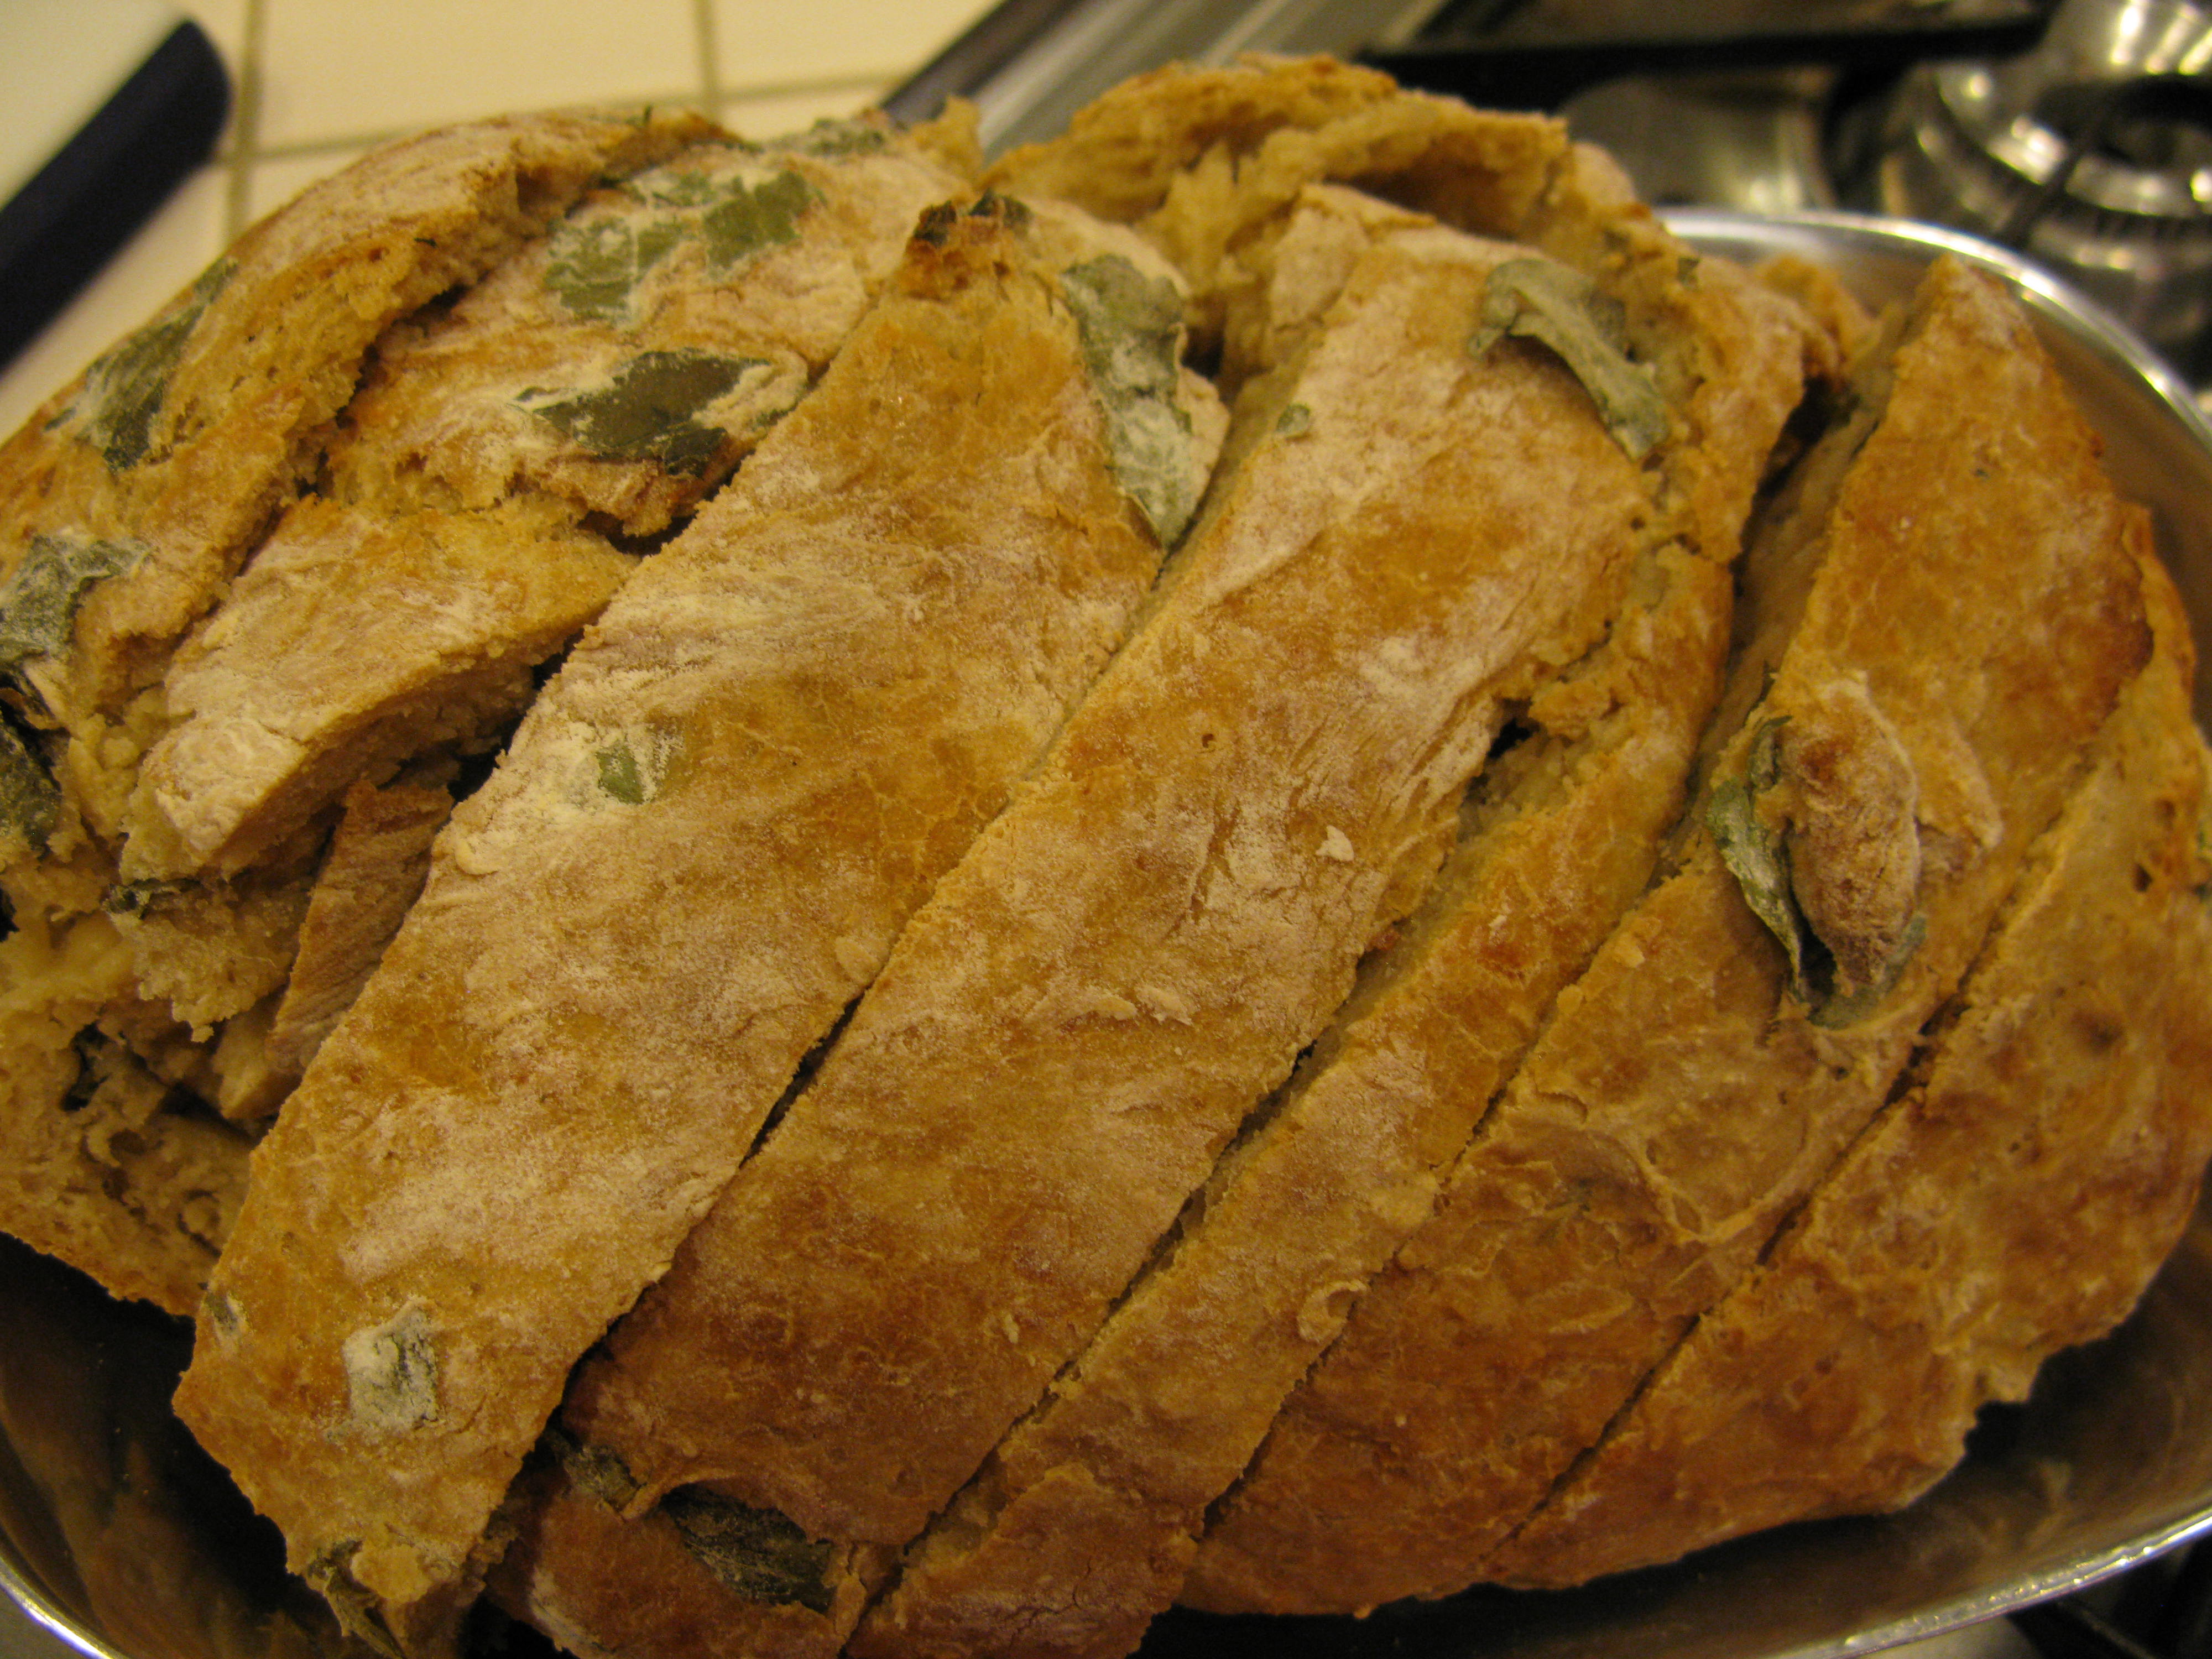
The bread looked finished at 40 minutes, but upon cutting it open I realized it needed that additional 5 minutes.  Err on the side of overcooking it a bit.  It’s so moist it can handle it.  I think I would use a slightly lighter beer next time (I used a Newcastle).  Fans of ales or darker beers would probably be just fine with the result.  That being said, there’s hardly any left post-dinner tonight. Toasted in the morning with breakfast?  Absolutely.

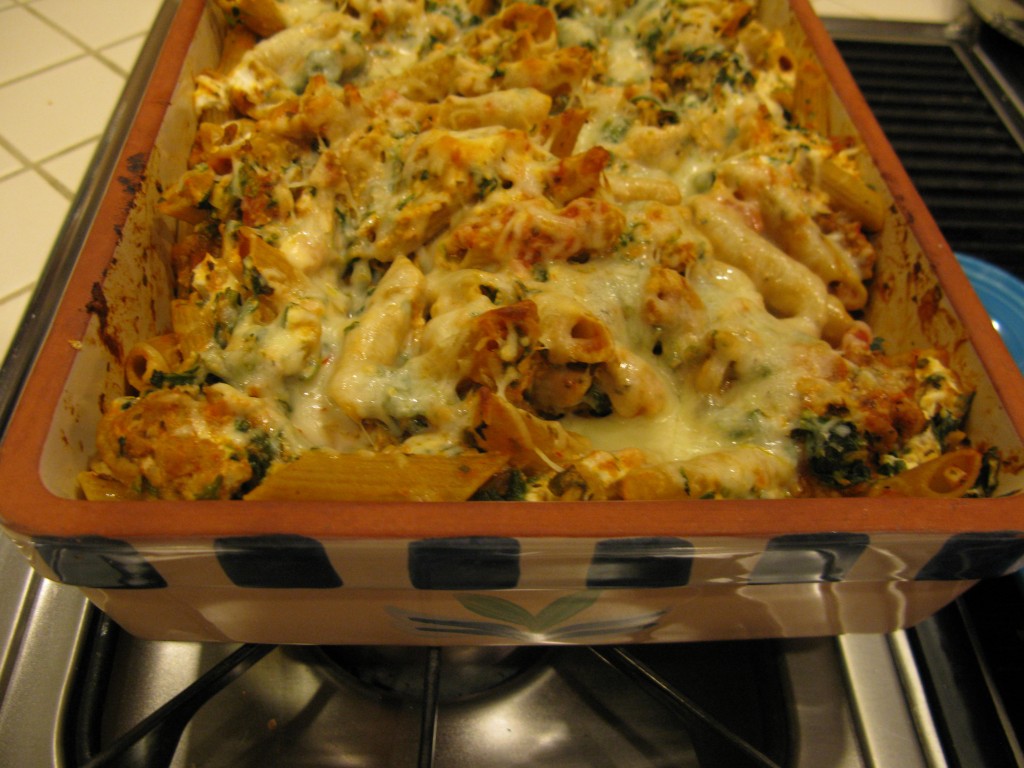
Baked Ziti

PS This is the baked ziti we had for dinner.

Dog Treat Bakery

I have a confession to make…..I hate “floor time”. I’ll take my kids anywhere in the world, I’ll read any book with them, but I just cannot spend time on the floor. But I do love to cook with them and they love to cook with me, especially when friends come over. (Who cares if we’re secretly working on math, science, fine motor and large motor skills?  And social skills like sharing the jobs, taking turns and cleaning up?  Shhhhh…I won’t tell if you don’t).

Luke Skywalker was invited to a slumber party and Princess Leia’s heart was broken…until she invited another Princess over to spend the night.  Plans for the evening included make-your-own mini-pizza and homemade dog treats.

 Dog Cookies

  • 1 1/4 cup flour (150 grams)
  • 1/4 cup cheese powder or the envelope of cheese powder from a box of mac & cheese
  • 2 TBSP parsley (chopped fresh or dried)
  • 1/4 cup water
  • 1 egg
  • milk
  • sesame and/or poppy seeds

1.  Preheat the oven to 350.

2.  Combine the flour, parsley and cheese powder in a bowl and stir.

3.  Lightly beat the egg and the water together in a separate bowl.

4.  Mix the egg mixture into the dry ingredients, kneading with your hands if necessary. (Kids ALWAYS think this is necessary).

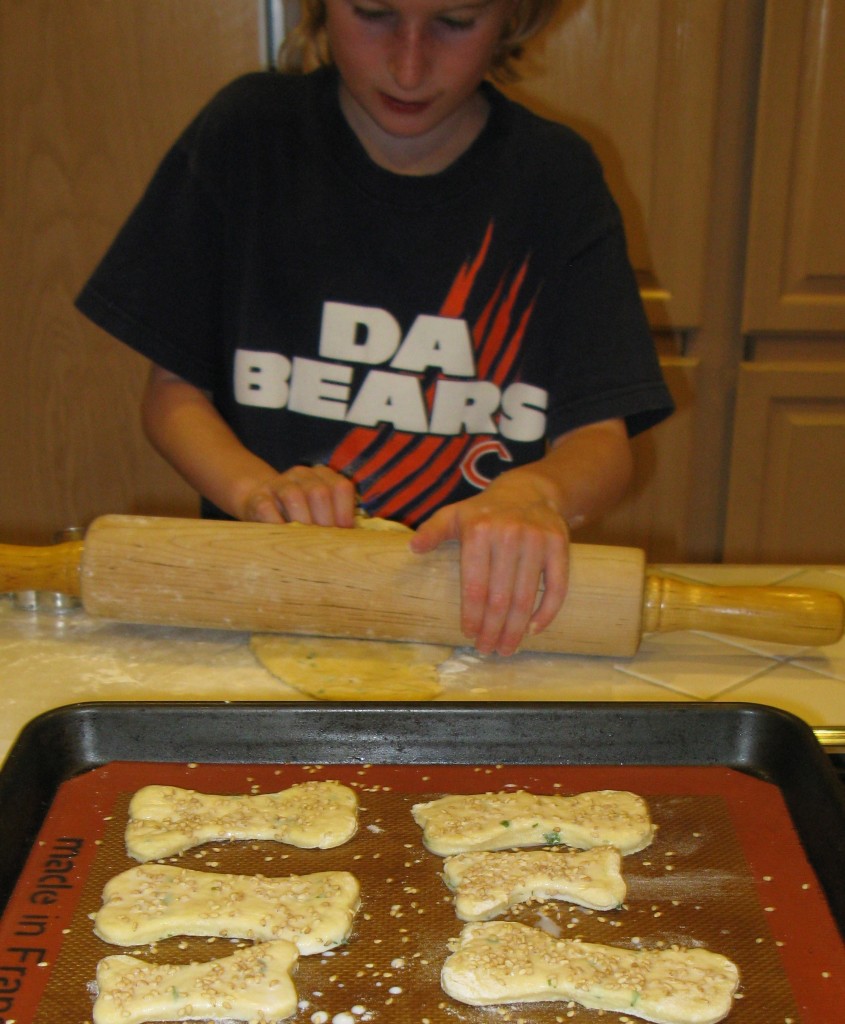
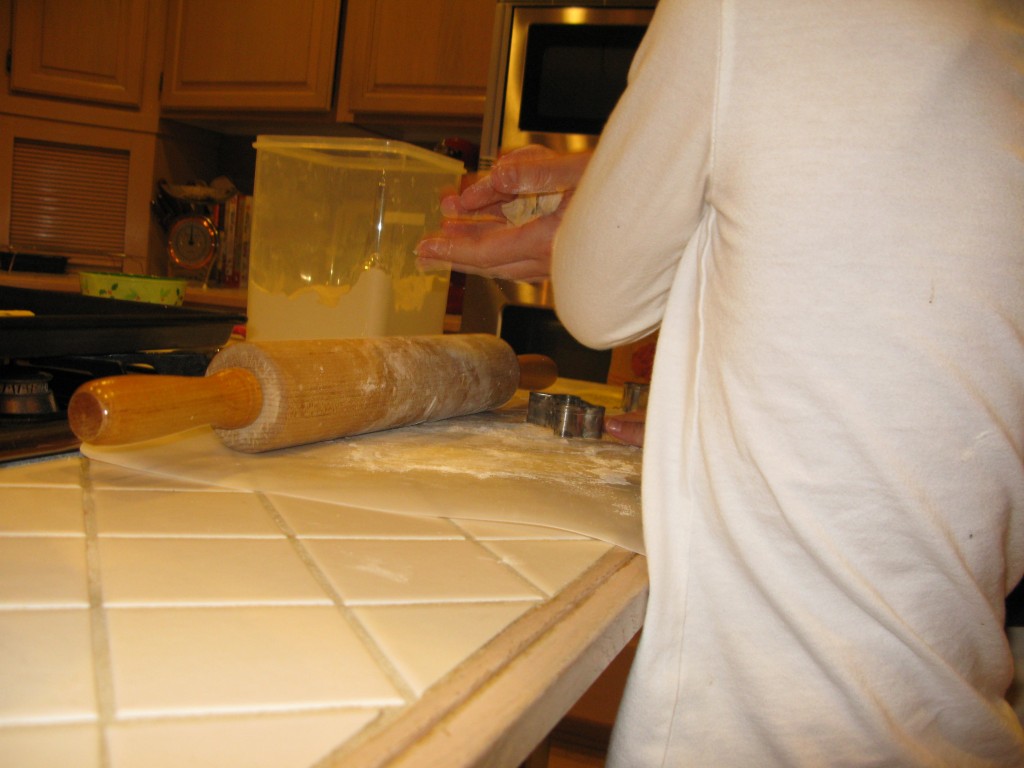
5.  Roll out the dough onto a floured cutting board or counter.  It will look like this:

rolling out the doughJust keep adding flour to keep the dough from sticking….to everything.  And remember, it’s for dogs and they eat anything.

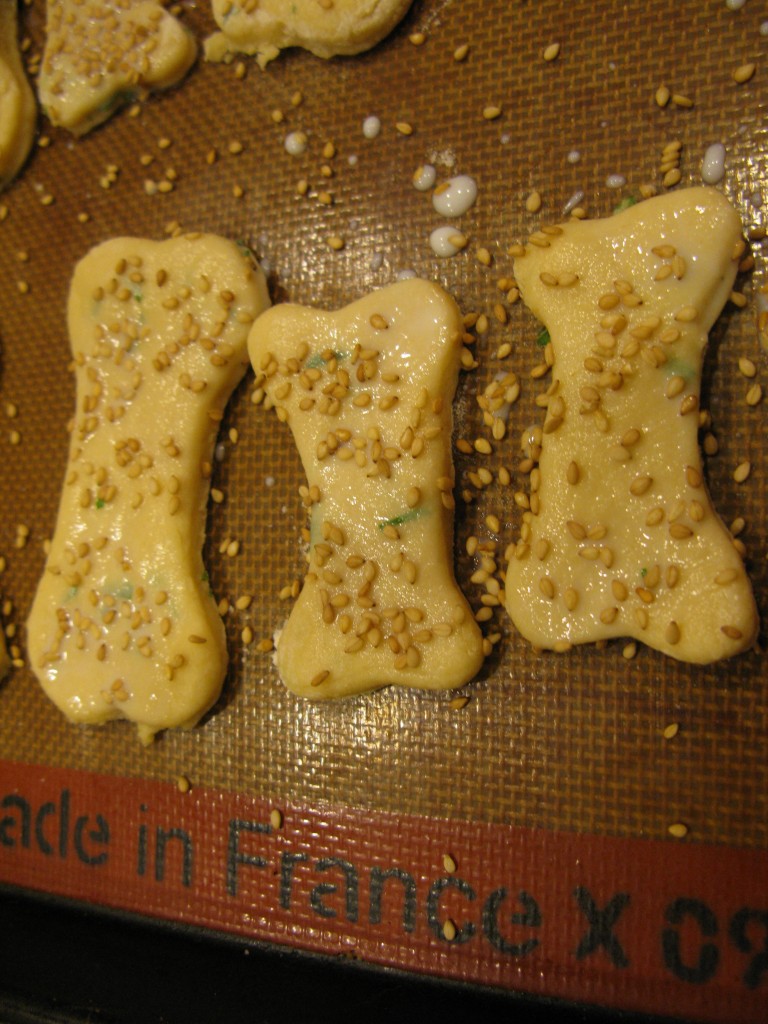
6.  Use cookie cutters to cut out shapes and place onto a greased cookie sheet (or onto a Silpat, one of my very favorite things).

7.  Brush milk onto the cookies and sprinkle with sesame or poppy seeds.

8.  Bake for 20min and cool on a wire rack.

Christmastime is a fun time to make these for all of the furry friends in our lives.