In-N-Out Experiment in 10 Steps

It’s the usual joke when I tell someone that I’m headed to SoCal for a visit…bring me back a double-double.  I usually just smile and nod, but when reminded that I could take pictures and make a blog post out of it, well then the wheels start turning.

In N Out on PCH/2nd in the LBC

Growing up in SoCal, for years In N Out was a real treat, limited to road trips or the occasional trip to a local walk-up-only one in a sketchy neighborhood. The chain, while still family-owned, has really grown in recent years.
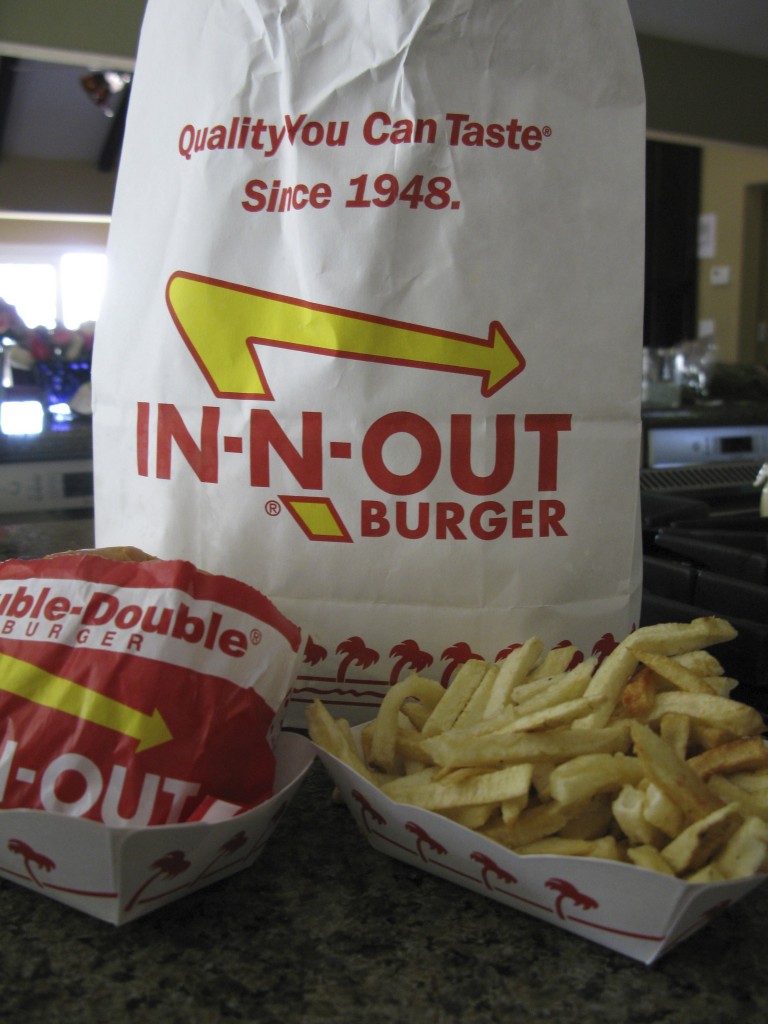
double double with fries

Step One: Cut a hole in the box. Procure two double-doubles. Eat one while driving waiting for the other one to cool down.
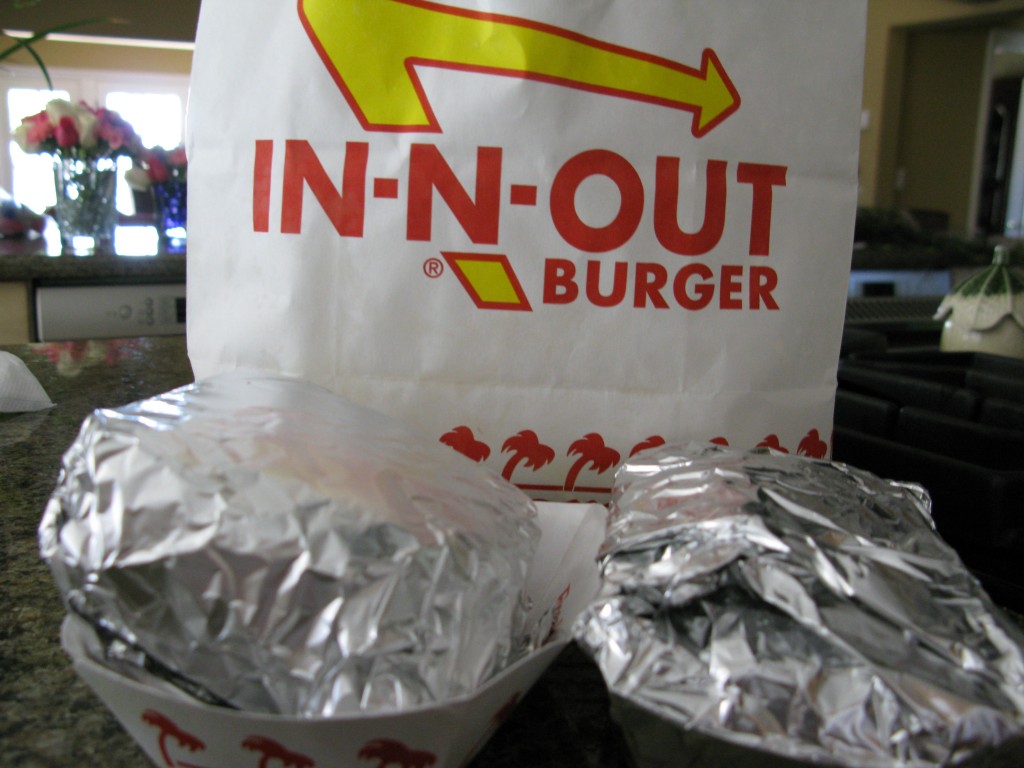
frozen double-double

Step Two: Cool down completely and wrap well. I ordered the burger that was to be frozen with no produce and sauce on the side.
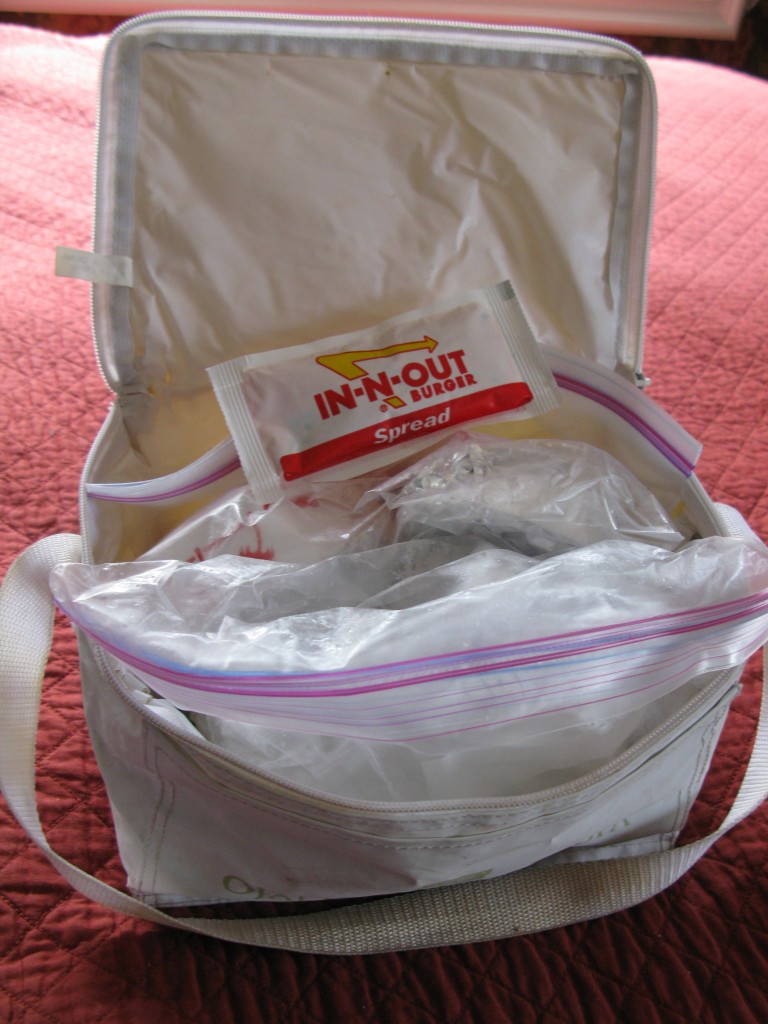
frozen burger

Step Three: Prepare to be laughed at by the TSA agent when getting your frozen burger through security at the airport.  Burger and fries and wrapped in foil, frozen and bagged in a gallon Ziploc surrounded by several ice packs (I am truly surprised that TSA didn’t take the gel ice packs away from me).
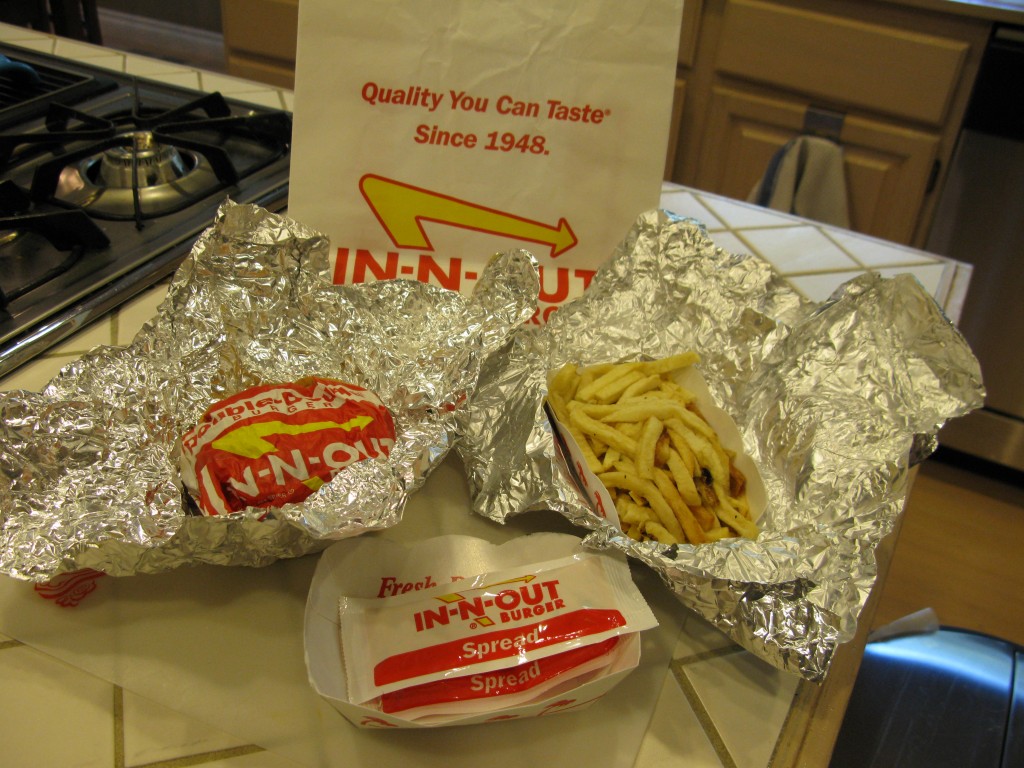
defrosting burger

Step Four: After spending a night in the fridge, the burger is defrosting and ready to be deconstructed.
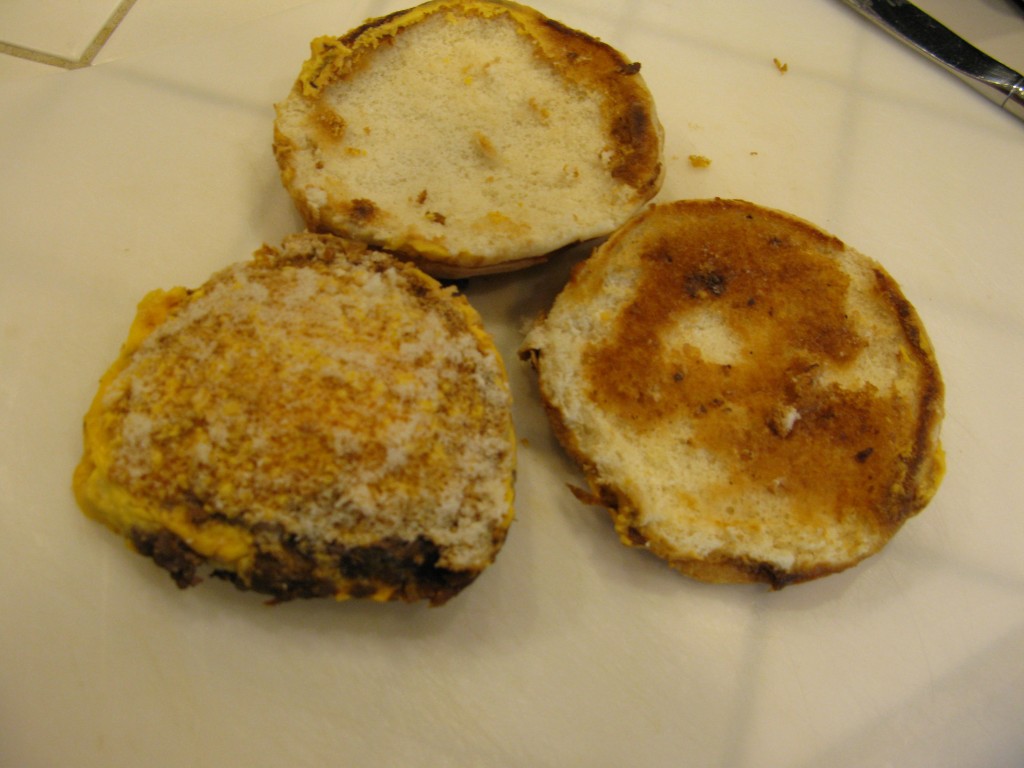
burger seperated from bun

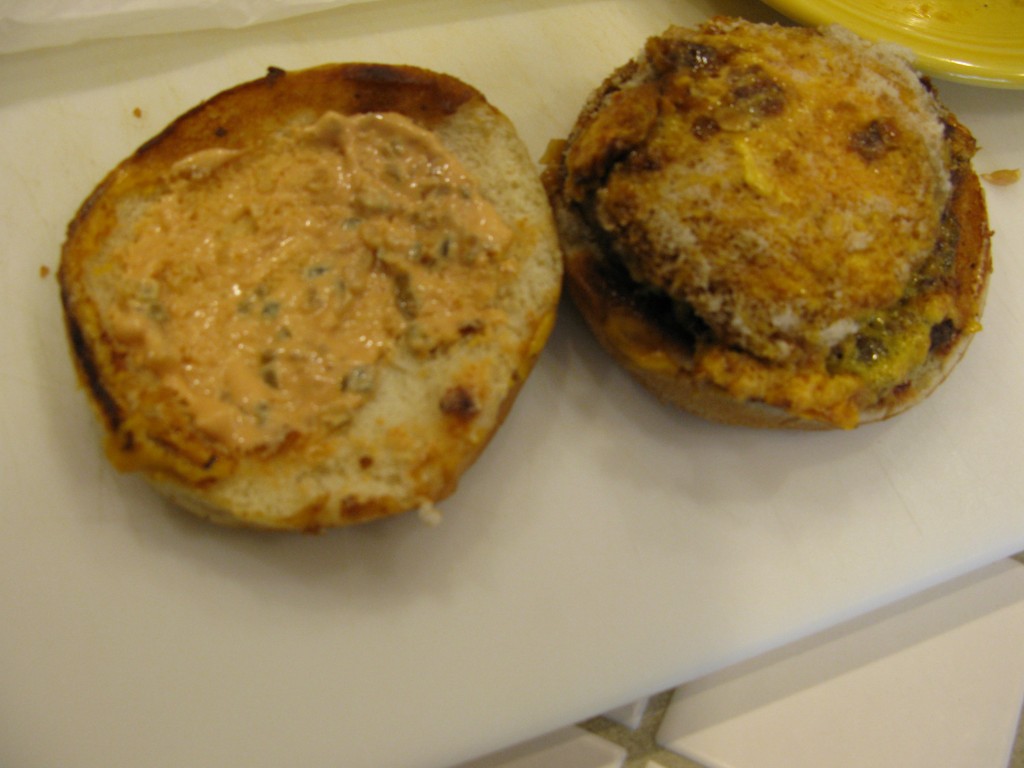
Step Five: Carefully pry the burger away from the bun. The bun is re-toasted and the meat is re-heated separately.  The grilled onions seem to have survived the trip.
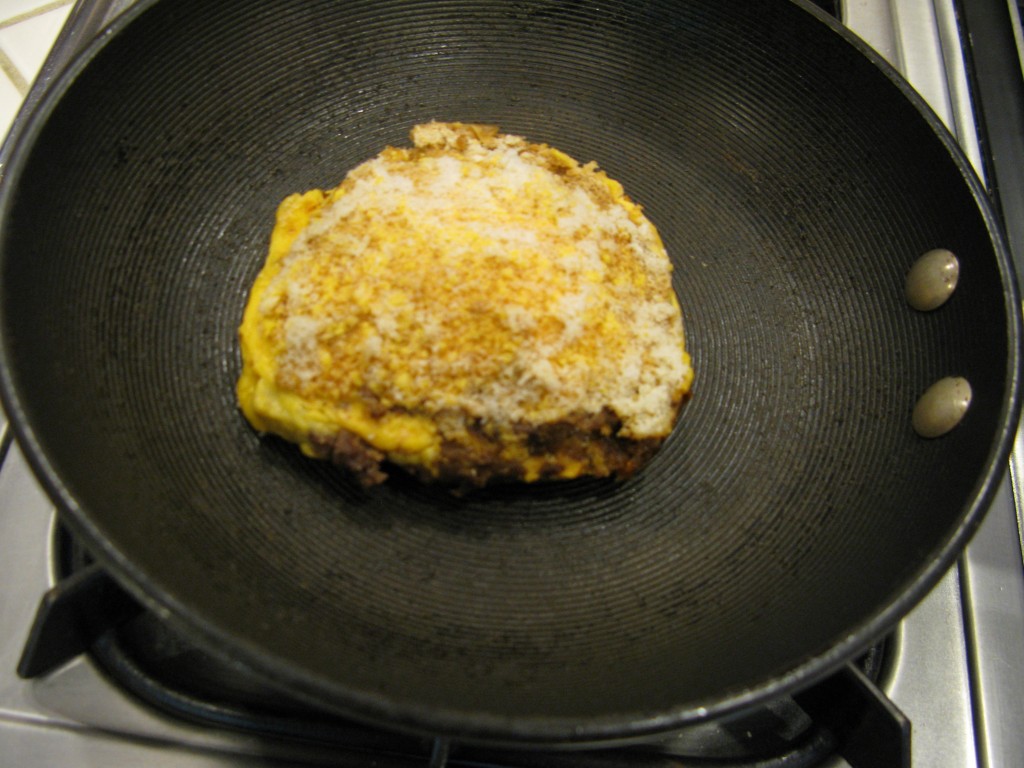
reheating the burger

Step Six: While the buns toast, I tried reheating the burger in a skillet. It didn’t work because I realized I couldn’t flip it due to the cheese on the top and since it’s a double burger, it wasn’t going to get hot all the way through without flipping. I ended up putting it in the microwave.
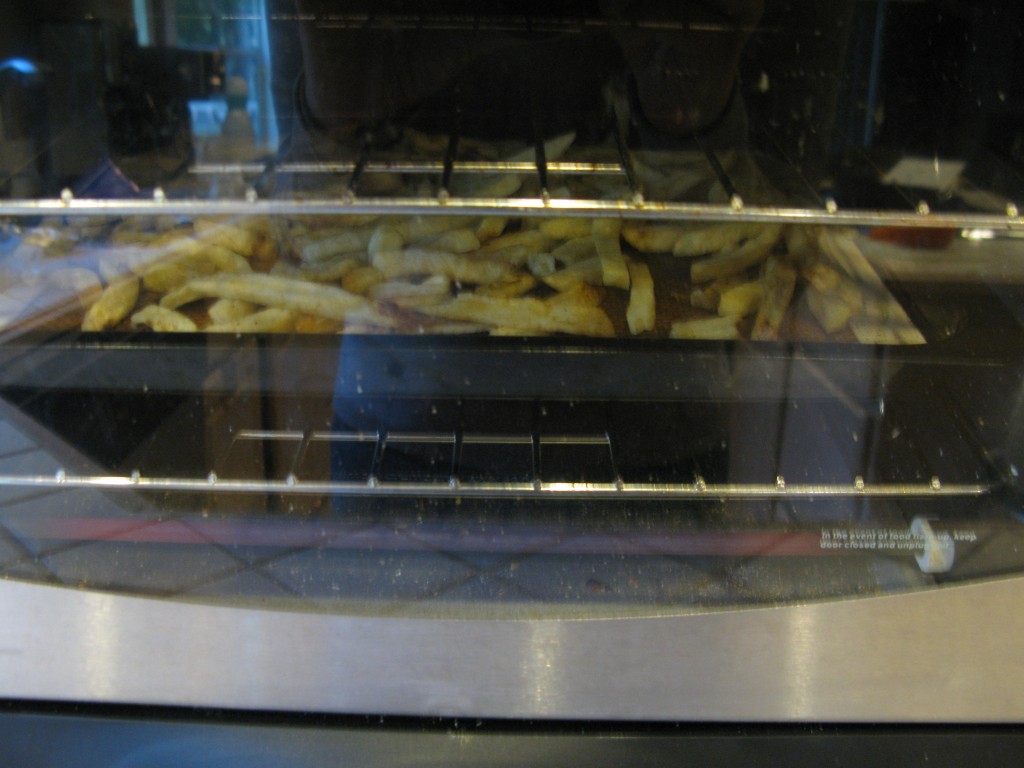
in n out fries

Step Seven: Reheat the fries in the toaster oven. Truthfully, I don’t think their fries are all that great anyway (unless dipped in a chocolate shake).
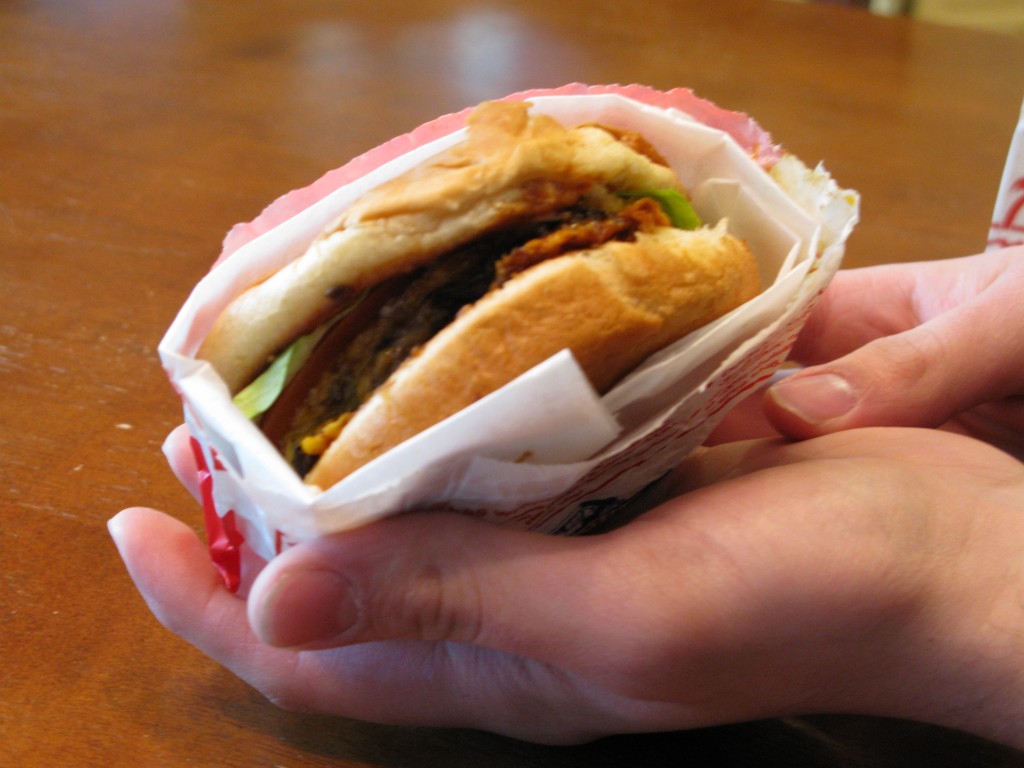
in n out spread

Step Eight: Reassembling the burger. Add spread, fresh tomatoes and lettuce.

double-double

Step Nine: Re-wrap in fresh paper and re-bag along with hot fries.  The bun is looking a little worse for the wear, but otherwise OK.
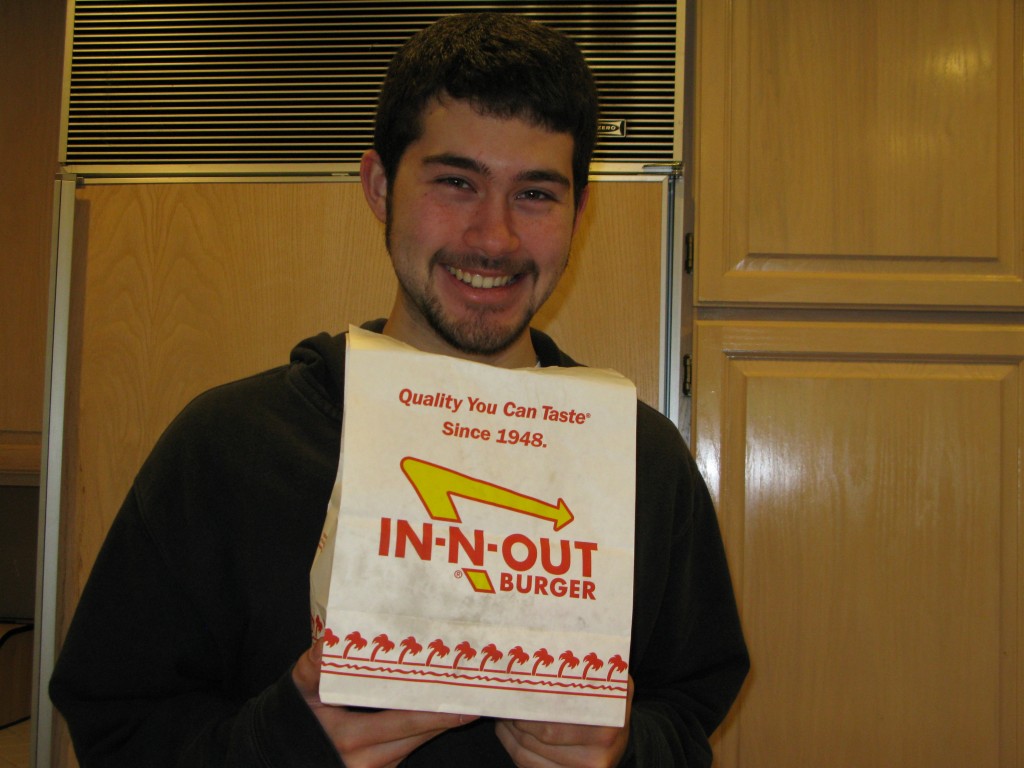
happy in n out fan

Step Ten: Find a teenager willing to try anything, preferably the one who convinced you to try bringing back a burger in the first place.

satisfied in n out fan

I’d say it was a success!

What I learned:

  • The fries aren’t good enough to begin with to bother transporting.
  • It is worth the hassle just to have your house smell like In-N-Out for a few hours.
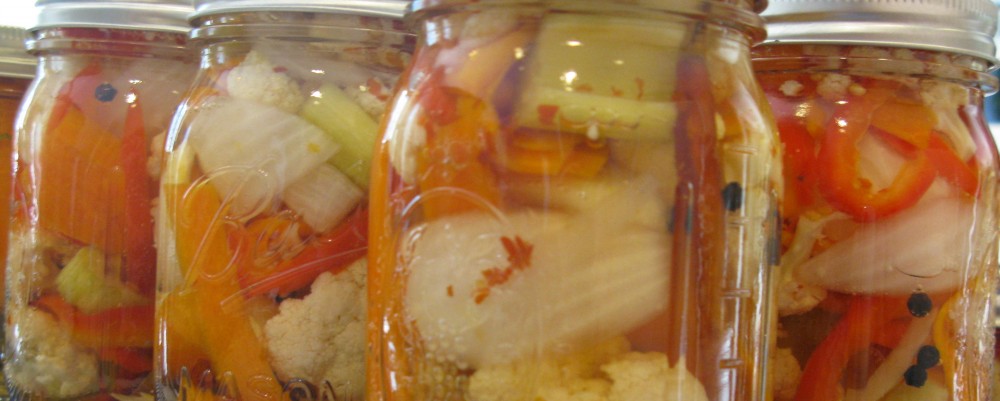


Two of My Favorite Foods Merged

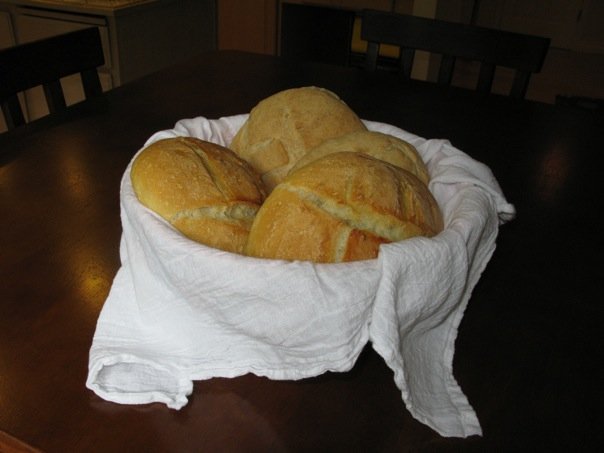
sourdough bread

Sourdough bread…..just fine all on its own.


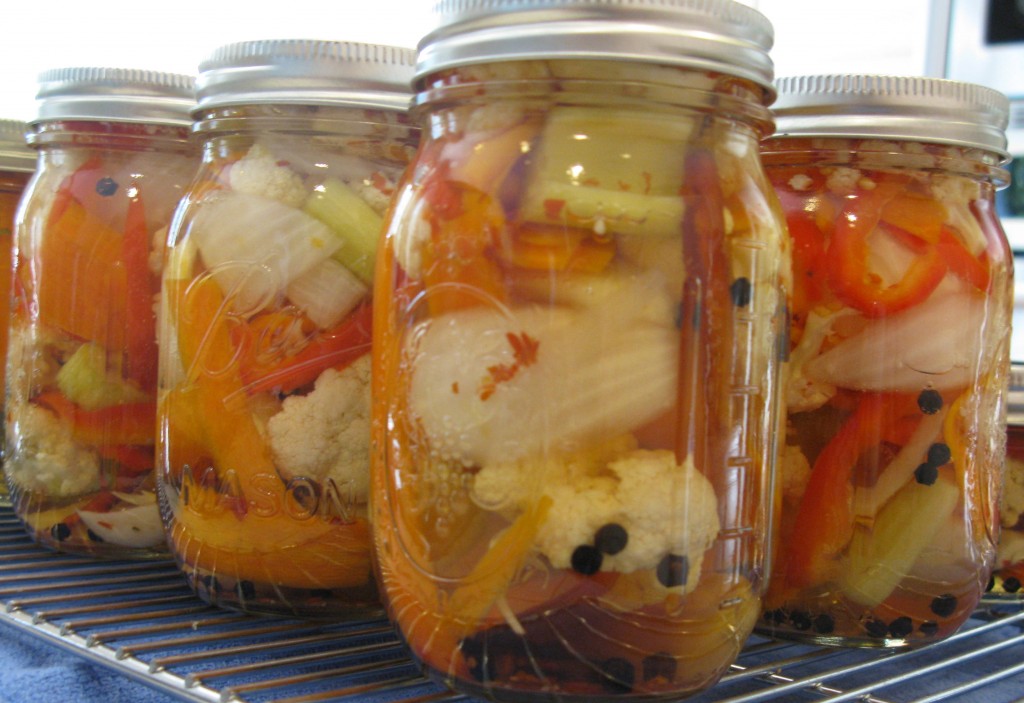
mexican spiced veggies

But what happens when you decide to use the brine from some fabulous Mexican Spiced Pickled veggies instead of water in your bread recipe?


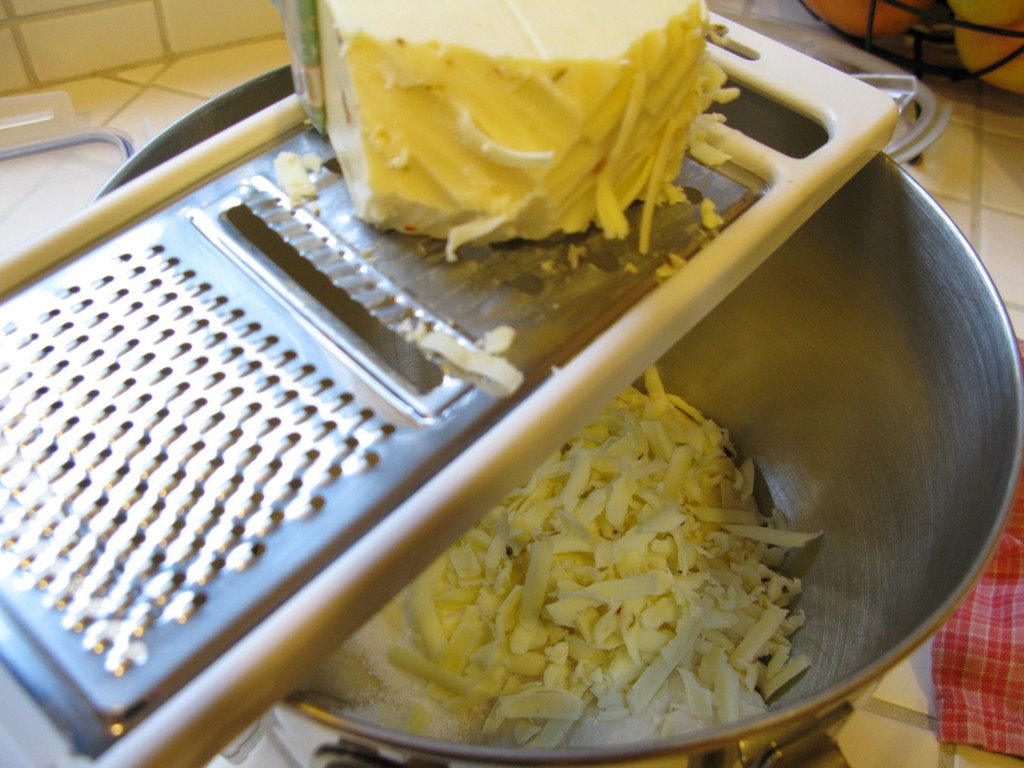
pepperjack cheese

And toss in a generous helping of pepperjack cheese?

Spicy Sourdough Bread

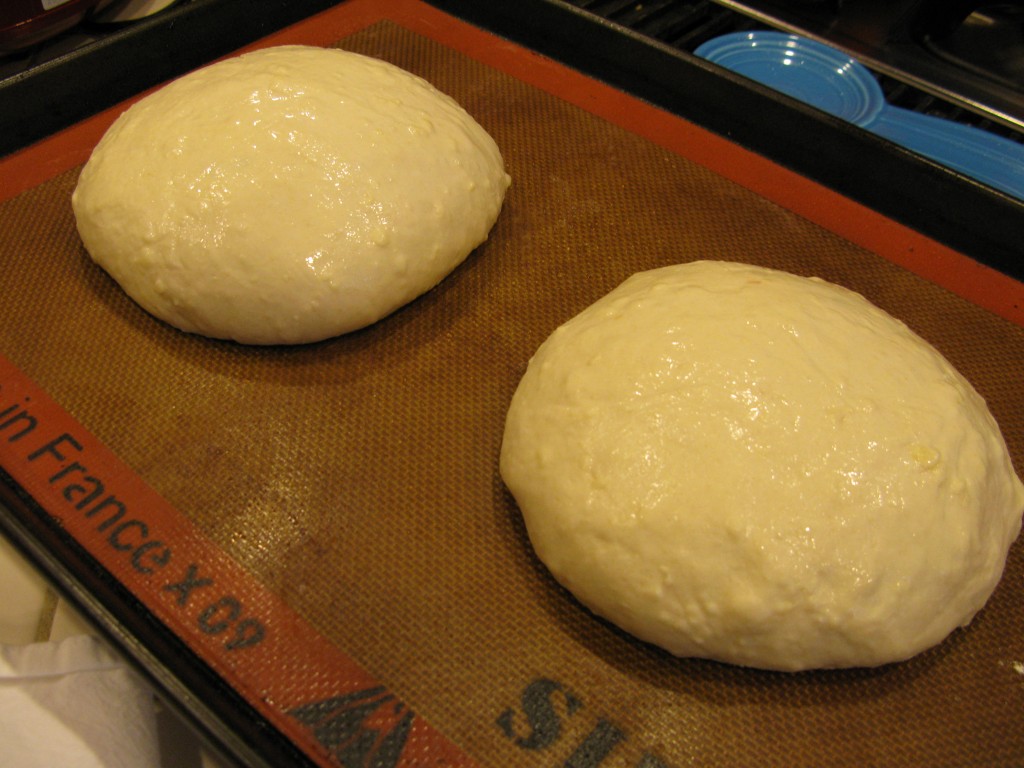
Don’t expect much rise….I suspect the pickle just has something to do with it. The dough just smells dangerous.

Spicy Sourdough Bread

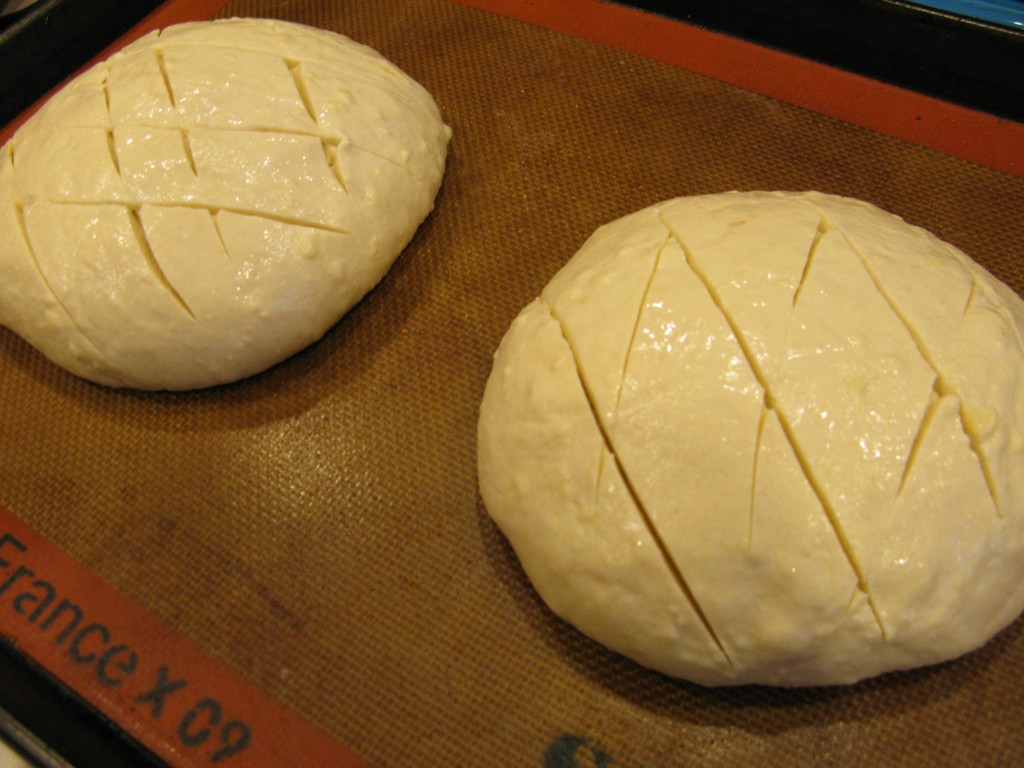
The advantage of minimal rise, I discovered, is that I can score it really deep without deflating.

Spicy Sourdough Bread

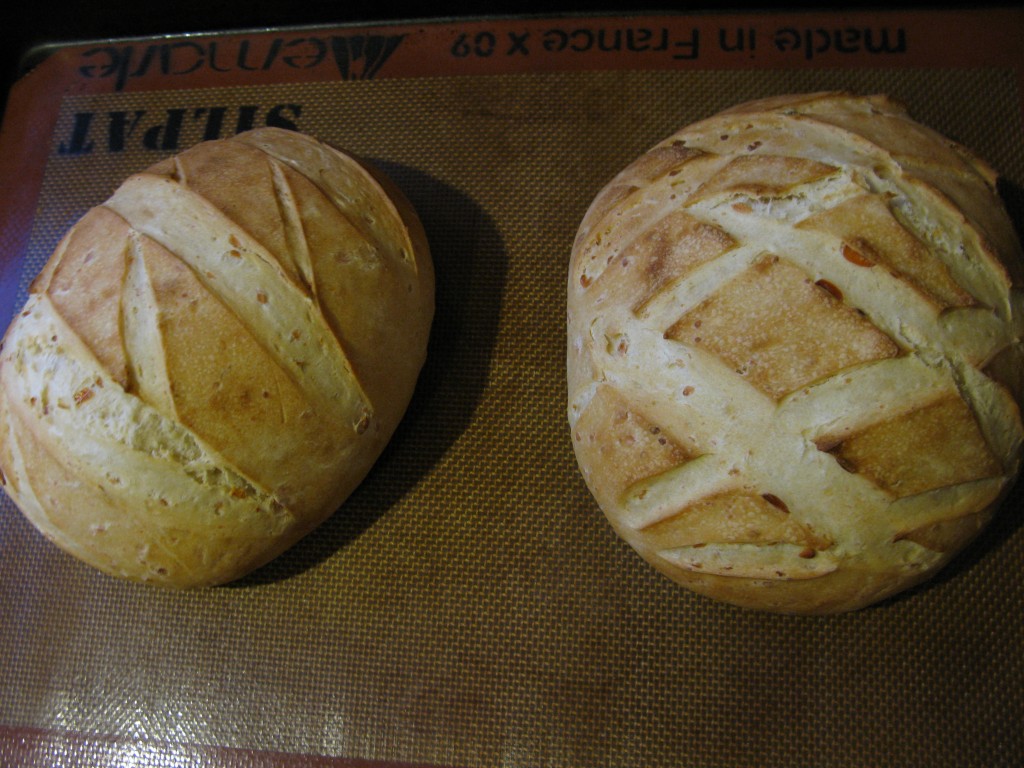
You can tell by the spaces between the cut lines that it really rose in the oven (it’s called oven spring).

Spicy Sourdough Bread

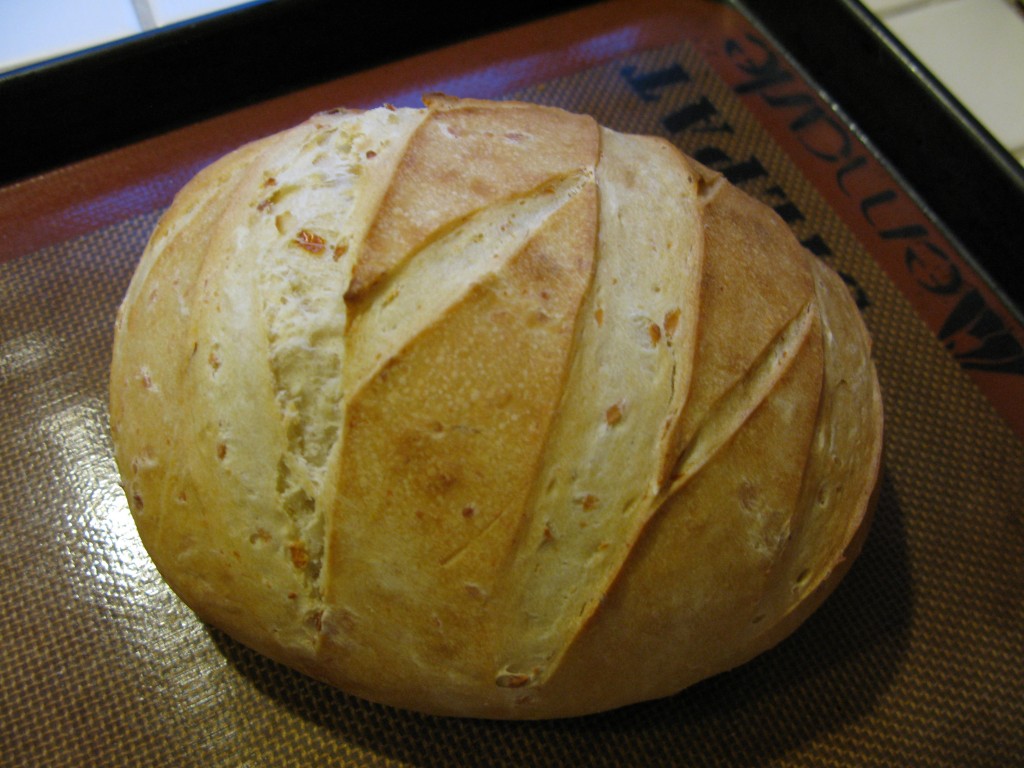
By far, the most beautiful loaf I’ve ever baked. A hint of heat but not as spicy as I would have hoped. The first loaf was a bit dense and gummy so I let the second loaf sit for a day or two and it sliced up just fine.

As long as I live, I’ll probably never be able to replicate this recipe.  But for those of you that want to try, pickle juice will work in place of the veggie brine (reduce the salt in your bread recipe).  I use the Extra-Tangy Sourdough from King Arthur Flour.  For the Mexican Spiced Veggies, click on the link.


Heavenly Popcorn for Holiday Gifts

Dubbed Wendy’s Crafty Sweatshop years ago, the week or two before Christmas is time to make all the treats to go along with the jars of jam and veggies put up over the summer.  This year added caramels to the lineup (recipe and pics soon) that always includes biscotti and chocolate covered popcorn.

I came across this recipe a decade ago through in an email newsletter from Worldwide Recipes. It’s been in the holiday line-up ever since.

A few notes- doubling this recipe makes about 14 gift-sized bags of popcorn, fewer servings if you pack it in tins.  I like to mix the white & the chocolate together.

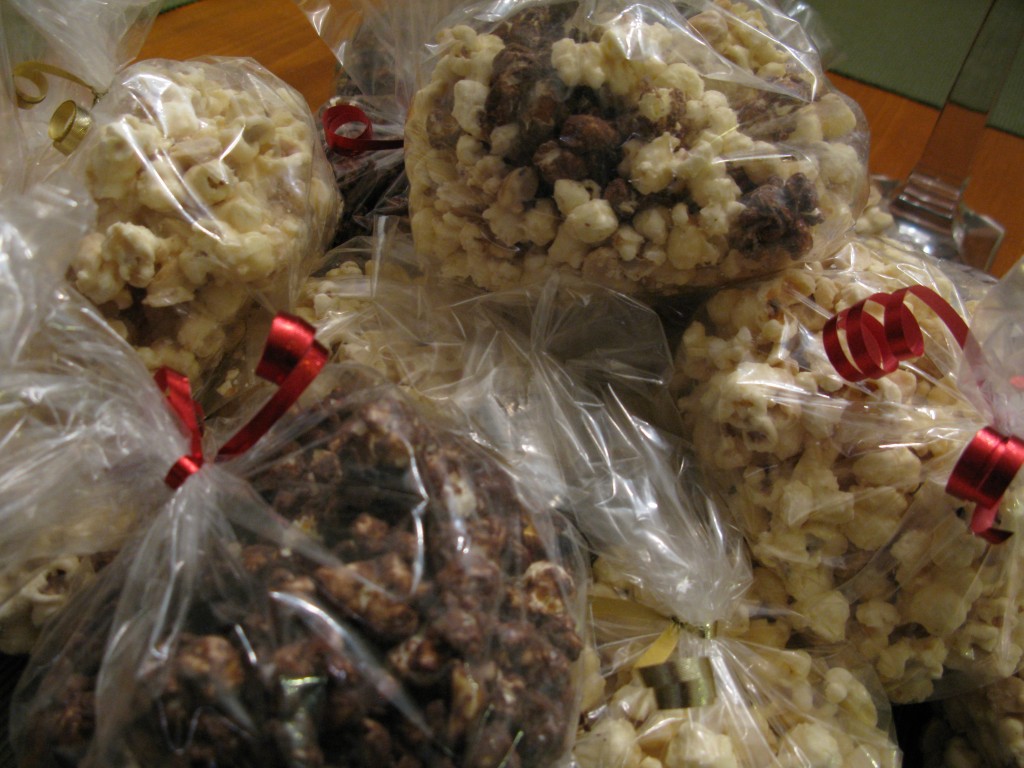
Heavenly Popcorn packed into gift bags.

Heavenly Popcorn packed into gift bags.

 HEAVENLY POPCORN

  • 14-15 cups plain popped corn (remove uncooked kernels)
  • 2 cups dry-roasted peanuts
  • 1 lb confectionery coating *
  • 3 TBS creamy peanut butter

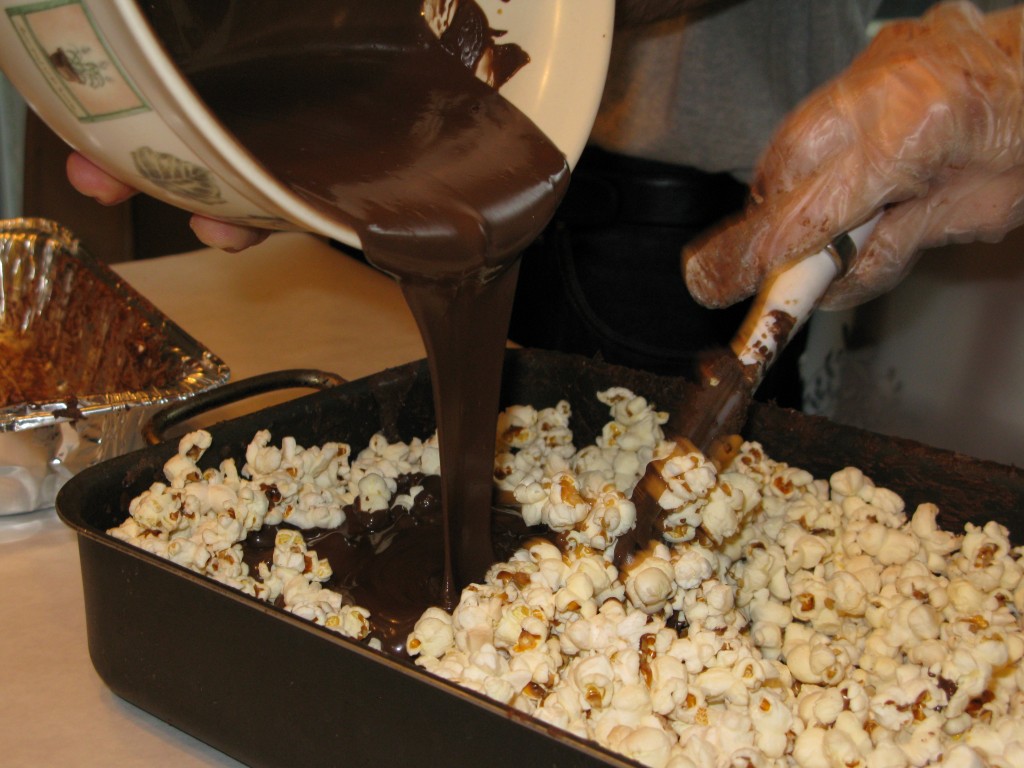
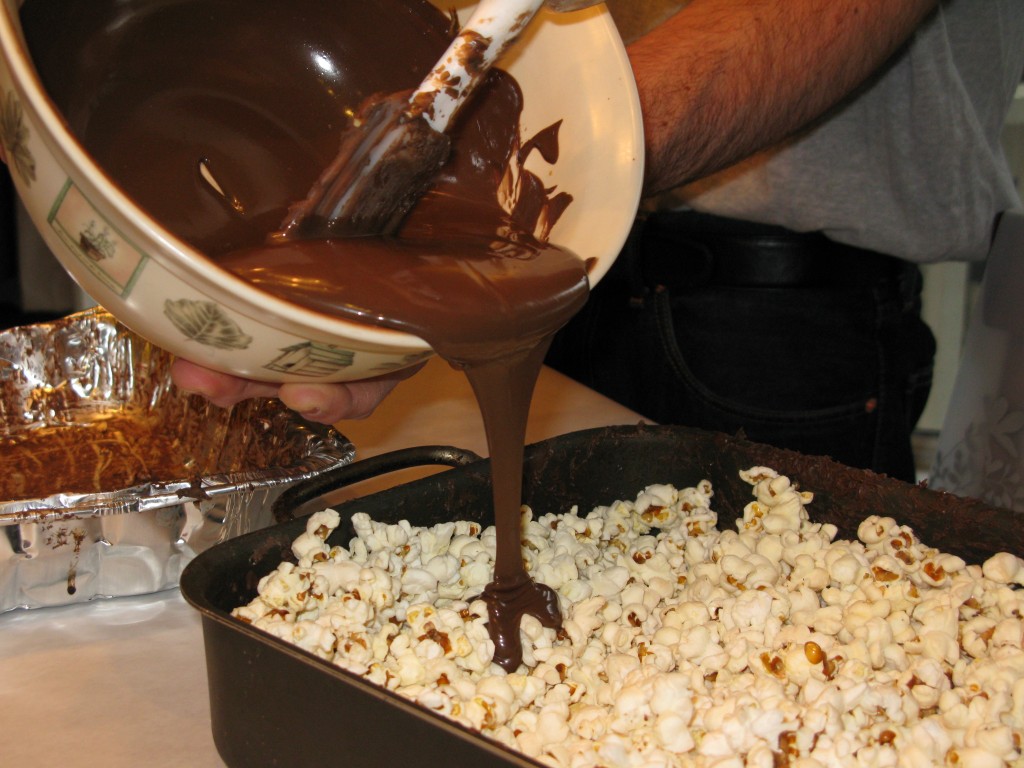
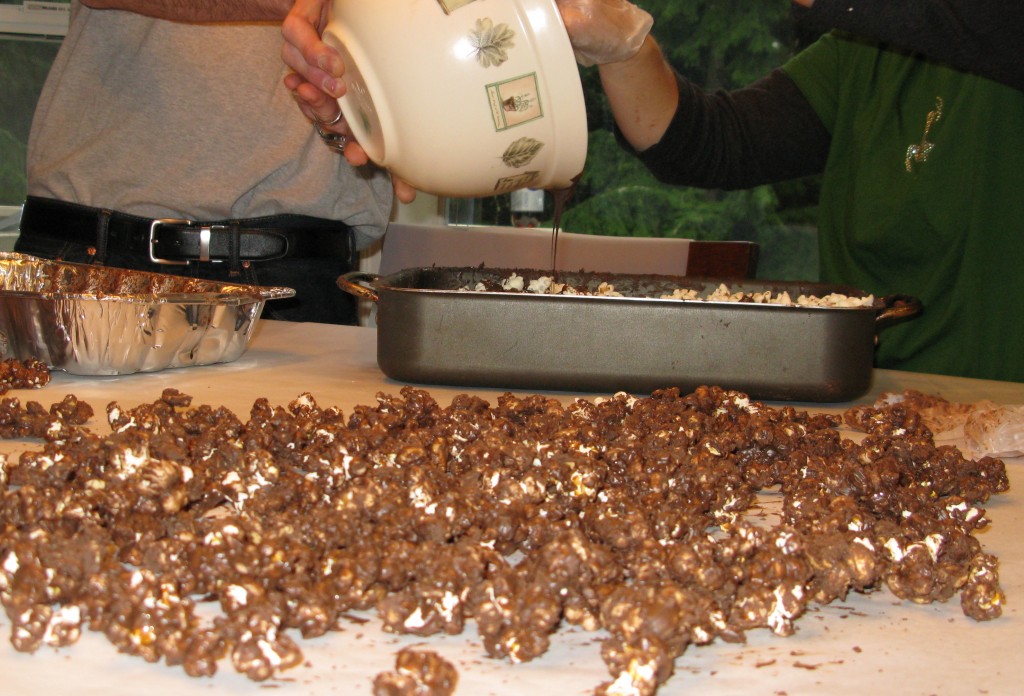
In a large deep roasting pan, combine popcorn and peanuts.  In the top of a double-boiler over simmering water, melt coating and peanut butter, stirring occasionally (I did this step in the microwave).  Pour over popcorn and stir to coat.  (Take off rings or use gloves- this makes a mess).  Spread evenly on waxed paper and allow to set for about an hour before bagging.

IMG_5267 IMG_5266

Coat the popcorn, allow to set on waxed or parchment paper.

Coat the popcorn, allow to set on waxed or parchment paper.

* Look for confectionery coating (also called bark, almond bark or candy coating) in grocery stores with baking supplies or in stores selling chocolate candy discs for melting and pouring into molds.  I would not recommend using a regular chocolate candy bar.  I don’t think it will set for you correctly when it hardens.

Post-Thanksgiving Feast, No Turkey in Sight!

When a friend calls and invites you down to her husband’s commercial fishing boat, the answer should be a resounding YES!  Grab an insulated bag and your camera and head down to the dock.  Gig Harbor‘s roots are in fishing and a fleet of commercial fishing boats are based in our Harbor.  Our Annual Maritime weekend includes a blessing of the fleet.

gig harbor blessing of the fleet

Commercial fishing boats lined up in Gig Harbor for the annual blessing of the fleet.

This was my first invitation to one of the fishing boats and I was not going to miss it!

How much of a fish did I want?  I don’t even know how much fish an entire fish entails.  How about enough for six people for the day after Thanksgiving dinner?  I think that came to about a third or maybe half of the fish.  All I knew is that the steaks looked beautiful and I couldn’t wait ’til the day after Thanksgiving to enjoy them.

fresh salmon

Cut from freshly-caught fish.

With a houseful of people and a fridge full of leftover side dishes, an easy grilled salmon and a serve-yourself buffet of reheated sides was the perfect meal after a long, rainy day at the Children’s Museum.

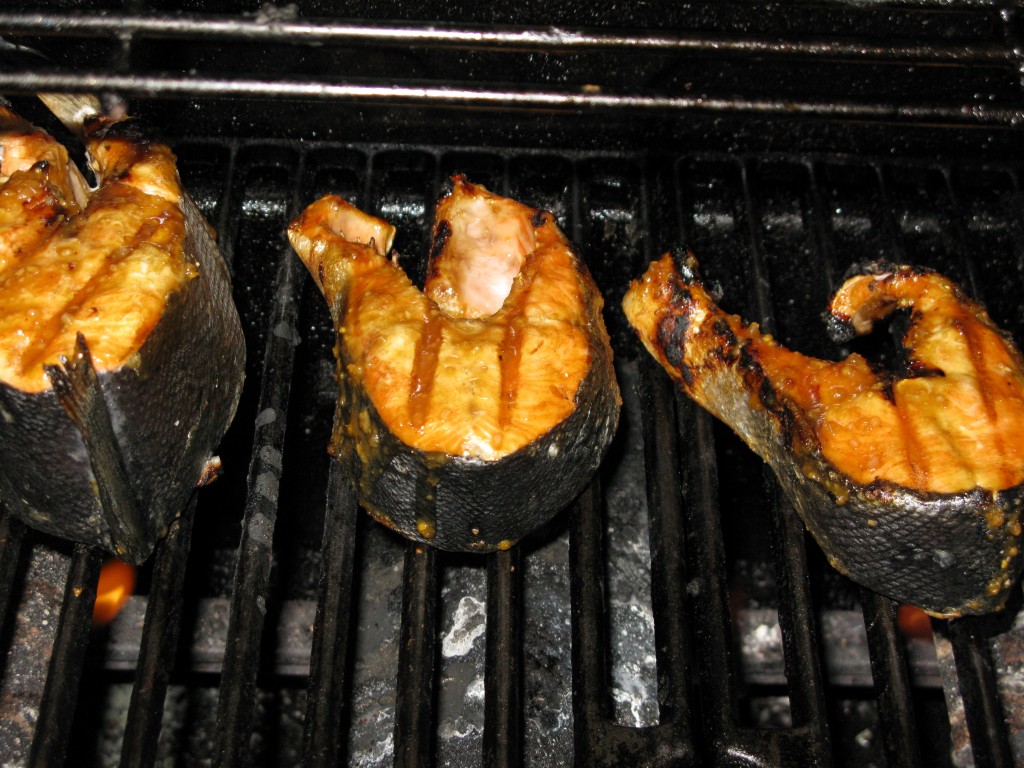
grilled salmon steaks

Grilled wild salmon steaks with a miso glaze.

Super-easy, here’s the recipe.  You’ll have to find your own fishing boat connection though.

Miso-Glazed Salmon with Wilted Spinach, courtesy of Cooking Light

ingredients

  • Fish:
  • 1 tablespoon white miso paste
  • 2 teaspoons mirin (sweet rice wine)
  • 2 teaspoons rice vinegar
  • 2 teaspoons low-sodium soy sauce
  • 1/2 teaspoon sugar
  • 1/2 teaspoon grated peeled fresh ginger
  • 2 (6-ounce) skinless salmon fillets
  • 1 teaspoon toasted sesame seeds
  • Spinach:
  • 2 teaspoons dark sesame oil
  • 1 teaspoon bottled minced garlic
  • 1 (10-ounce) package fresh spinach
  • 2 teaspoons low-sodium soy sauce

Preparation

  1. Preheat broiler.
  2. To prepare fish, combine the first 6 ingredients in a small bowl, and brush evenly over fish. Arrange fish on a foil-lined baking sheet; broil for 8 minutes or until desired degree of doneness. Sprinkle with sesame seeds.
  3. To prepare spinach, while fish broils, heat sesame oil in a large nonstick skillet over medium-high heat. Add garlic and spinach to skillet; cook 30 seconds or until spinach just begins to wilt, tossing mixture constantly. Stir in 2 teaspoons soy sauce.

I cooked mine on the grill, it turned out fine.


Poppy Seed Cake

I am not one of those people who refuse to share a recipe, or worse, one of those that omit a crucial ingredient so your version never turns out quite right.  Love shared is love multiplied as far as I am concerned. And since I don’t really develop recipes, who knows where I would be if no one shared with me.

ethel's poppy seed cake recipe card

My grandmother made this cake as long as I can remember and I’ve been making it for nearly as long as I can remember. Her version, in her writing.

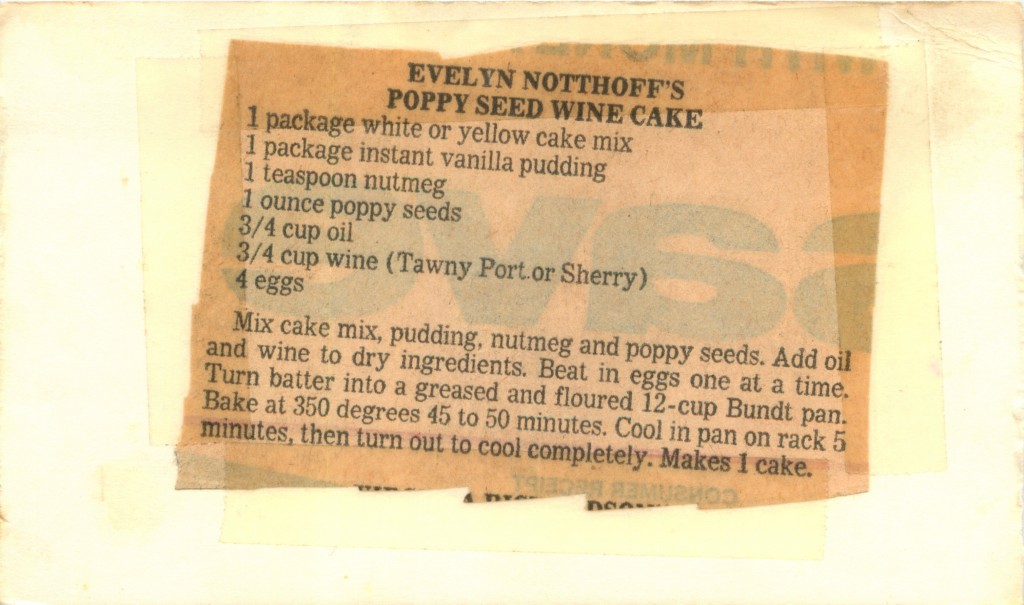
But it most likely came from one of these sources, probably the Daily Breeze.

poppy seed wine cake

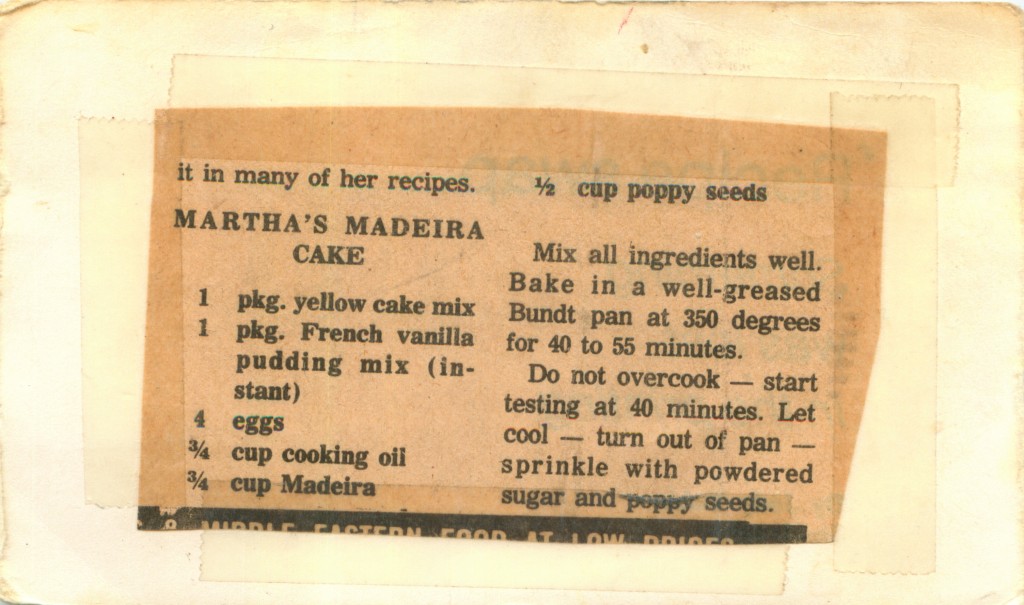
She always mentioned using port or sherry and I didn’t know where she got that idea until I came across this in her recipe card box recently.

madeira cake

This version is the one she copied for me, but since she was a tweaker too the poppy seed amount is changed.

Here’s my version:

Ethel’s Poppy Seed Cake

  • 1 pkg. yellow cake mix
  • 1 pkg. instant vanilla pudding (small box)
  • 4 eggs
  • ¾ cup vegetable oil
  • ¾ Madeira wine
  • ¼ cup poppy seeds

Mix well.  Bake in a well-greased Bundt pan at 350 for 40-55 min.  Start testing at 40 min.  Let cool, turn out of pan and dust with powdered sugar.

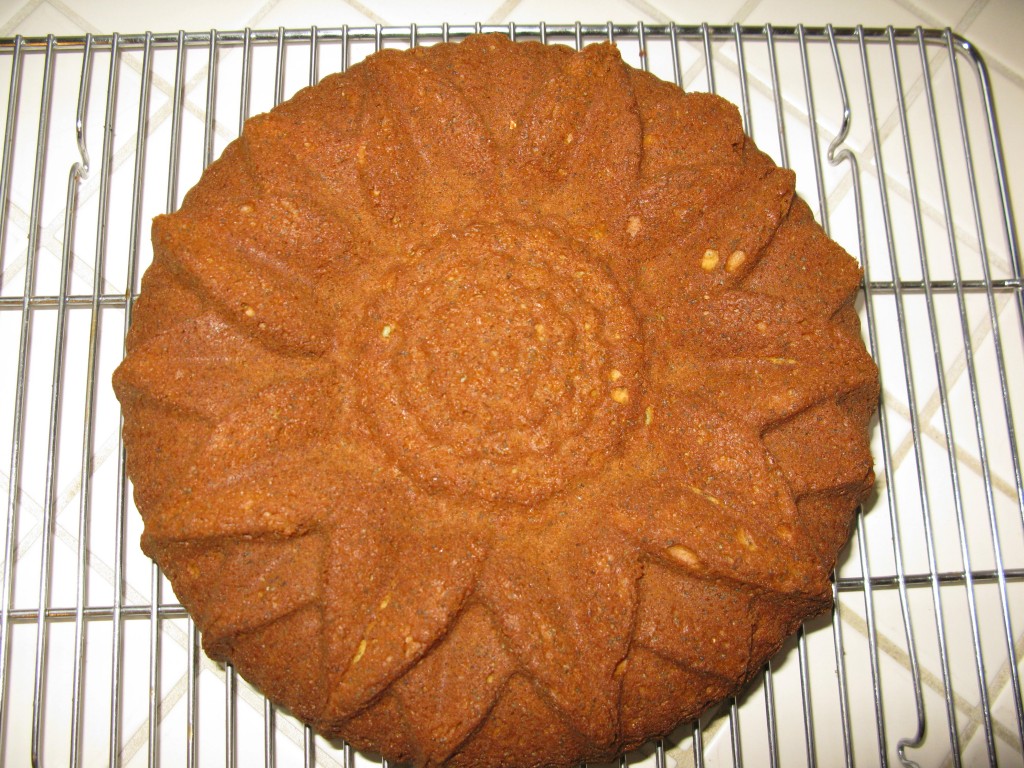
sunflower Bundt

I often make one in a sunflower Bundt pan, a nod to my Grandmother’s favorite flower (and the Kansas state flower).

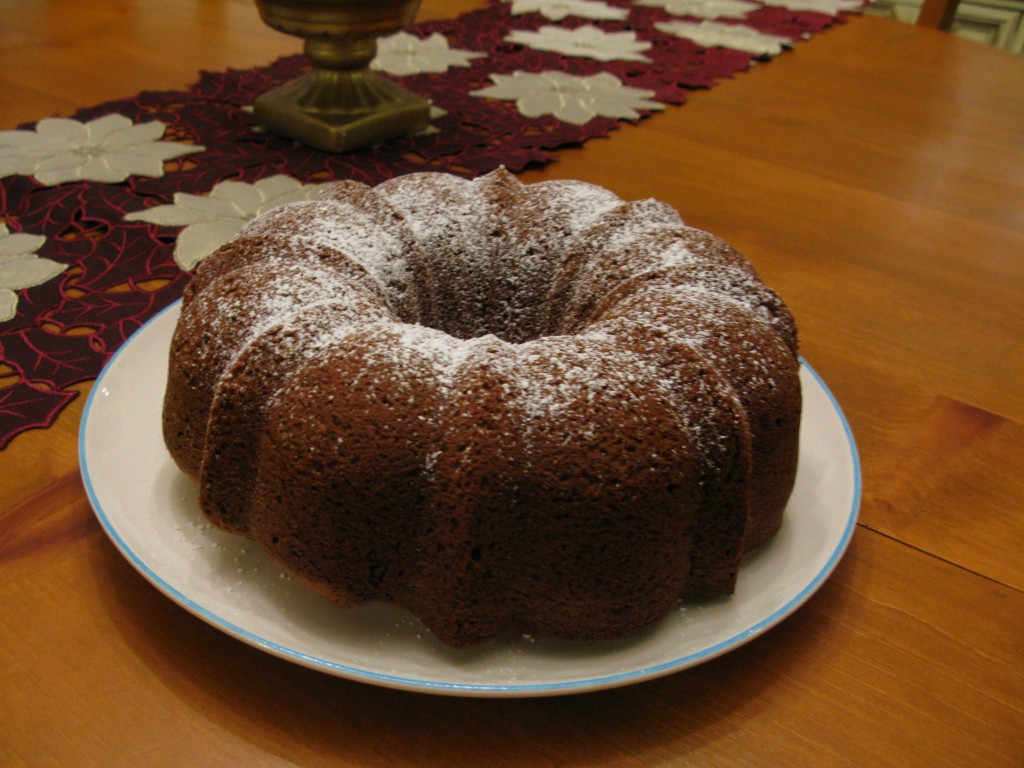
poppy seed bundt cake

For a more elegant presentation, use a traditional Bundt pan and dust with powdered sugar.

Make sure to save a slice and enjoy it for breakfast the next morning with a cup of coffee (preferably in your kitchen listening to Vin Scully, the voice of the Dodgers, broadcasting a game on a transistor radio).

baking kids

Share the love today.

Tex Mex Lasagna for Meatless Monday

I firmly believe in child labor- especially in the kitchen.  The kid that helps to make dinner is  far more inclined to actually eat it too.  This lasagna dish goes together quickly with ingredients that you probably already have in your pantry and freezer.  I’ll often make two at a time and drop one off to a friend in need of a break from making dinner.

From Cooking Light (again, I know, I love their recipes) comes Tex Mex Lasagna.  Very few tweaks on my end- I use the frozen roasted corn (and don’t bother thawing it) and the no-boil noodles from Trader Joe’s.  Some of the recipe reviews call for using corn tortillas instead.  Maybe one day I’ll try that too.

Ingredients

  • 3/4 cup bottled salsa
  • 1 1/2 teaspoons ground cumin
  • 1 (14.5-ounce) can no salt-added diced tomatoes
  • 1 (8-ounce) can no salt-added tomato sauce
  • Cooking spray
  • 6 precooked lasagna noodles
  • 1 cup frozen whole-kernel corn, thawed
  • 1 (15-ounce) can black beans, rinsed and drained
  • 2 cups (8 ounces) pre-shredded reduced-fat 4-cheese Mexican blend cheese
  • 1/4 cup chopped green onions

Preparation

  1. Preheat oven to 450°.

    prep

    Lots of tasks for little hands.

  2. Combine first 4 ingredients; spread 2/3 cup sauce in bottom of an 8-inch square baking dish coated with cooking spray. Arrange 2 noodles over sauce; top with 1/2 cup corn and half of beans. Sprinkle with 1/2 cup cheese; top with 2/3 cup sauce. Repeat layers once; top with remaining 2 noodles. Spread remaining sauce over noodles. Sprinkle with remaining 1 cup cheese.
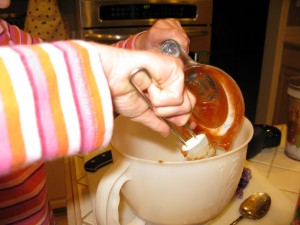
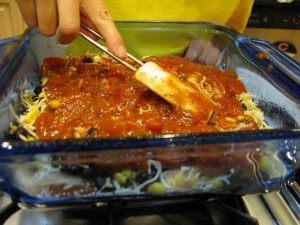
    spreading sauce

    Luke Skywalker here enjoyed wielding a spatula in place of the usual light saber.

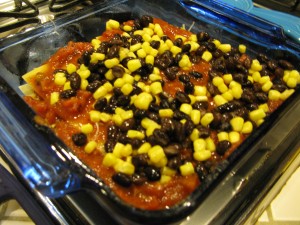
    layering lasagna

    Layering the lasagna correctly involves reading AND paying attention to the directions- good practice for a Jedi.

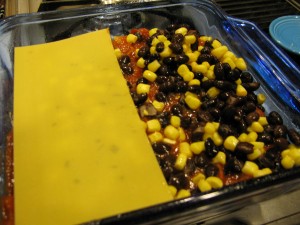
    no-boil noodles

    No-boil noodles are key to putting this together quickly.

  3. Cover and bake at 450° for 30 minutes or until noodles are tender and sauce is bubbly. Let stand 15 minutes. Sprinkle with onions.
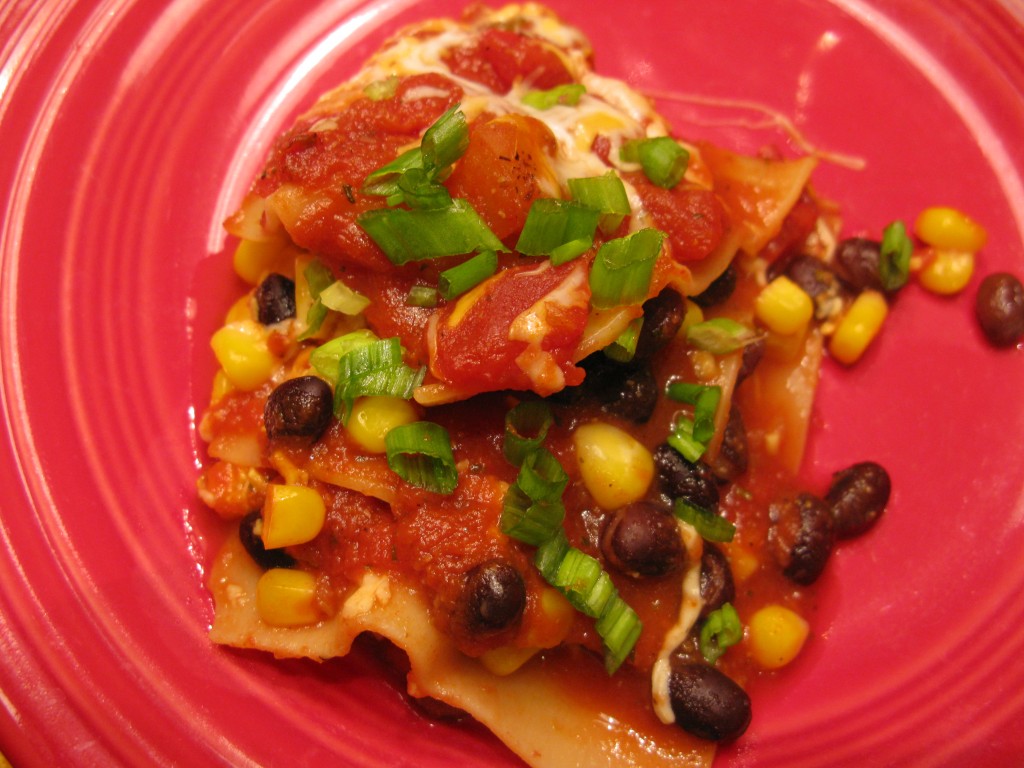
    tex mex lasagna

    Dinner in under an hour. You can also assemble it a day or so ahead and pop it in the oven to bake while you make a salad.

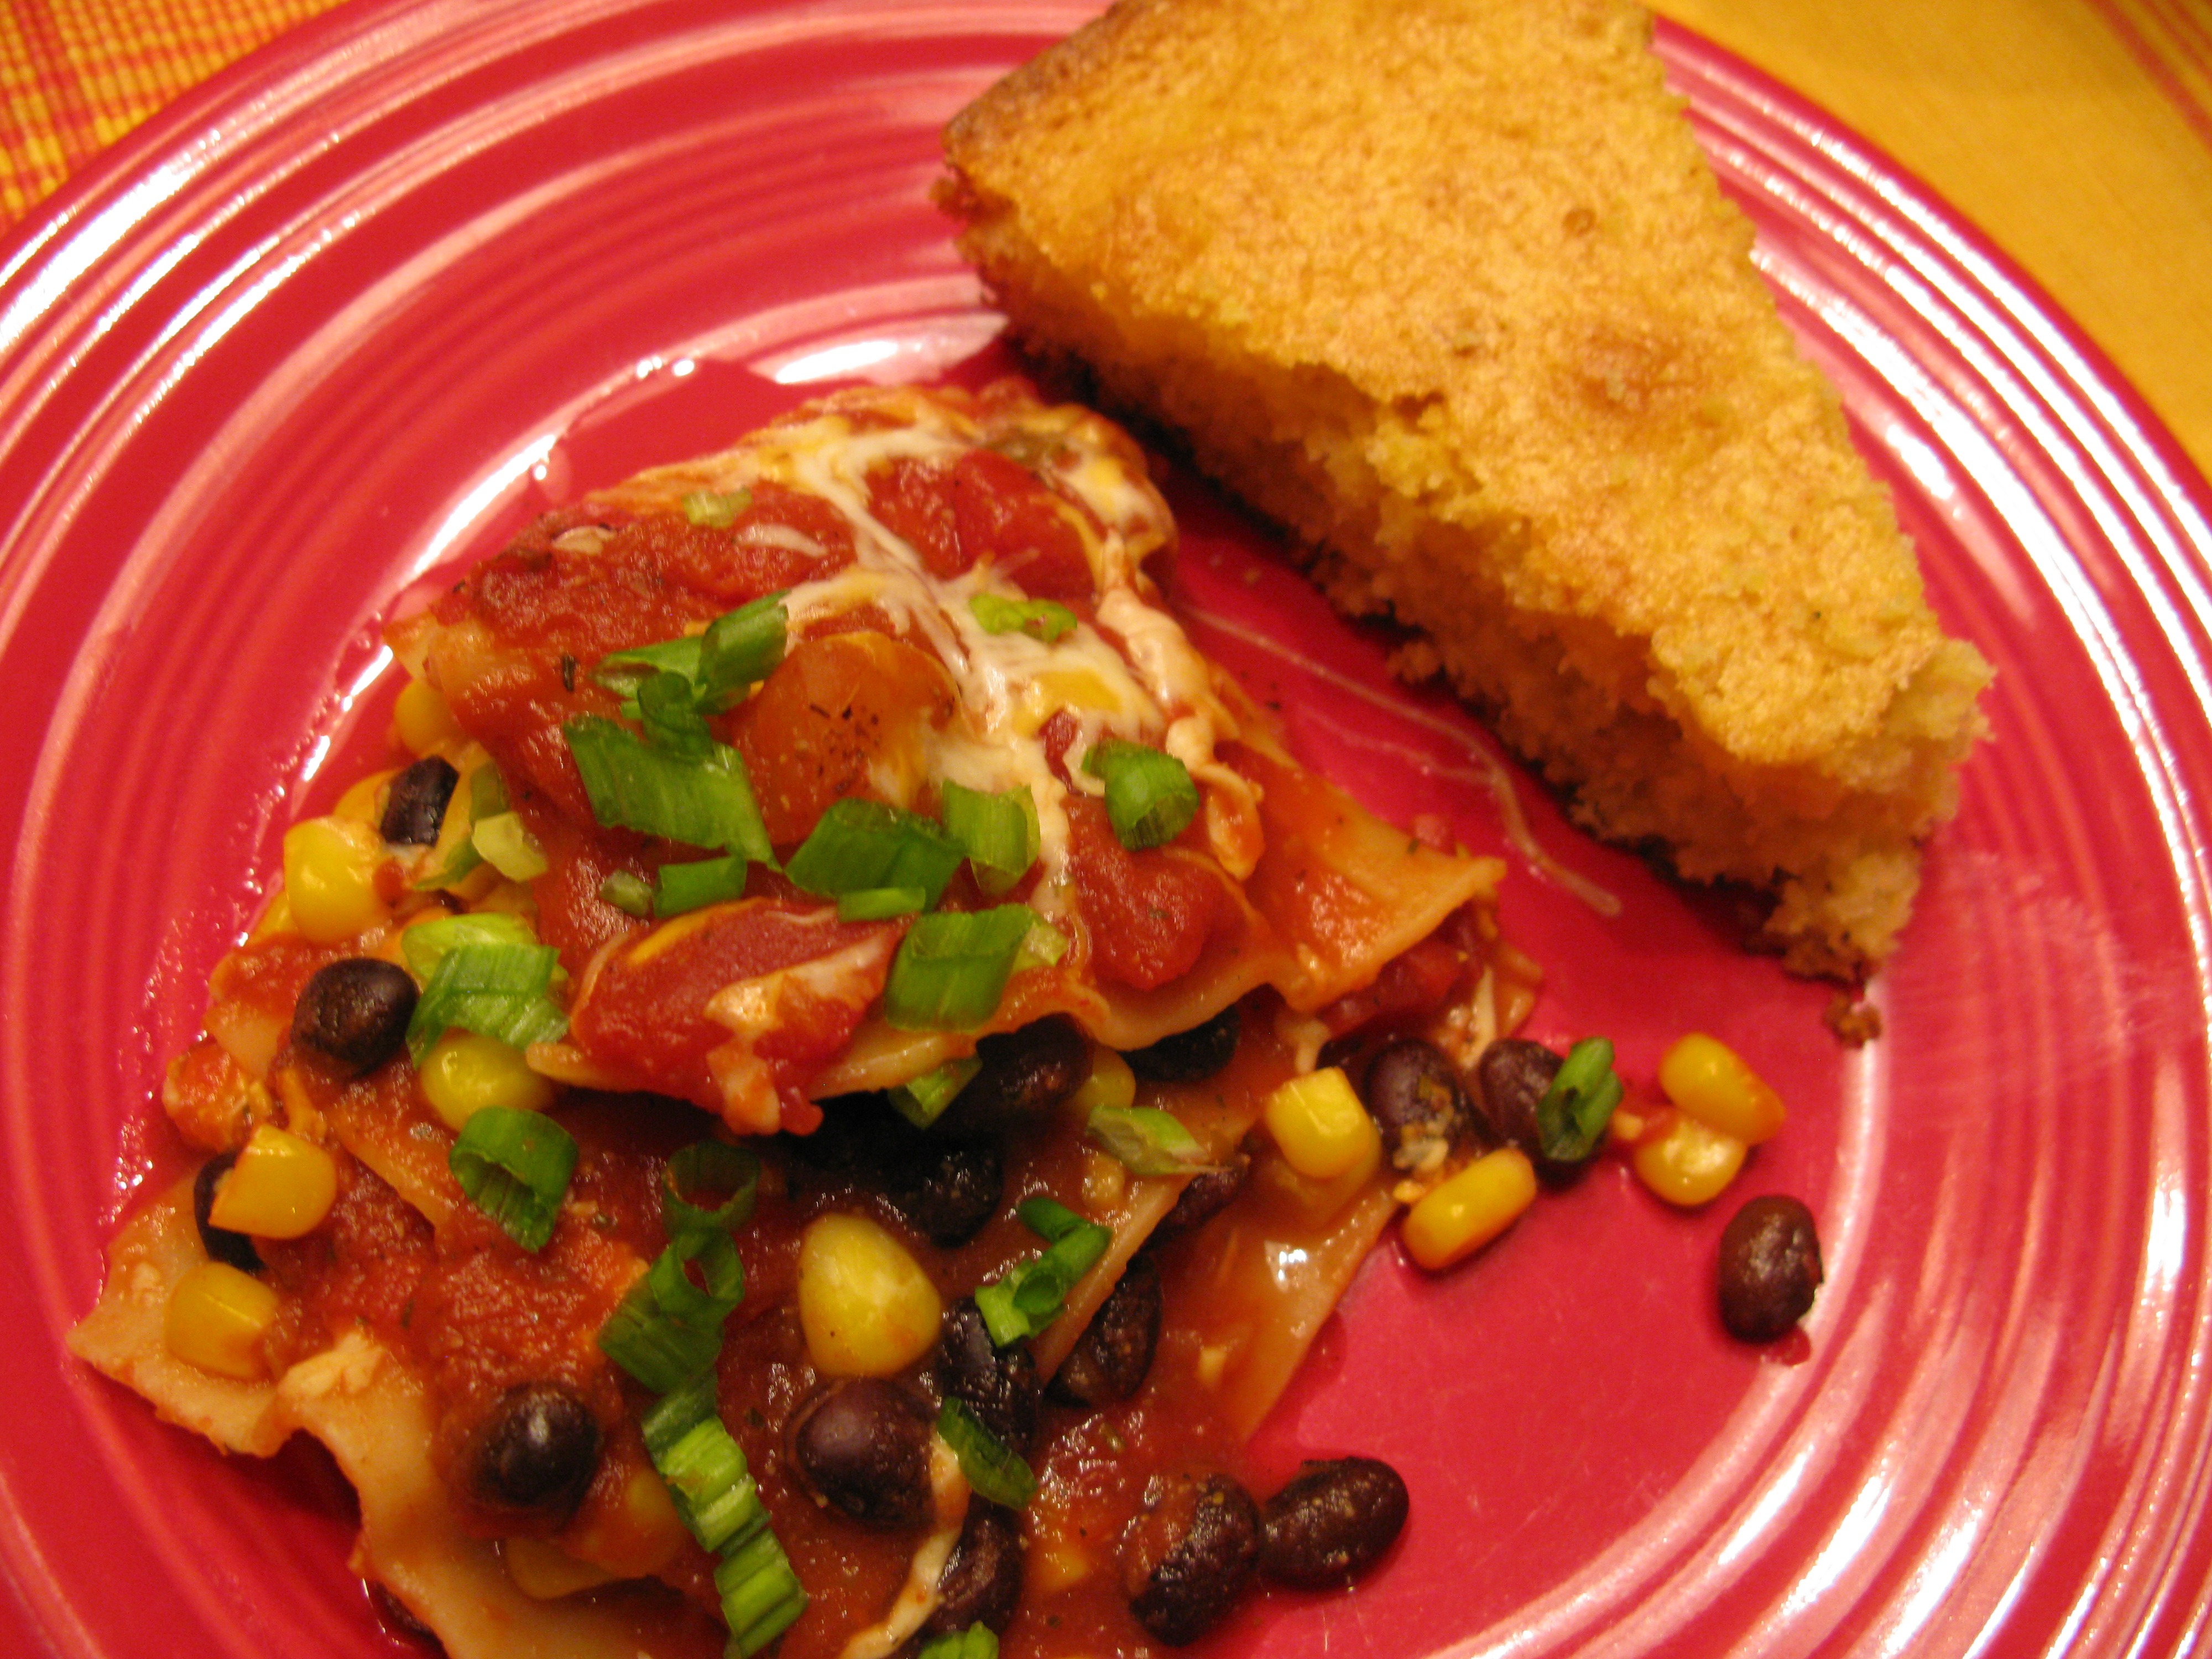
    tex mex lasagna

    Served with cornbread, Spanish rice and tortilla chips & guacamole. Leftovers are rare.


Pantry Re-Org

And the oldest item found in my pantry is:

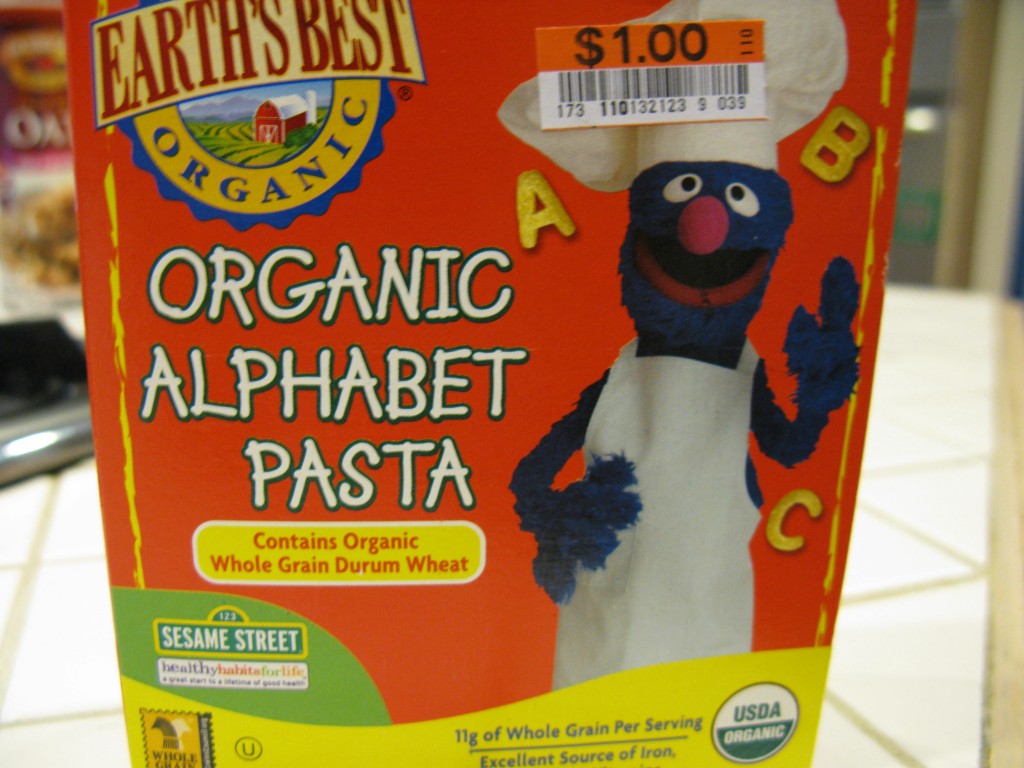
expired item

A box of alphabet pasta (most likely purchased at Big Lots!) that expired in 2009.

Up too early due to the time change combined with an article in the Seattle times conspired to motivate me to see if I really could reorganize my pantry in the time in took the rest of my family to watch the latest episode of the Clone Wars.

 

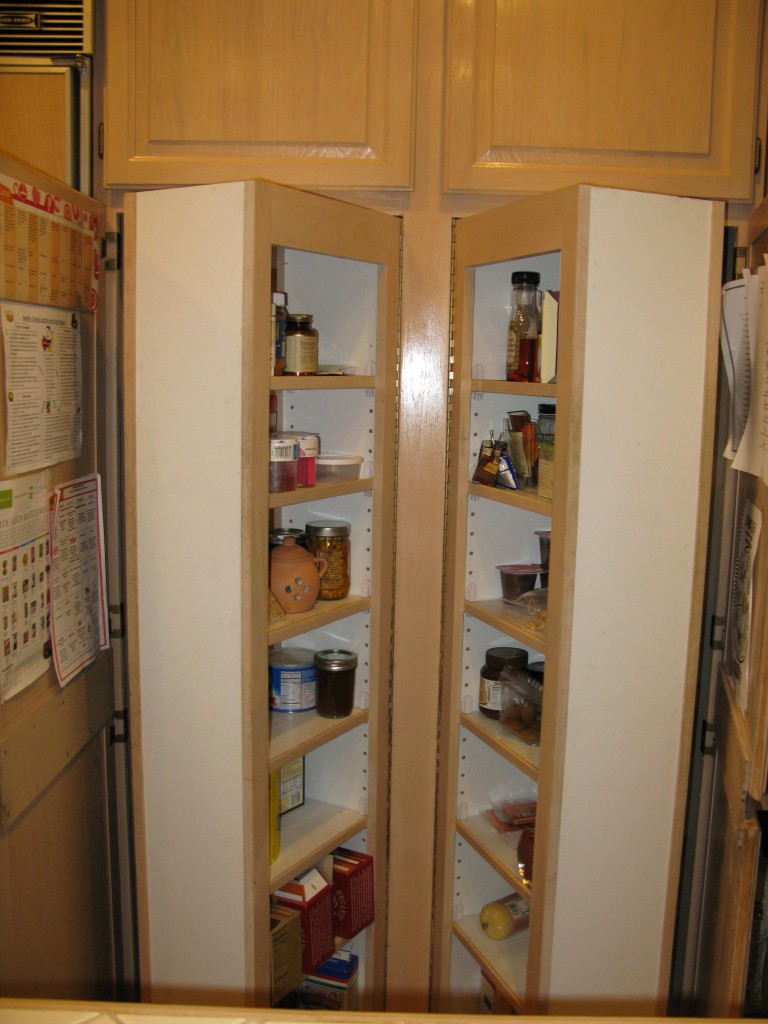
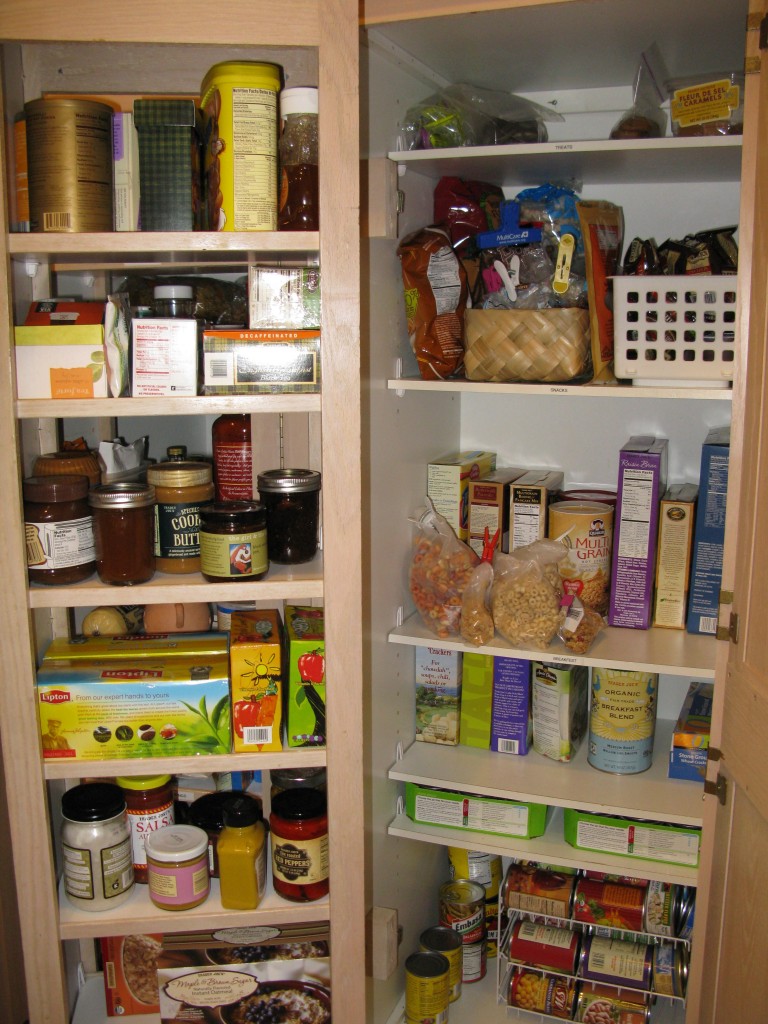
pantry view

I have these weird small shelves that swing out. They end up just being a repository for items that don’t fit anywhere else.

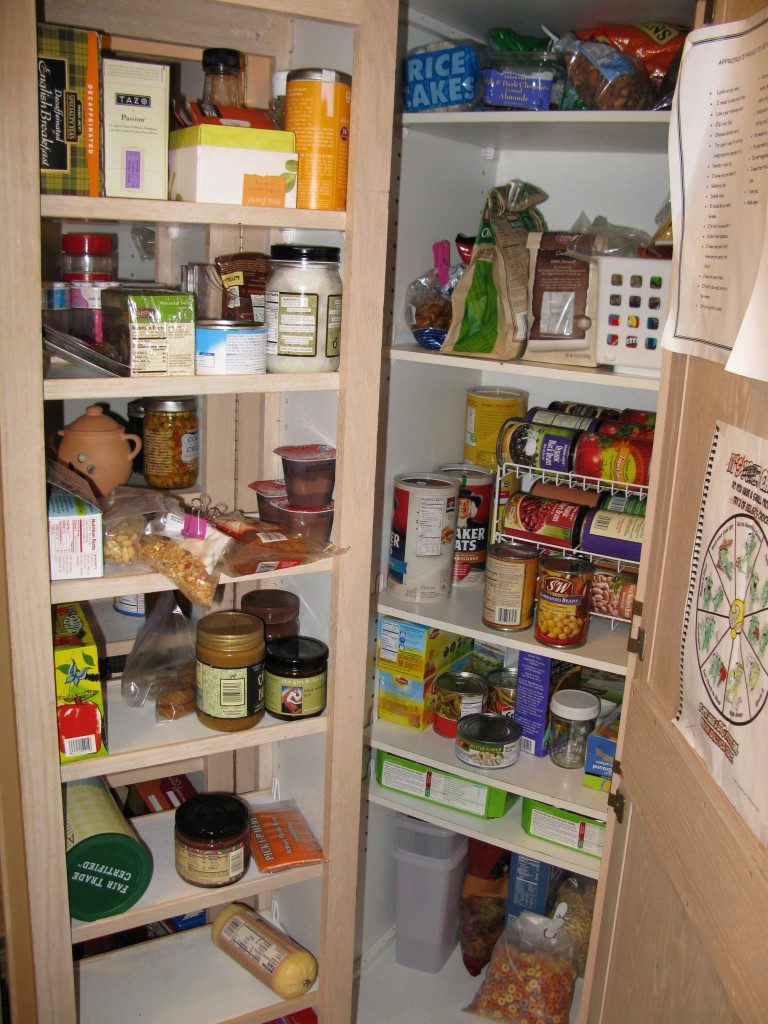
inner view

Some general arrangement, but way too haphazard.

other side view

Enough of the “before” pictures….. onto the AFTER!


From the Seattle Times article: Start with a clean slate

Begin by pulling everything out of the pantry and placing it all on the table or counter. As you work, glance at expiration dates and toss anything past its prime. Make a donation pile for unopened items you won’t realistically use or don’t want (such as random food gifts or baby food you no longer need). Once the pantry is completely cleared out, quickly wipe down shelves with a damp rag.

Total time: 10 minutes.
(IT REALLY DID ONLY TAKE ABOUT 10 MIN!)


Create zones

Rather than organizing items by container shape or size, group them by category to create easy-to-navigate zones. Using this approach, all breakfast foods (such as oatmeal, cereal, peanut butter, syrup, bread and bagels) are placed together on a shelf, as are snacks, pastas and grains, baking goods and canned goods. Do this as you’re emptying the pantry to give you a better idea of how much space you’ll need for each zone and to save time as you put things away in their new homes.
To keep shelves as tidy as possible, place products like cereals, pastas and grains in clear, airtight containers, preferably of the same shape to utilize space. This will prevent all those half empty boxes and bulk bags from piling up and allow you to easily see when your stock is getting low. Use baskets to corral individually wrapped items that are in the same zone, such as granola bars, fruit leather and applesauce cups (creating a snack basket for kids).

Remember to place the categories you most frequently use around shoulder level for easiest access. Items you rarely use or appliances that are stored in the pantry can be placed on the top or bottom shelf.

Total time: 30 minutes.


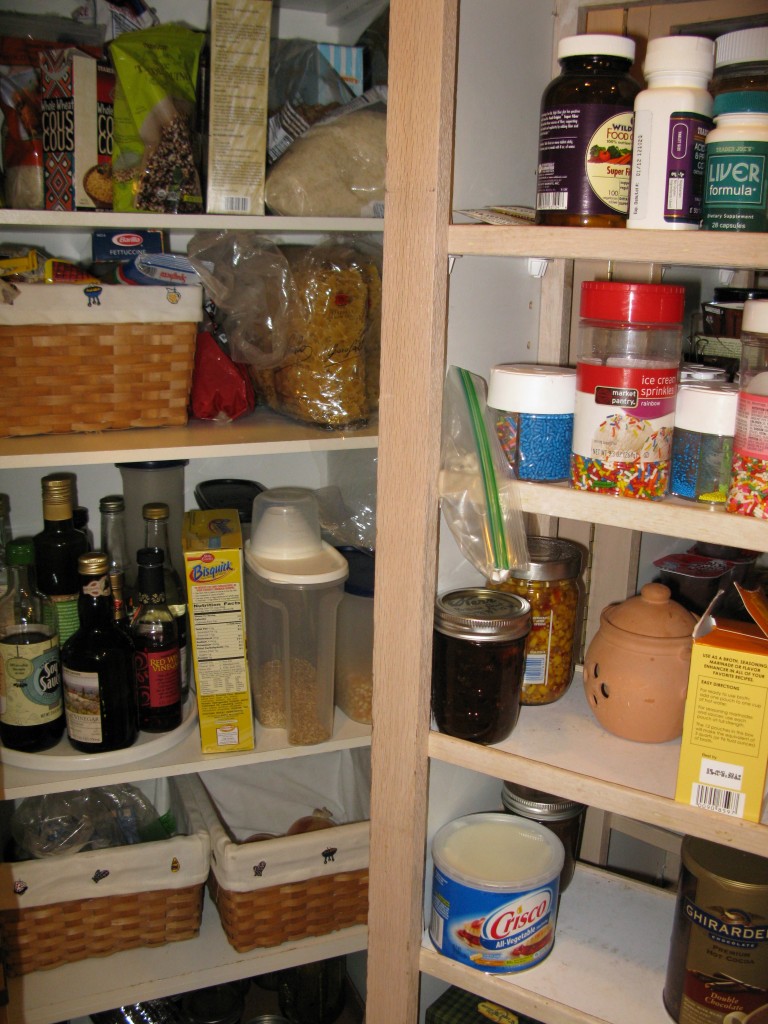
organized swing shelves

Yes, we do really have an entire shelf dedicated to sprinkles. Don’t get me started…

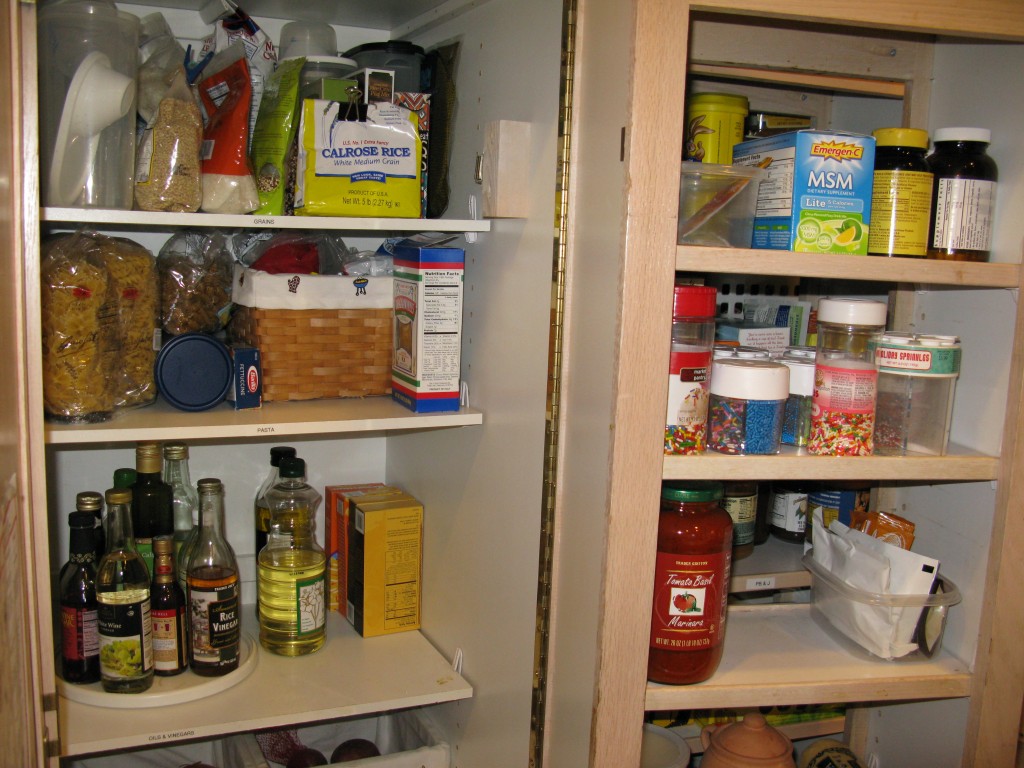
zones created

Categories created: Breakfast, Grains, Pasta, Canned Goods, Snacks, Treats.

left side

Cleaning it all out resulted in a lot more open space. Good thing, since I’m starting the shopping for Thanksgiving.

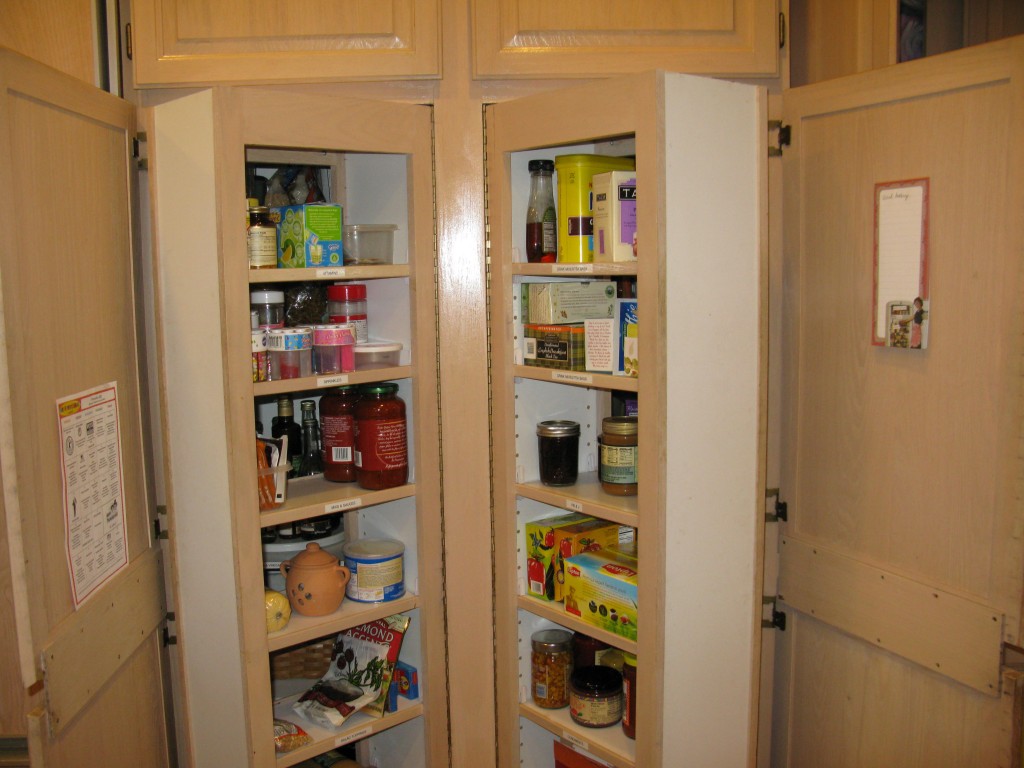
Label shelves

Once everything has found a home, print labels and place them on the front of each shelf. This is essential to keeping your pantry organized longer. (Other family members are more likely to put the cereal back on the correct shelf if it’s labeled as such. Make it easy for them and protect your hard work.)

Total time: 5 minutes.

My fourth-grader loved using the P-Touch to label shelves.  NOTE TO SELF- check kid’s spelling BEFORE letting him apply the labels to shelves.

Now to summon the nerve to tackle the cupboards where I store my baking supplies….


Mini Pizzas for Everyone!

In full accordance with the “Meanest Mom Ever” title I hold proudly, I do not make a separate meal for the kid who suddenly doesn’t like what we’re having for dinner.  I do try though to make meals that are modular so the kid that doesn’t like red sauce can have pesto and the kid that likes pineapple doesn’t impose it on the one that claims not to like it (though I suspect he’s never actually tried it).  Mini pizzas are a great way to satisfy everyone, especially when hosting other kids for a sleepover.  Plus, kids are much more inclined to eat something they made (shhhhh don’t tell them!)

My basic pizza dough recipe is adapted from Cooking Light’s All-Purpose Pizza Dough recipe (which is fine on it’s own, but of course I have tweaked it!)

Ingredients

  • 1 package dry yeast (about 2 1/4 teaspoons)
  • 1 1/4 cups warm water (100° to 110°)
  • 3 cups (360 grams) flour* (plus additional for dusting the rolling surface)
  • 1/2 teaspoon salt
  • 1 TBSP honey
  • 2 TBSP olive oil
  • Cooking spray

* the recipe calls for all-purpose.  I use white-wheat or half AP and half whole wheat.

Preparation

  1. Dissolve yeast and honey in warm water in a large bowl, and let stand 5 minutes. Lightly spoon flour into dry measuring cups, and level with a knife (or weigh). Add 1 cup flour, salt and olive oil to yeast mixture, and stir well. Stir in 2 cups flour, 1 cup at a time, stirring well after each addition. Turn the dough out onto a floured surface. Knead until smooth and elastic (about 10 minutes), and add enough flour, 1 tablespoon at a time, to prevent the dough from sticking to hands (dough will feel tacky).  (DISCLOSURE: Once the yeast has proofed, I dump everything into my stand mixer, turn in on, walk away, check facebook and when I come back it’s pizza dough.  You can also skip this step entirely and buy pre-made dough at Trader Joe’s for 99 cents.  I will not judge you).
  2. Place the dough in a large bowl coated with cooking spray, turning to coat top. Cover and let rise in a warm place (85°), free from drafts, 1 hour or until doubled in size. (Press two fingers into dough. If an indentation remains, the dough has risen enough.) Punch dough down; cover and let rest 5 minutes.
  3. Heat oven to 450 degrees (if you have a baking or pizza stone, put it into the oven to heat up).

Now for the fun part!

dividing the dough

One recipe above makes enough dough to make four adult-sized-servings. Sometimes I get obsessive and weigh them to make sure they’re equal (and will cook at the same rate). With kids, I make smaller portions.

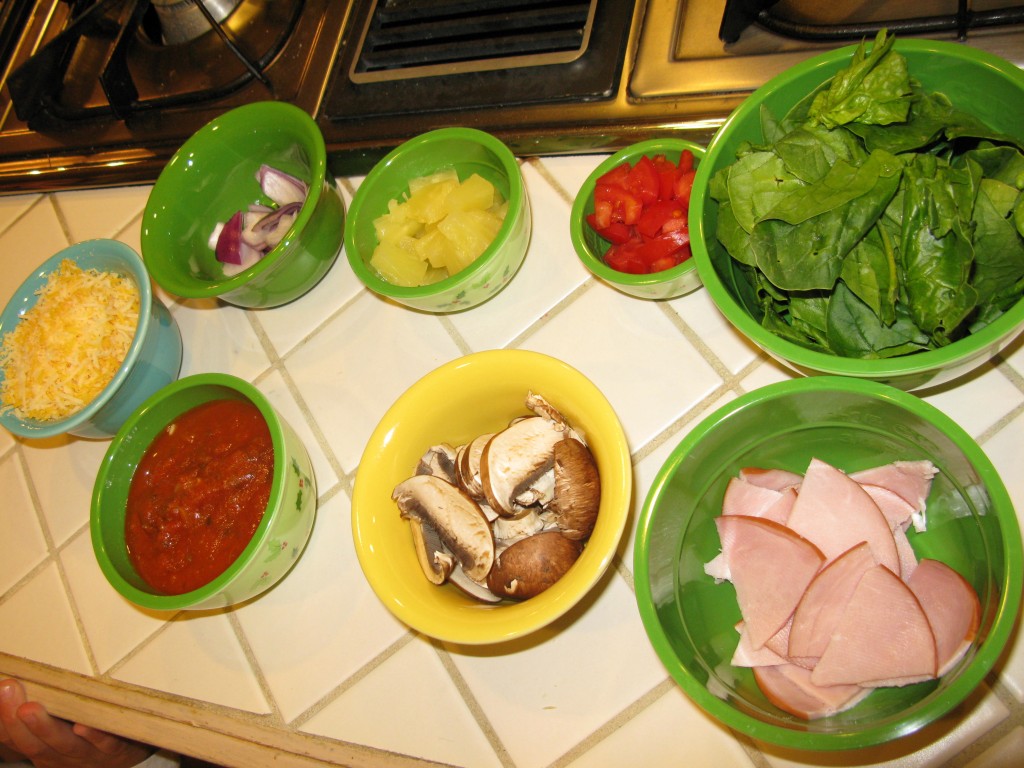
topping bar

Lots of different topping allow for the pickiest of eaters to be happy.


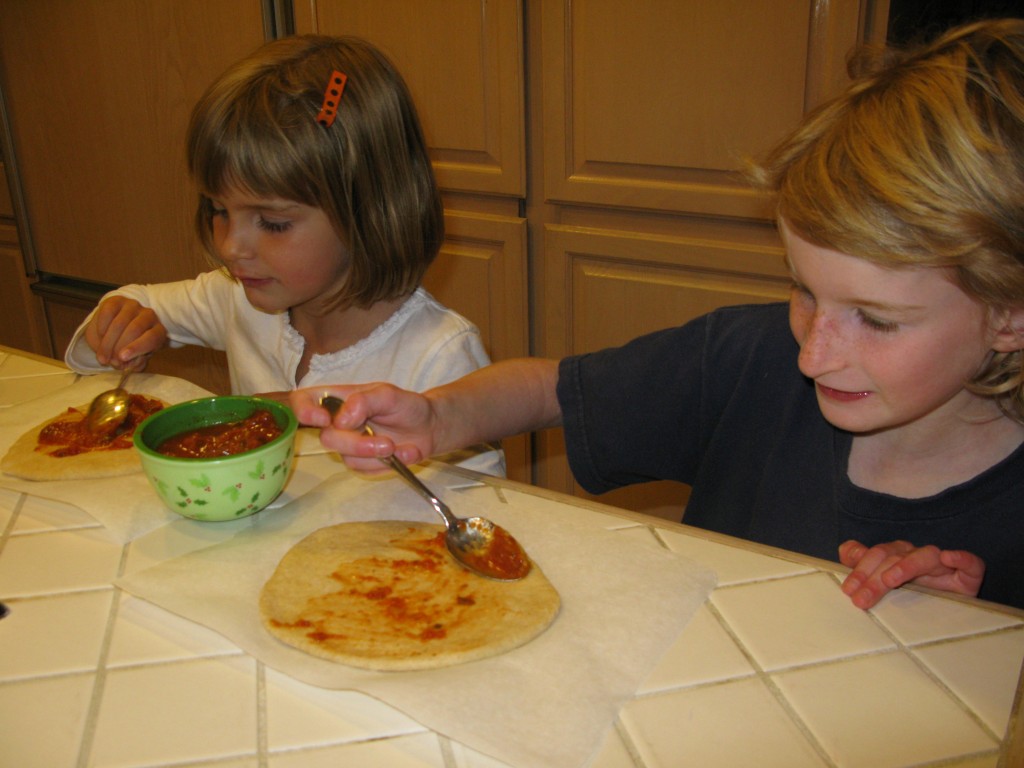
topping their pizzas

Kids really like to roll out and shape their own dough.

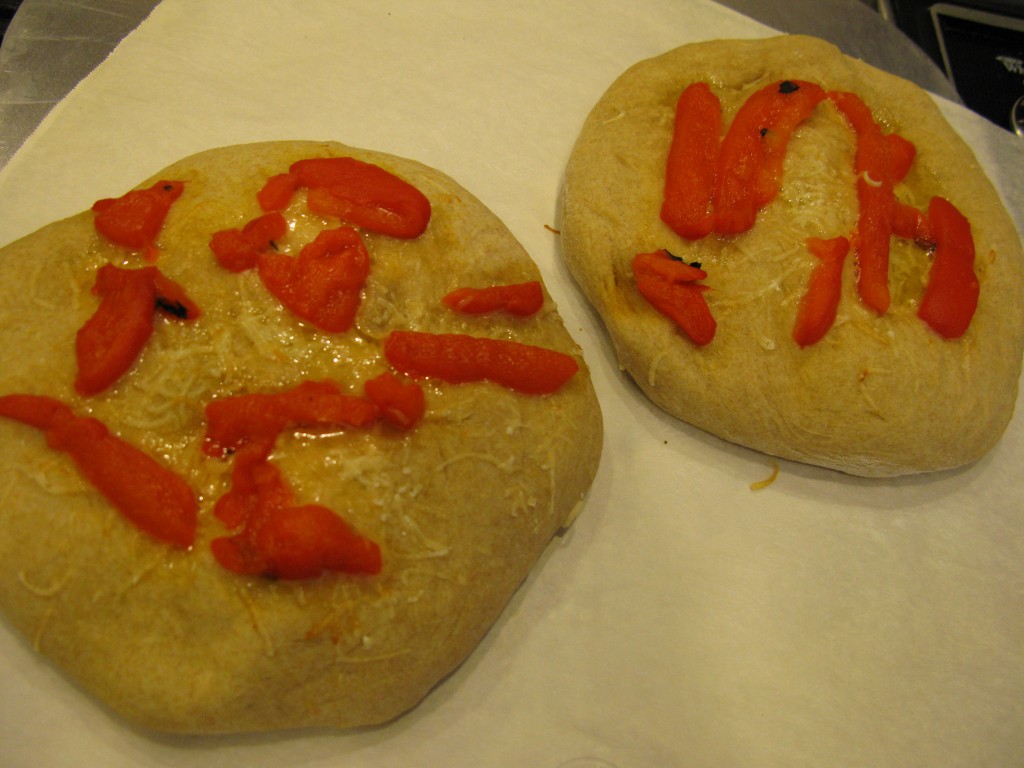
par-baked

I like to top mine with parm cheese and brush with olive oil (a few lonely roasted red peppers I found in a jar in the fridge also made their way onto the crust).


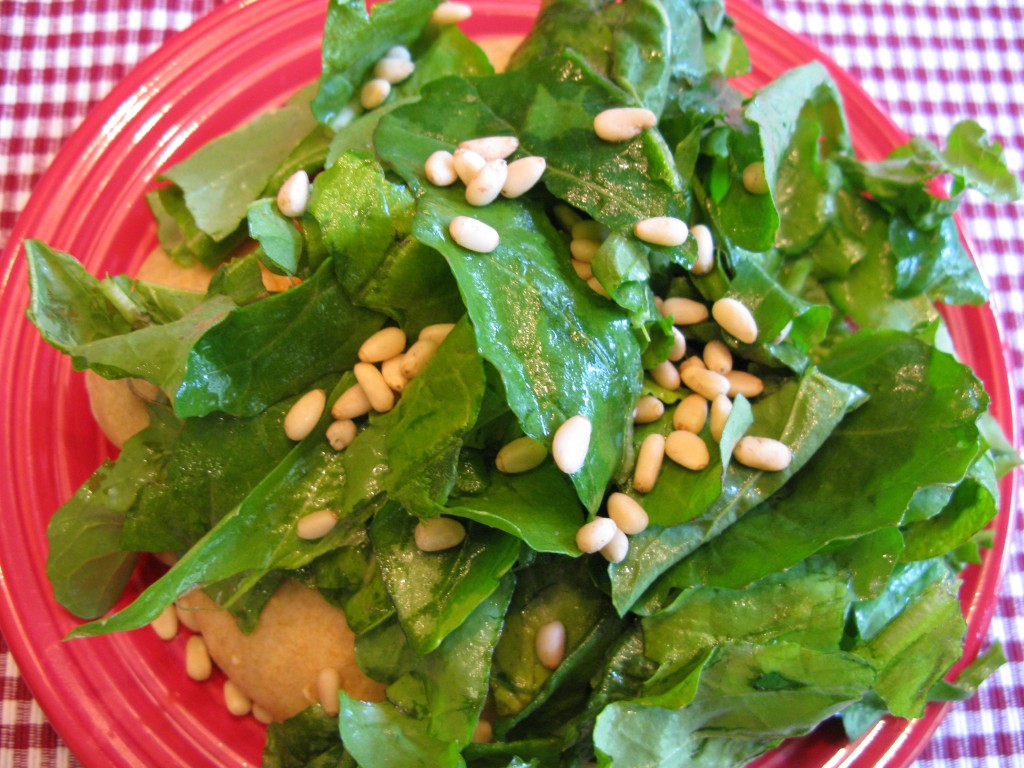
topped with salad

Once the crust is baked, I top it with arugula tossed with olive oil and lemon juice, then sprinkle on pine nuts (and pomegranate seeds if I have them).

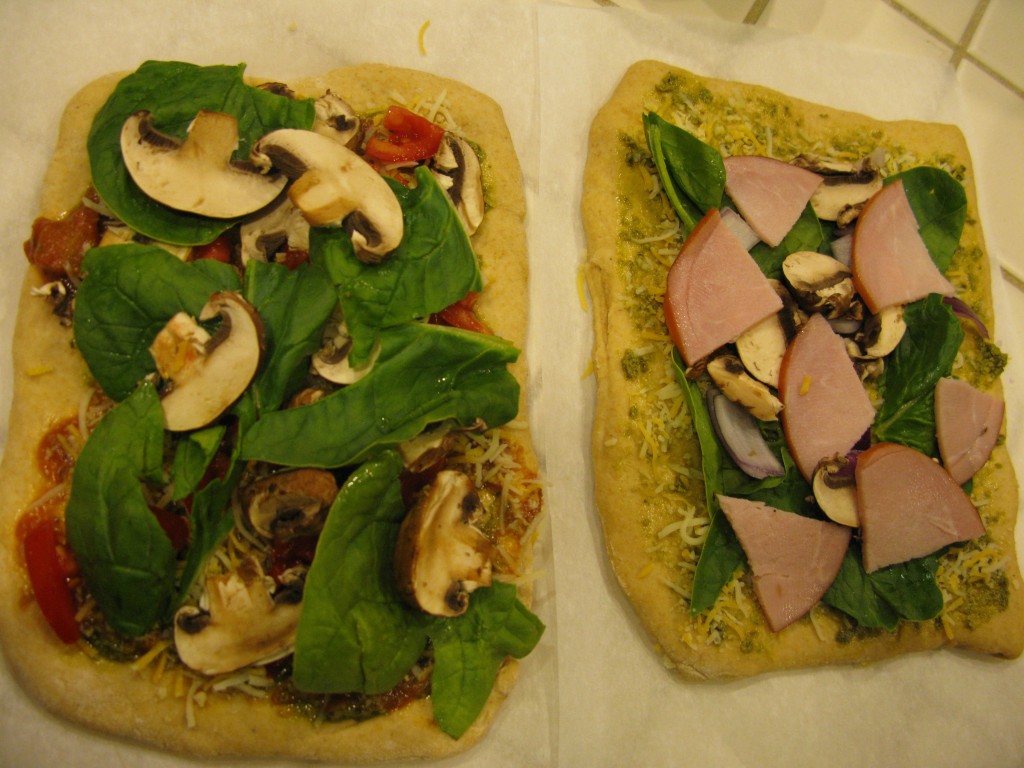
mini pizzas

Your possibilities are endless.

4.  I roll out and shape the pizzas on parchment paper (which CostCo now carries!).  Once topped, use a pizza peel if you have one to slide onto the heated baking stone (keep pizzas on paper).  If you don’t, bake on a cookie sheet on parchment paper or covered with foil and sprinkled with cornmeal.  Check the bottom of the crust to make sure it’s not burning.

5.  Bake at 450 for about 8 minutes.  Cooking time will vary based on your own oven, size of pizza and cookie sheet vs baking stone.

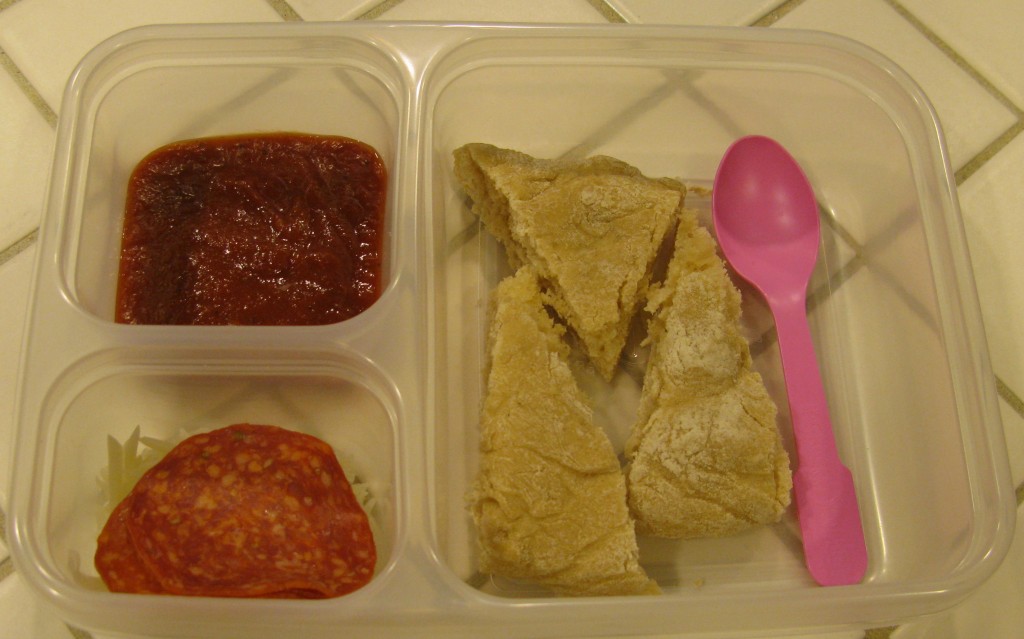
homemade lunchable

Extra dough? Bake up a few plain crusts and use to make your own version of Pizza Lunchables.


Mini Pot Pies

1) Use up stuff in the fridge.

2) Goes together quickly.

3) Kids actually excited to help AND eat.

Score!!!!

This ingenious recipe from Kiwi Magazine uses egg roll wrappers instead of crust, saving both time and calories.  I make it even quicker by saving a few cooked chicken breasts in the fridge from a previous night’s dinner and skip the chicken cooking step.

Active time: 40 minutes

CHICKEN POTPIE BUNDLES

Ingredients

  • 2 1/2 tablespoon extra virgin olive oil, divided
  • 2 medium carrots, peeled and cut into 1/4-inch pieces (about 1 cup)
  • 1 small onion, finely chopped (about 1/2 cup)
  • 2 cloves garlic, minced
  • 1 pound boneless, skinless chicken breast halves, cut into 1/2-inch pieces
  • 2 teaspoon chopped fresh tarragon
  • 1/2 teaspoon kosher salt
  • Pinch of black pepper
  • 1 cup all natural chicken broth
  • 4 teaspoon cornstarch
  • 3/4 cup frozen petite peas, thawed
  • 3/4 cup frozen corn kernels, thawed
  • 2 tablespoon grated Parmesan
  • 12 egg-roll wrappers

Directions

  1. Preheat oven to 350°F.
  2. Heat 1 tablespoon of olive oil in large nonstick skillet over medium-high heat. Add carrots and onion and cook, stirring frequently, until they soften, about 5 minutes.
  3. Add second tablespoon of olive oil and garlic, and cook 1 minute more.

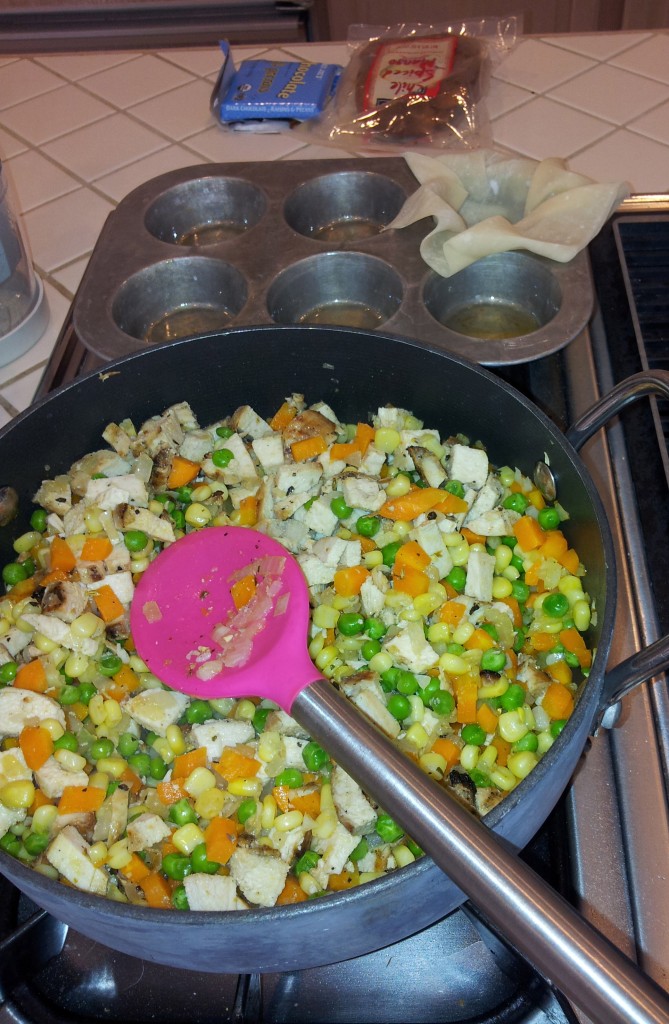
    mire poix

    If someone in your house eats one of the chicken breasts you had planned to use in this recipe, some chopped steamed potato works well too. (Yes, the chili covered mango and dark chocolate is an essential snack while making dinner).

  4. Add chicken, tarragon, salt and pepper. Cook until chicken is no longer pink, about 5 minutes.
  5. In a bowl, whisk chicken broth and cornstarch until well combined. Add to skillet, along with peas and corn, and bring to a simmer, stirring constantly. Continue to simmer and stir gently until the sauce thickens, about 2 minutes.
  6. To prepare the bundles, use a nonstick muffin pan with 12 medium-size cups. Gently place 1 egg-roll wrapper into each cup, letting it extend over the sides.
  7. Place a generous 1/4 cup of the chicken mixture into each wrapper.

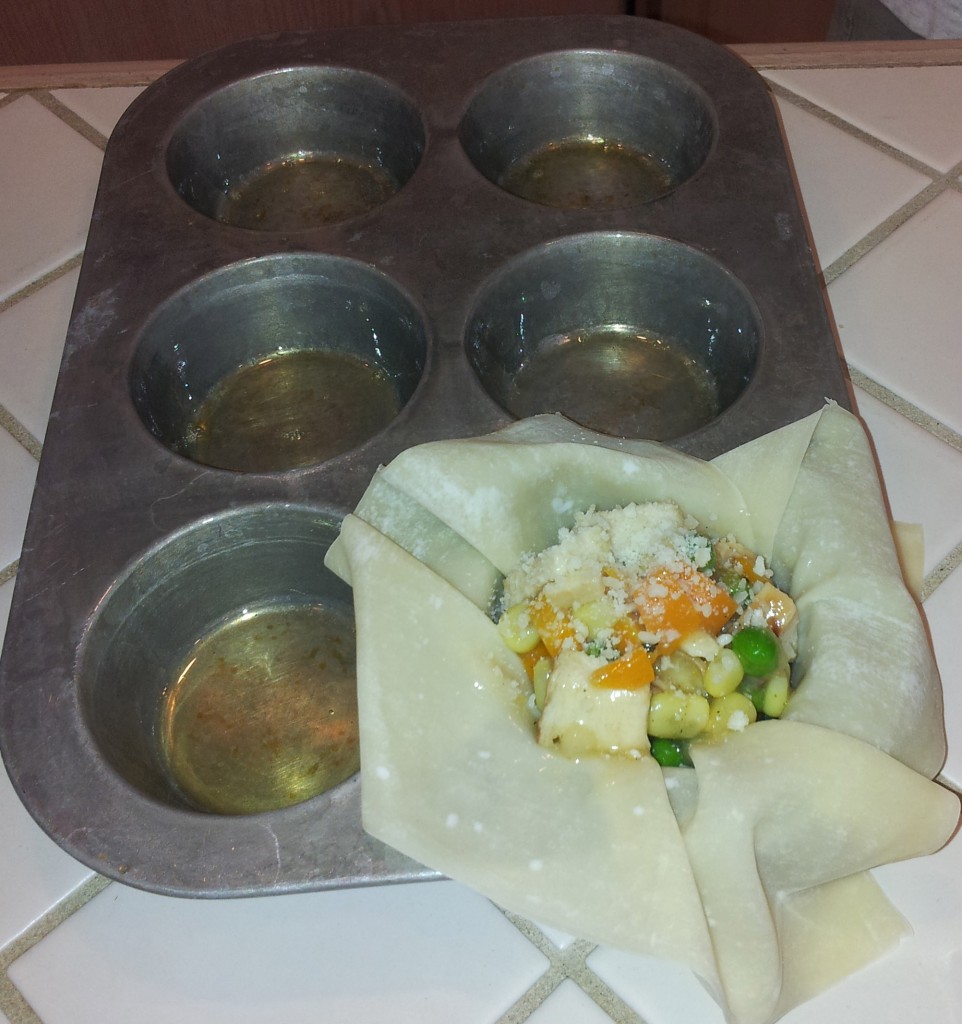
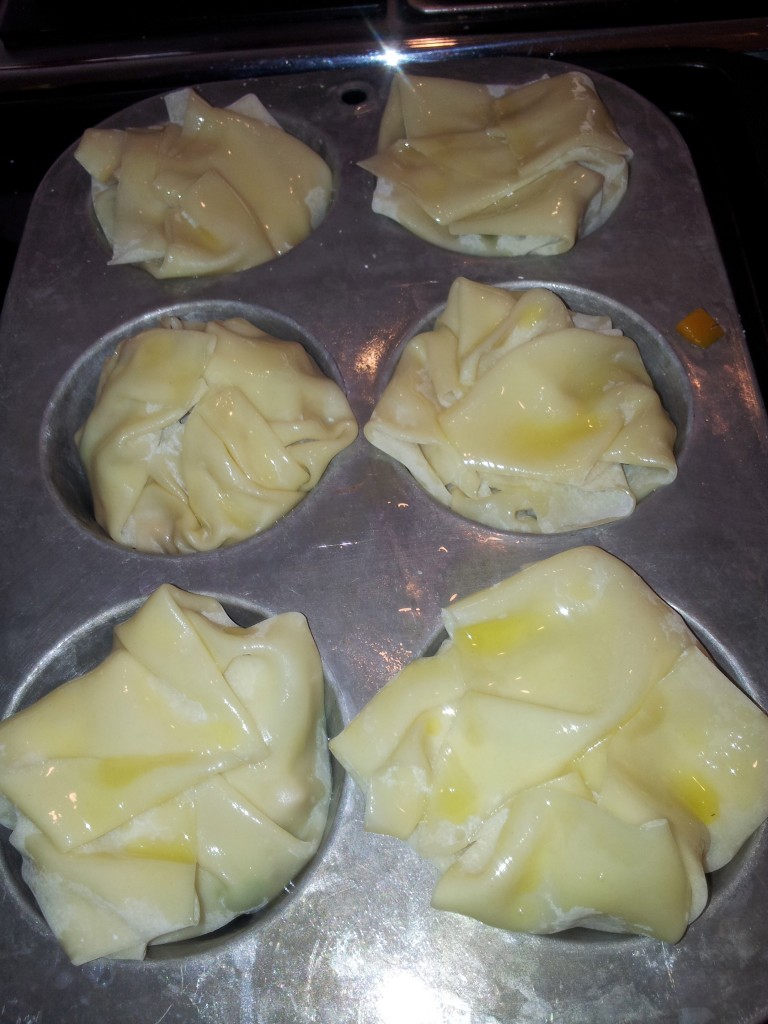
    egg roll wrapper with filling

    Fill, top with parm cheese, then twist closed.

  8. Sprinkle Parmesan evenly on top.
  9. Bring the corners up and over the top of the filling, pressing and folding to seal the edges together (it doesn’t have to be perfect!).

    ready for the oven

    Ready for the oven.

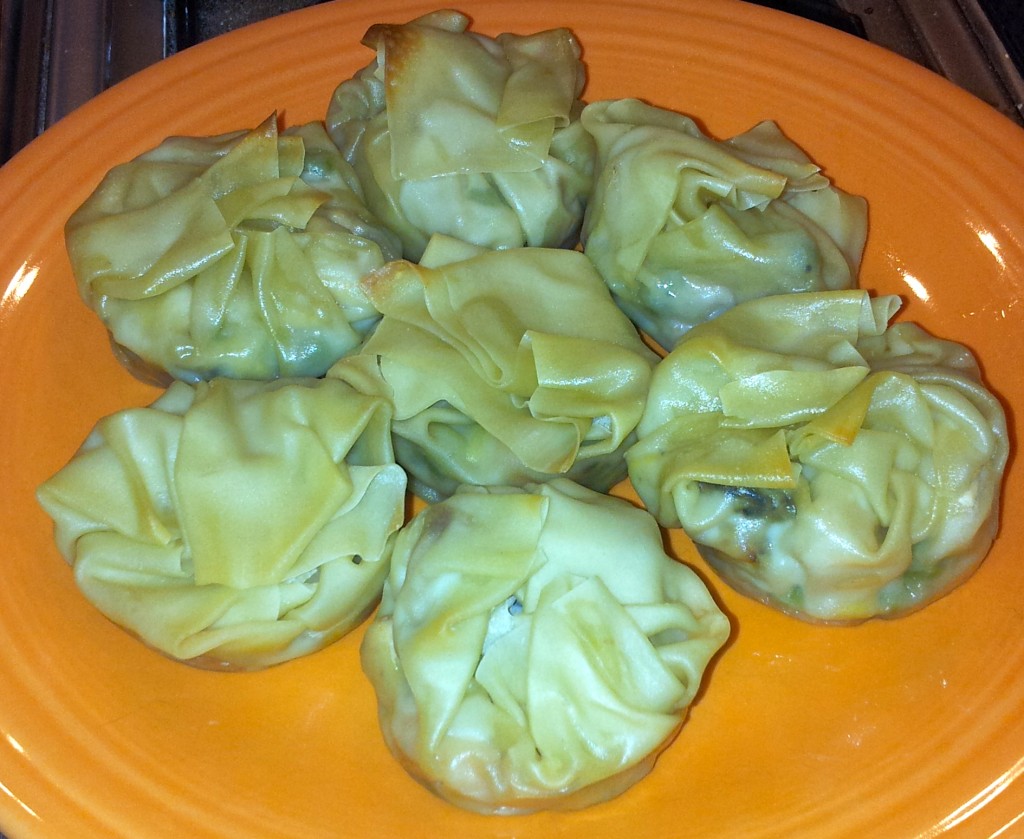
  10. Brush the remaining oil on top of each bundle. Bake until golden, about 15 minutes. Let cool 5 to 10 minutes before serving.

    finished pies

    These are a HUGE hit in my house. Whatever is left over from dinner goes to school in lunches the next day or is gobbled up as an after school snack.

Serves 6Per serving (2 bundles): calories 380, fat 9g, protein 24g, carbohydrate 48g, fiber 4g, sodium 650mg

Chicago Style Deep Dish Pizza

GreasyCamera has kindly asked that I share some information about a subject near and dear to my heart: Chicago Style Deep Dish Pizza. I posted last night’s dinner on FB (in honor of the game). Which Da Bears won, I might add!

DISCLAIMER: I am not writing about this pizza to say it’s better than any other pizza out there. This not a a Pizza War post… I promise! I like lots of different pizzas, lots of styles of crust, sauce and ingredients. That said….

My Key Points:
Crust – the recipe should be specific to Chicago style (deep dish) and preferably with corn meal. If gives the extra body you need for all the toppings and a great crunch.
Sauce: I make a crushed tomato sauce from scratch.
Cheese: Shred/slice it yourself. The pre-shredded garbage has added junk to keep the cheese from clumping.
Toppings: fresh, sweet Italian sausage and sauteed mushrooms are my favs.
Assembly (in this order): oiled, cast iron pan dusted with corn meal, dough, cheese toppings, sauce, fresh grated Parmesan or Romano. Bake until bubbly and the crust is browned.

I am slowly working my way though one of my new favorite cookbooks: American Pie, My Search for the Perfect Pizza by Peter Reinhart. Amazing book, amazing baker, amazing teacher. I have been using these recipes for a while now and they are dang near fool-proof! Here is last night’s slice, with a little extra grated Romano cheese added.