About Wendy

Mother of two living in the beautiful Pacific NorthWest, spending way too much time thinking about food.

Fine, I’ll just do it myself…..

Churros are a great disappointment in my life.  They are the culinary equivalent of a false promise, never living up to the hype of the smell.  Churro-scented air is amazing. The actual article, not so much.  According to people who know churros, the solution is 2,000 miles and a border crossing away.  Pass.  I’ll just do it myself.

Thanks to Pintrest-trolling friends (yes, I’m looking at you Clare), the solution to my churro craving is only 24 hours and 1 1/4 cups of sugar away.

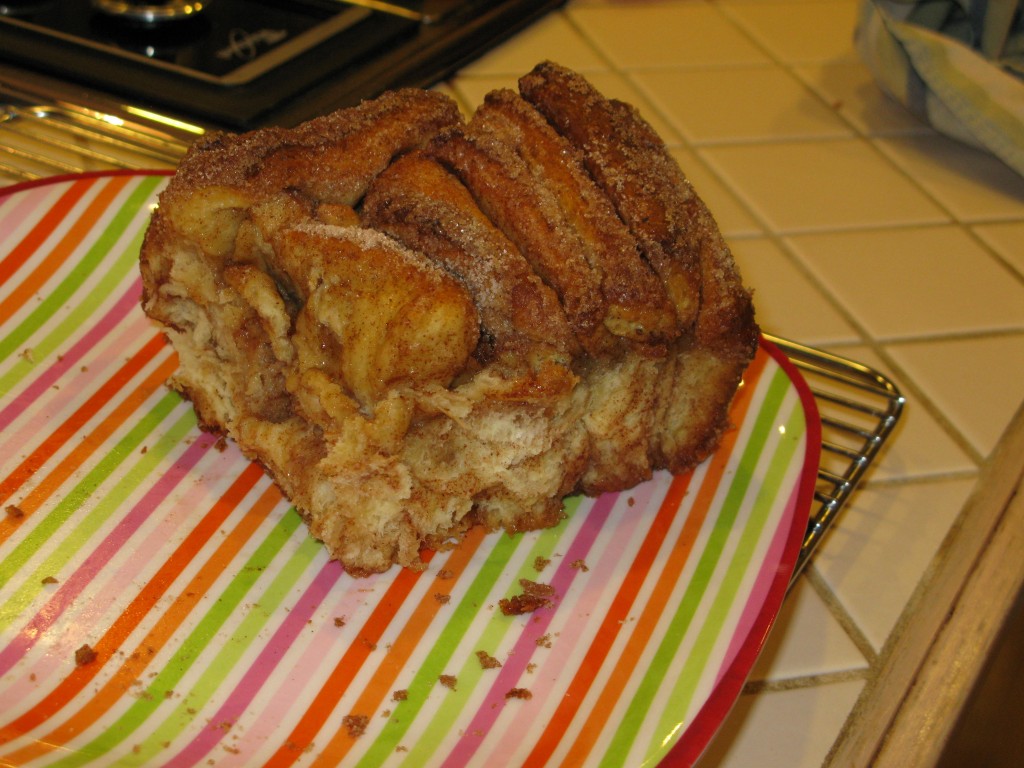
Cinnamon Sugar Pull-Apart Bread by DelishHH

Adapted from: Joy The Baker

Yields: one 9x5x3-inch loaf | Prep Time: 2 hours | Bake Time: 35 minutes


For the Dough:
2 3/4 cups plus 2 tbsp all-purpose flour
1/4 cup granulated sugar
2 1/4 tsp (1 envelope) active dry yeast
1/2 tsp salt
2 oz unsalted butter
1/3 cup whole milk
1/4 cup water
2 large eggs, at room temperature
1 tsp pure vanilla extract

For the Filling:
1 cup granulated sugar
2 tsp ground cinnamon
1/2 tsp fresh ground nutmeg
2 oz unsalted butter, melted until browned

In a large mixing bowl whisk together 2 cups flour, sugar, yeast, and salt.  Set aside.

Whisk together eggs and set aside.

In a small saucepan, melt together milk and butter until butter has just melted.  Remove from the heat and add water and vanilla extract.  Let mixture stand for a minute or two, or until the mixture registers 115 to 125 degrees F.

Pour the milk mixture into the dry ingredients and mix with a spatula.  Add the eggs and stir the mixture until the eggs are incorporated into the batter.  The eggs will feel soupy and it’ll seem like the dough and the eggs are never going to come together.  Keep stirring.  Add the remaining 3/4 cup of flour and stir with the spatula for about 2 minutes.  The mixture will be sticky.  That’s just right.

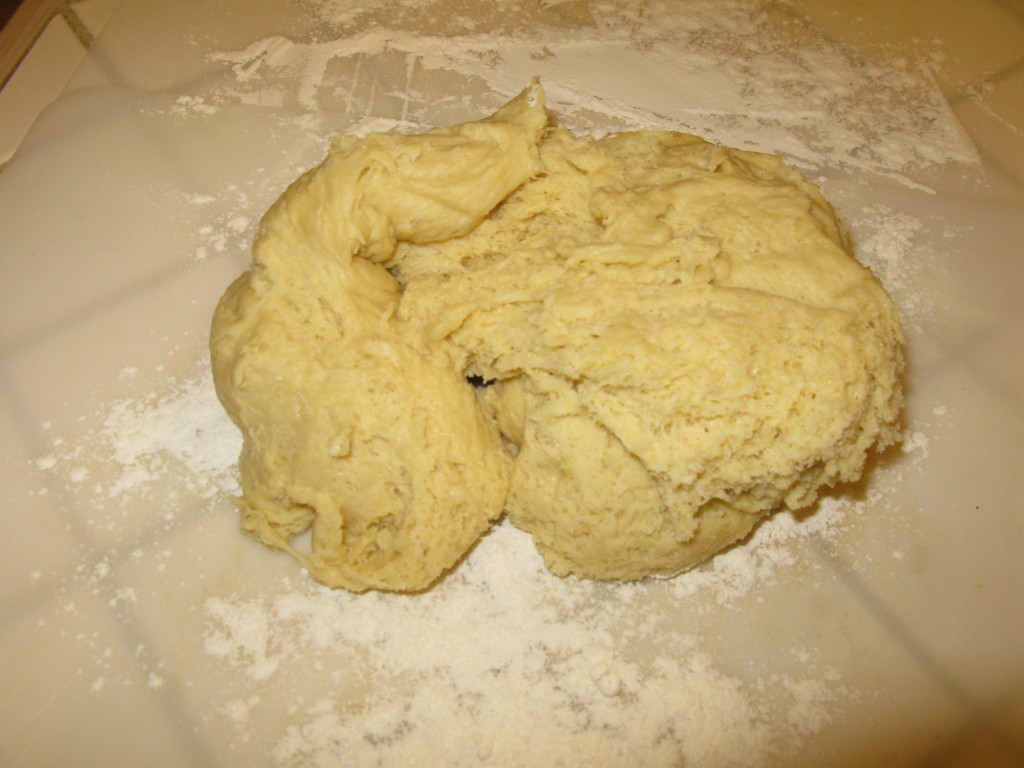
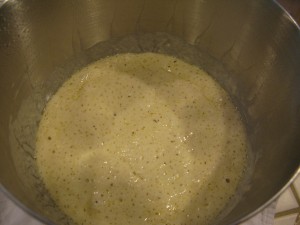
churro dough

Dough mixed, ready for a slow rise in the fridge overnight. The slow fermentation overnight creates more flavor in the dough.

Place the dough is a large, greased bowl.  Cover with a clean kitchen towel.  Place in a warm space and allow to rest until doubled in size, about 1 hour.  Note: The dough can be risen until doubled in size, then refrigerated overnight for use in the morning.  If you’re using this method, just let the dough rest on the counter for 30 minutes before following the roll-out directions below.

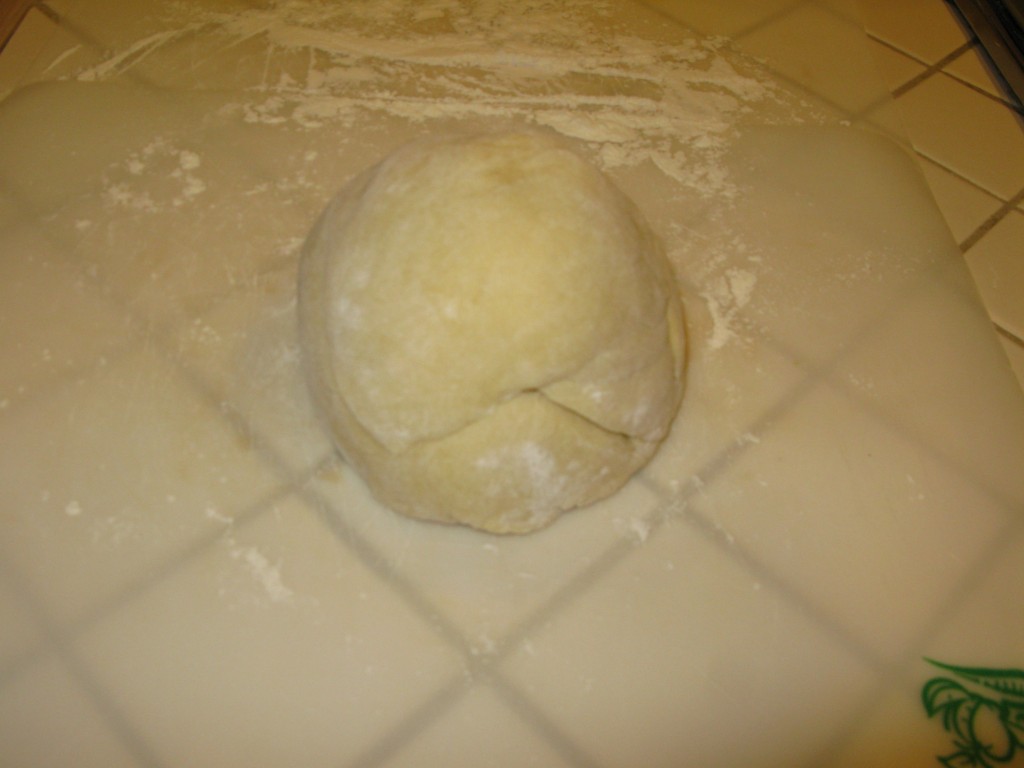
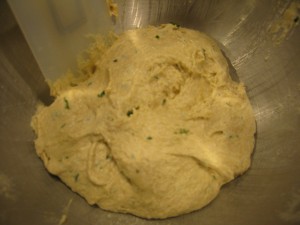
morning dough

After a slow rise in the fridge, ready to be rolled out.

While the dough rises, whisk together the sugar, cinnamon and nutmeg for the filling.  Set aside.  Melt 2 ounces of butter until browned.  Set aside.  Grease and flour a 9x5x3-inch loaf pan.  Set that aside too.

dough rolled out

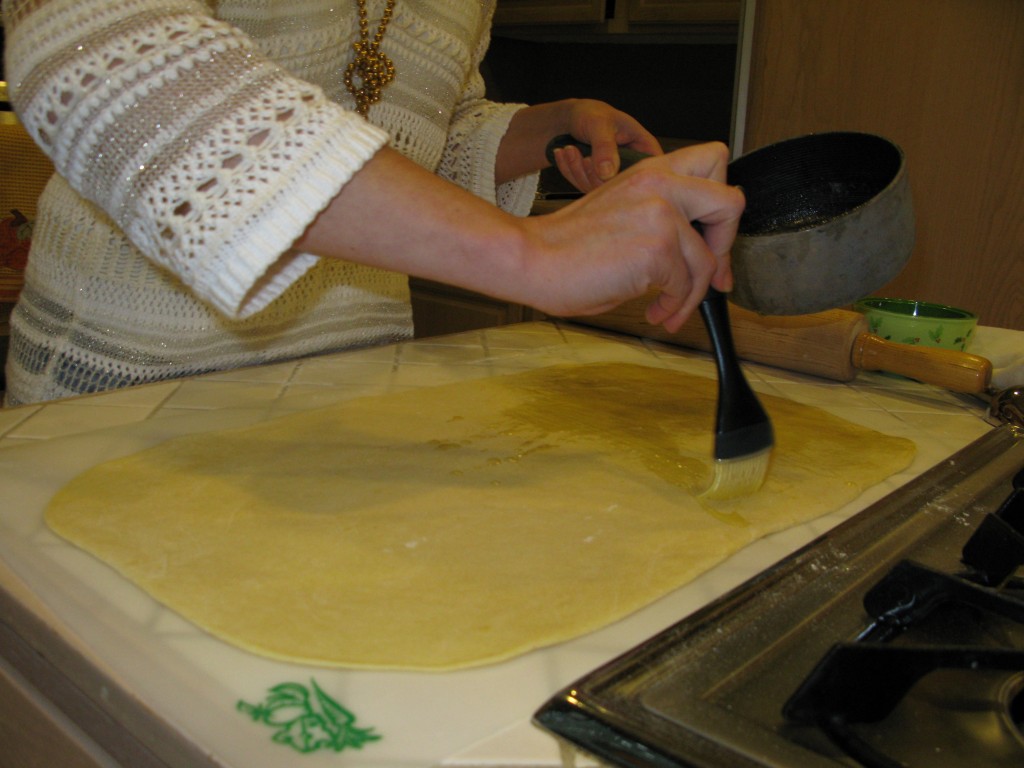
Use a pastry or basting brush to coat the dough with melted butter.

Deflate the risen dough and knead about 2 tablespoons of flour into the dough.  Cover with a clean kitchen towel and let rest for 5 minutes.  On a lightly floured work surface, use a rolling pin to roll the dough out.  The dough should be 12-inches tall and about 20-inches long.  Use a pastry brush to spread melted butter across all of the dough.  Sprinkle with all of the sugar and cinnamon mixture.  It might seem like a lot of sugar.  But just go for it.

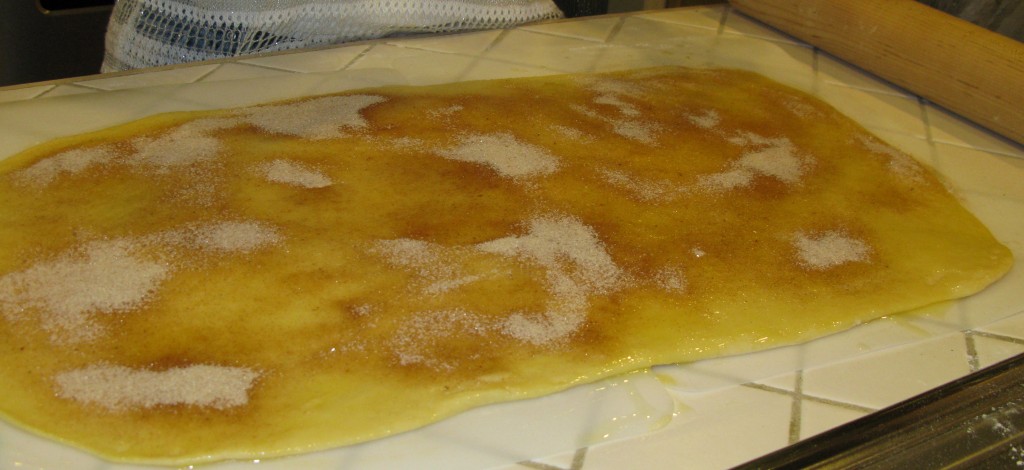
sugar mixture

It is an obscene amount of sugar. Do it anyway.

Slice the dough vertically, into six equal-sized strips.  Stack the strips on top of one another and slice the stack into six equal slices once again.  You’ll have six stacks of six squares.

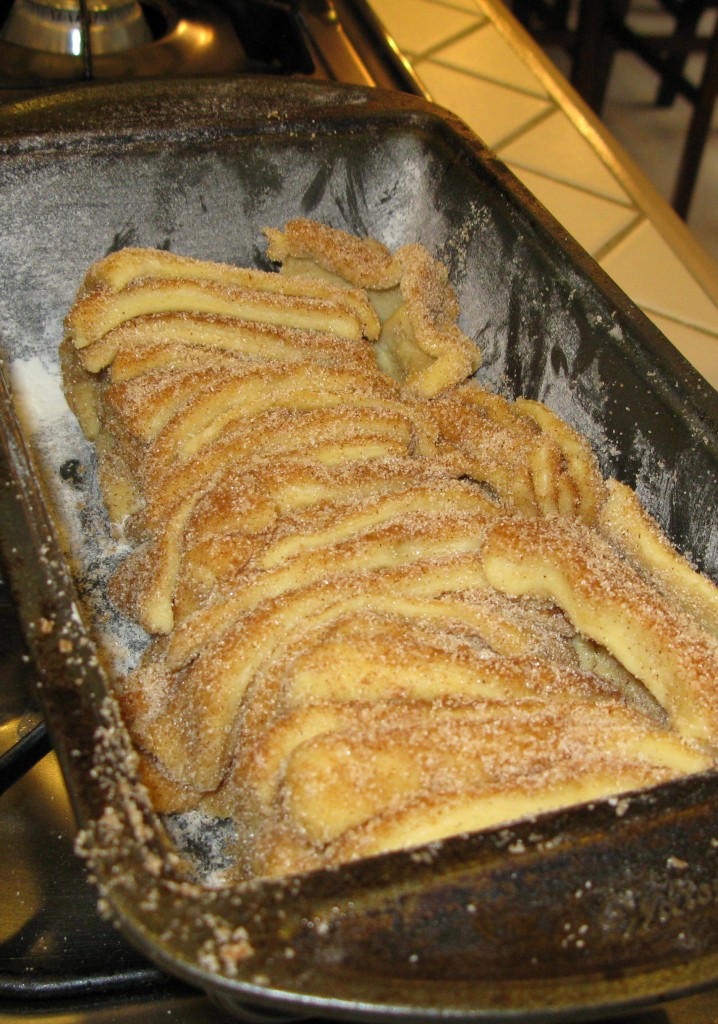
layering in the pan

It won’t look perfect but that’s fine. When it rises it will even out a bit.

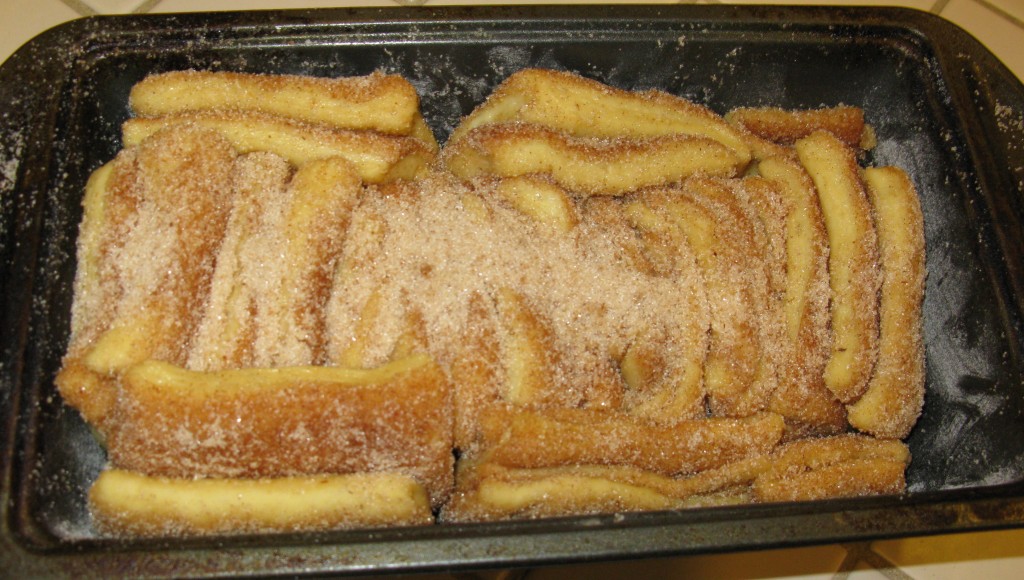
Layer the dough squares in the loaf pan like a flip-book.  Place a kitchen towel over the loaf pan and allow in a warm place for 30 to 45 minutes or until almost doubled in size.

layered in pan

Cover the loaf with plastic wrap and a clean towel to keep the dough warm while it rises. If the pan is on a tile counter, place a towel under your loaf pan also.

Place a rack in the center of the oven and preheat to 350 degrees F.  Place loaf in the oven and bake for 30 to 35 minutes, until the top is very golden brown.  The top may be lightly browned, but the center may still be raw.  A nice, dark, golden brown will ensure that the center is cooked as well.

Remove from the oven and allow to rest for 20 to 30 minutes.   Run a butter knife around the edges of the pan to loosen the bread and invert onto a clean board.

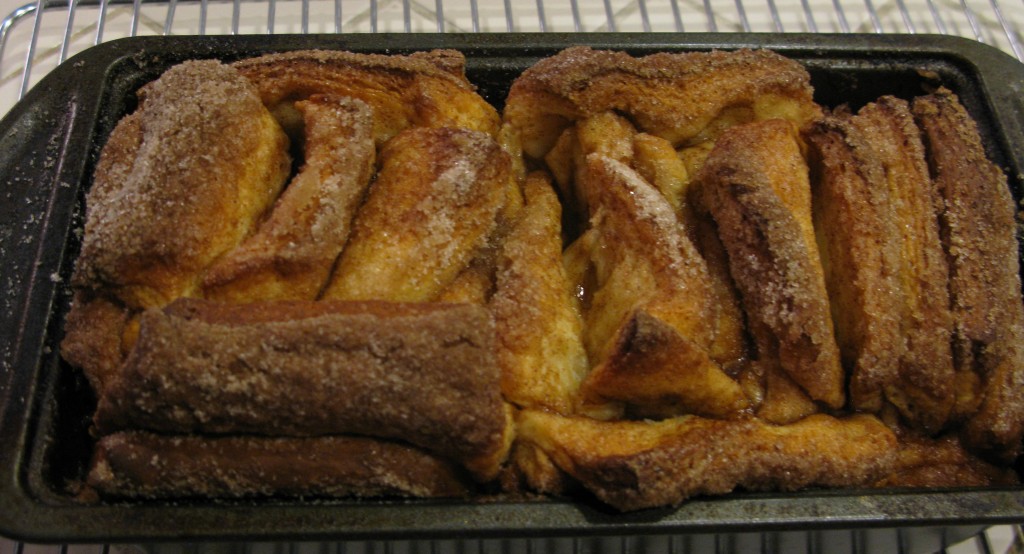
finished loaf

Cooling in the pan. Coffee brewing.

Place a cake stand or cake plate on top of the upside down loaf, and carefully invert so it’s right side up.  Serve warm with coffee or tea.

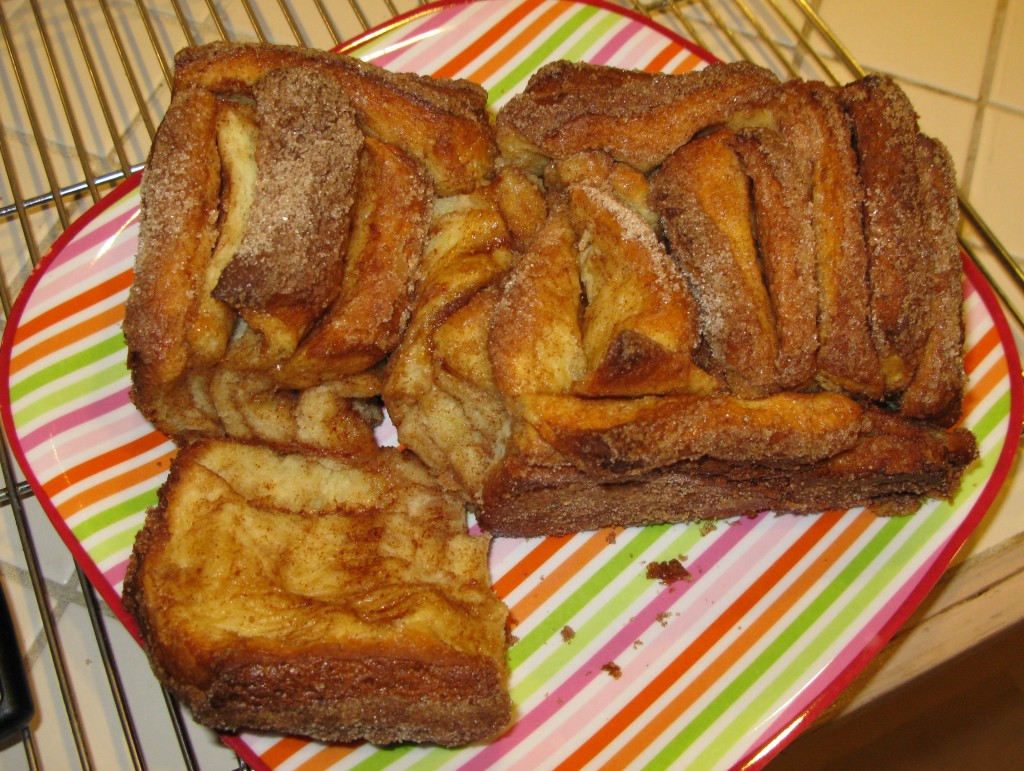
out of the pan

Out of the pan, beginning to pull it apart.

This bread is best served the day it’s made, but it can also be wrapped and kept at room temperature for up to 2 days.


half gone

Like it’s going to last for two days…we ate 3/4 of the loaf in one sitting.

It’s not a churro, but I was not disappointed.  And my house smelled like churros for an entire day.  I can settle for that.
 

Savory Beer-Cheese Bread

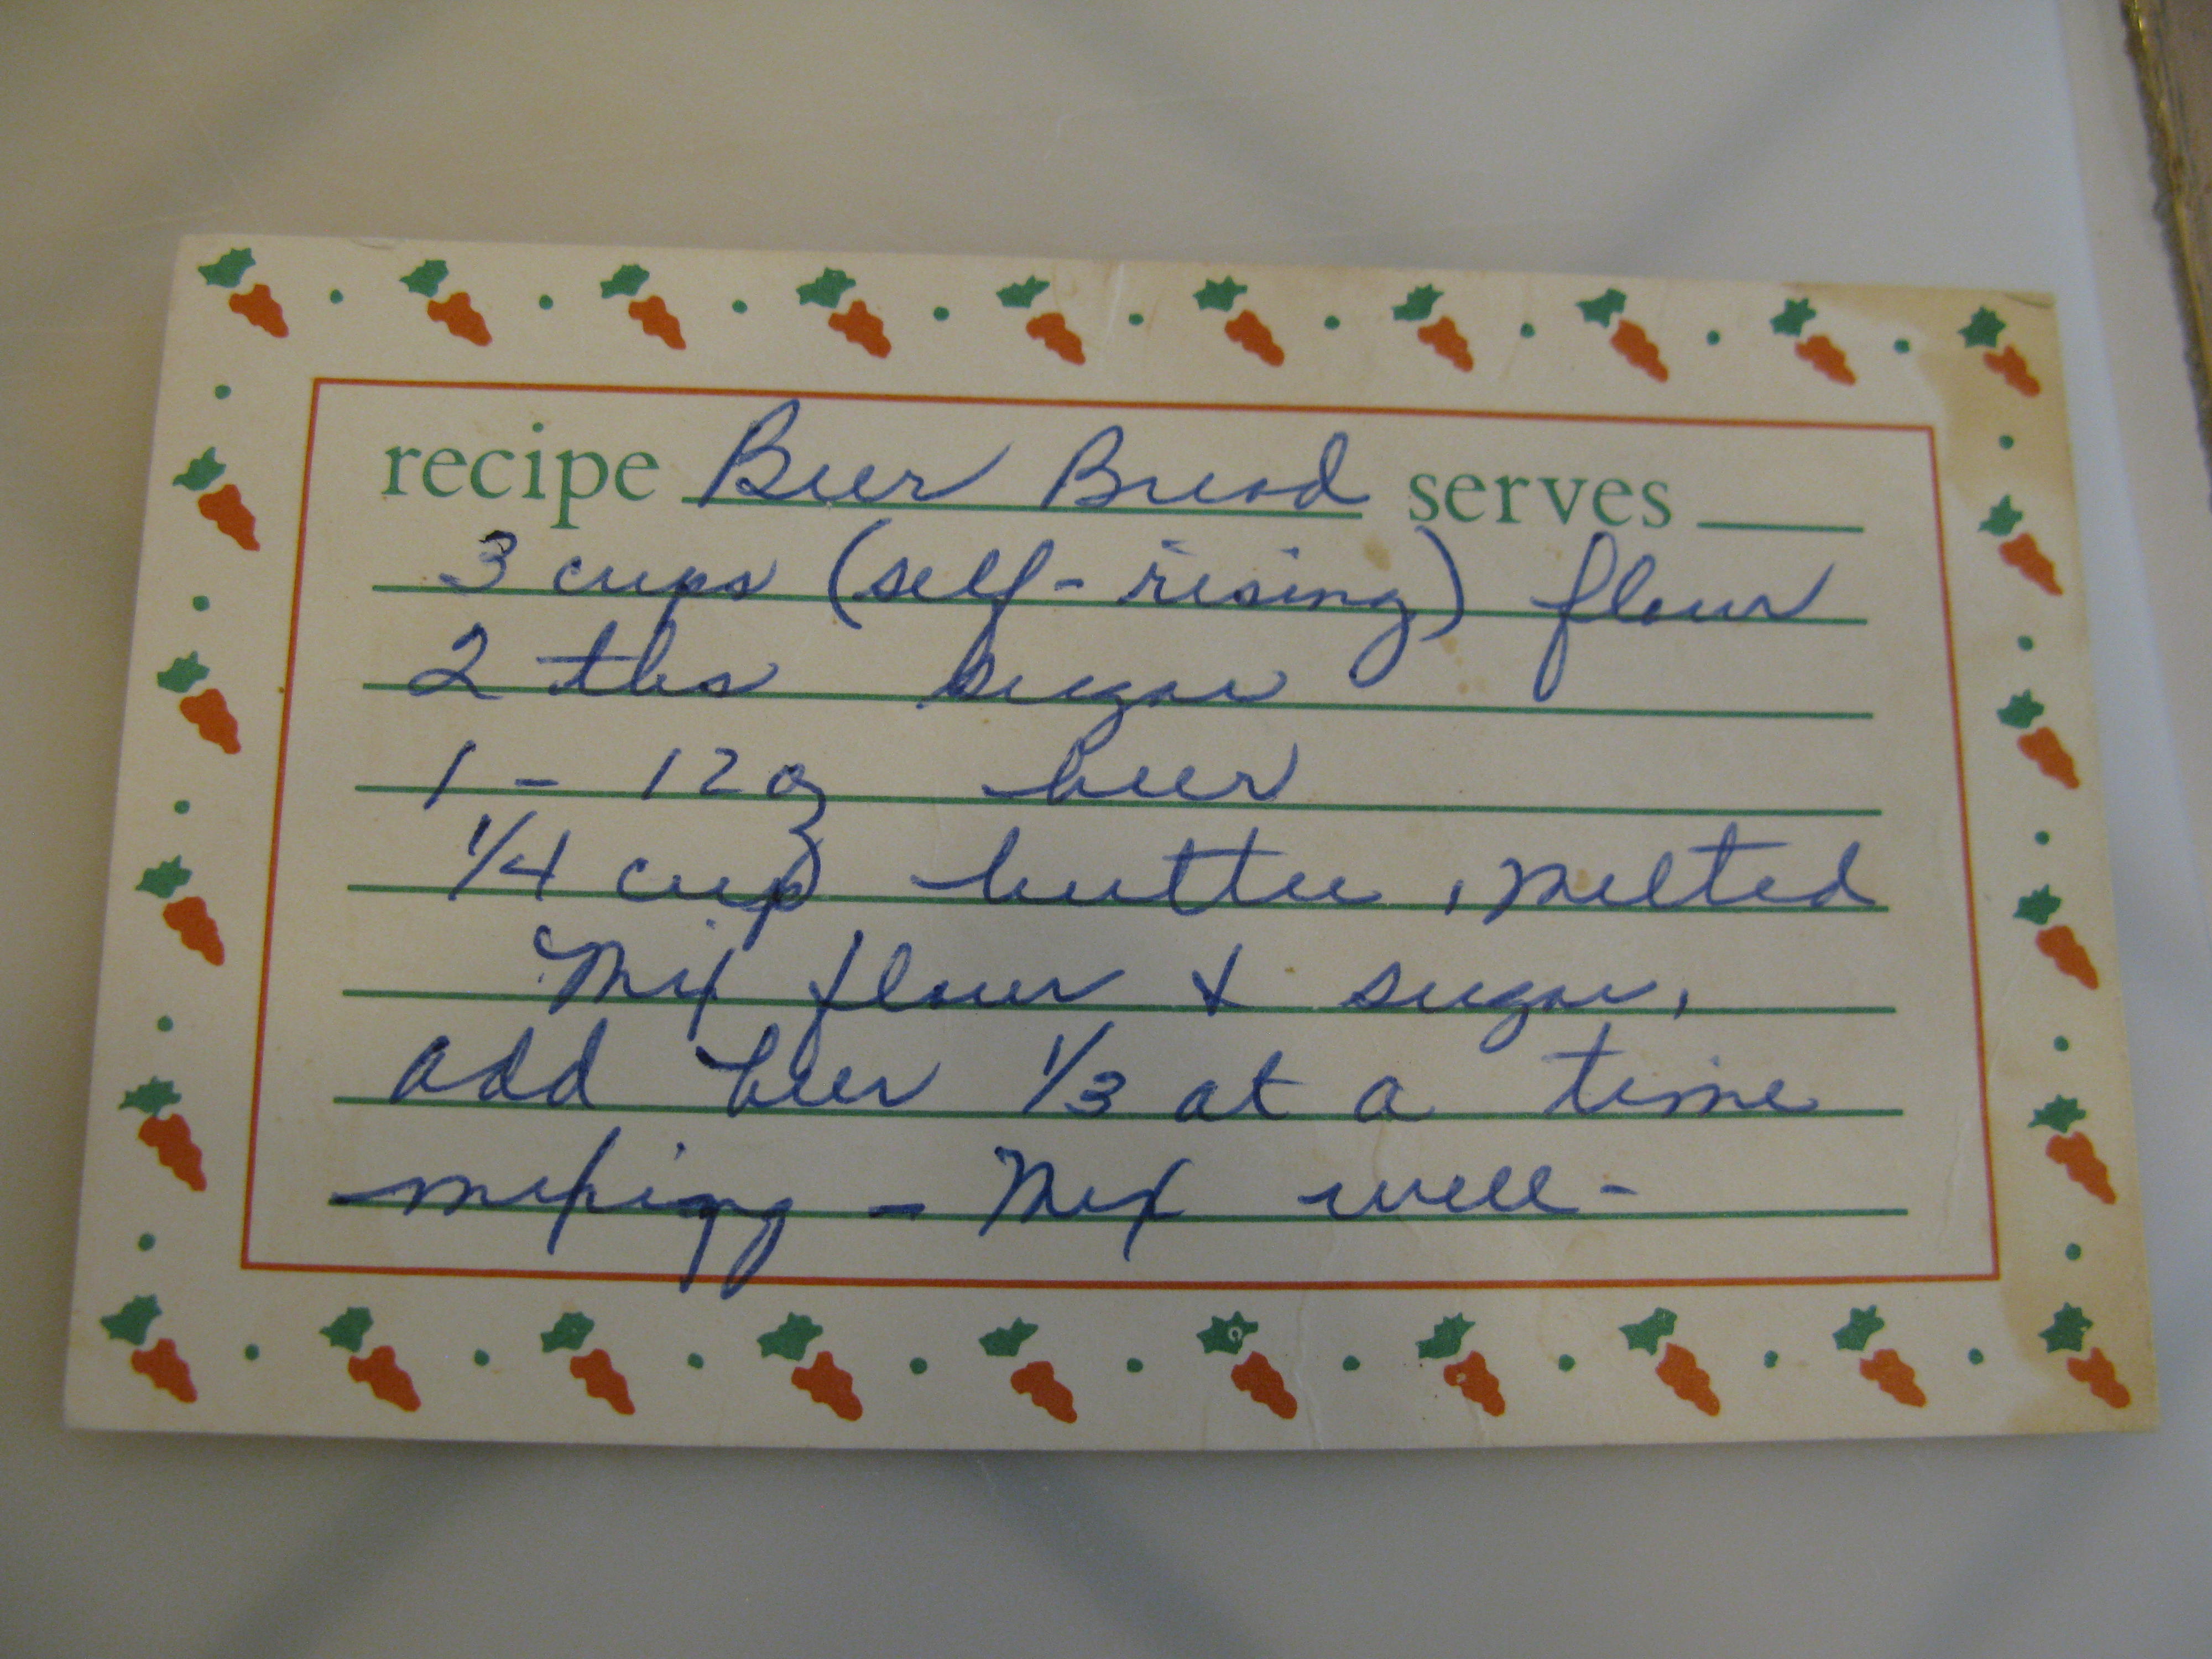
ethel's beer bread recipe card

My Great-Aunt Lora’s beer bread recipe written in my grandmother’s hand.

One of the first breads I learned to bake was my Aunt Lora’s beer bread.  It goes together quickly and is impossible to screw up. It had been my standby quick bread for years but there was always a slight off taste to it which I suspect was the self-rising flour. (I can hear my grandmother’s voice in my head wondering Why would anybody would want to see an old recipe card on their computer????  Damn, I wish she was still around, for a lot of reasons, but the top two related to cooking would be to bake bread with her and to show her all the pictures I’ve taken of food and watch her shake her head in disbelief.  Who would be interested in what you had for dinner????  You’d be surprised, Grandma.)

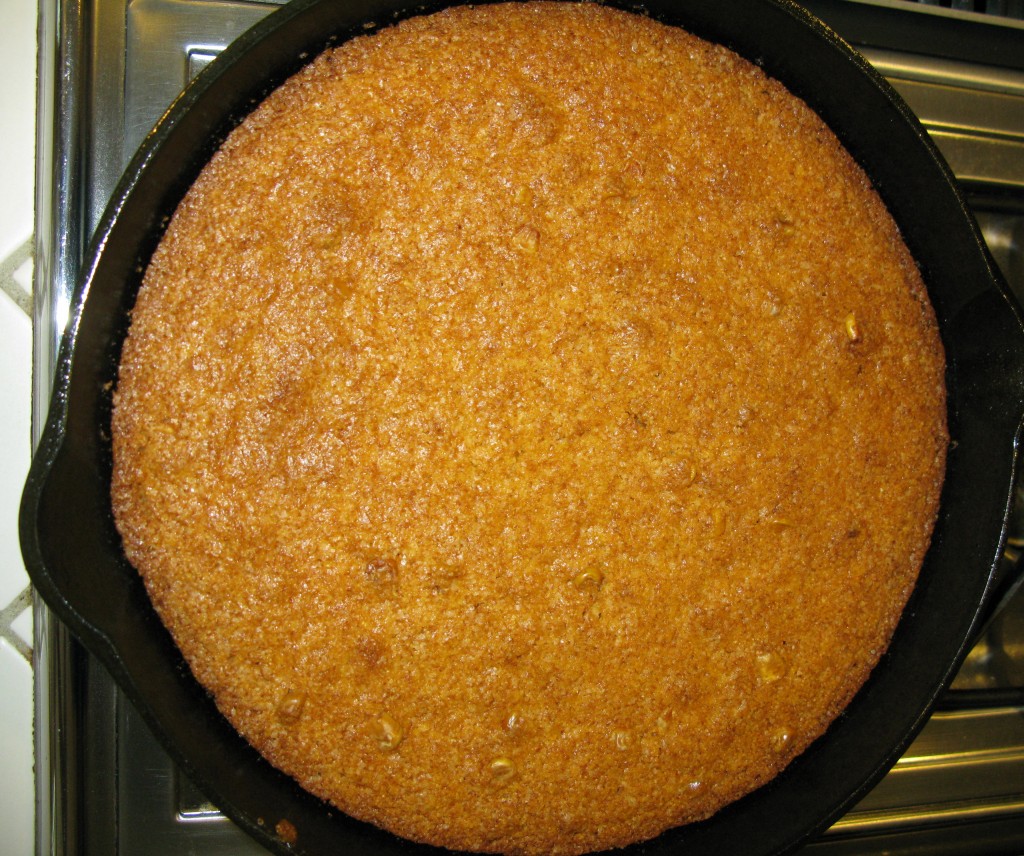
Over the years my last-minute quick bread has been the cornbread mix from Trader Joe’s.  Throw in a handful of cheese and possibly a can of green chilies, bake in a cast-iron skillet and it’s as good as cornbread from scratch.

skillet cornbread

Yes, it’s Grandma’s cast-iron skillet too.

The beer bread I made today is my current favorite, a basic Beer & Cheese bread from Cooking Light.  The sauteed onions and garlic add a savory touch and makes your kitchen smell heavenly. I substitute white-wheat flour in place of the all-purpose.  In place of the Monterey Jack cheese I used a shredded blend from Trader Joe’s- it’s what was in the fridge.

Ingredients

  • 1 tablespoon olive oil
  • 1/2 cup finely chopped yellow onion
  • 1/4 teaspoon freshly ground black pepper
  • 1 garlic clove, minced
  • 13.5 ounces white-wheat or all-purpose flour (about 3 cups)
  • 3 tablespoons sugar
  • 2 teaspoons baking powder
  • 1 teaspoon salt
  • 1 cup (4 ounces) shredded Monterey Jack cheese
  • 1 (12-ounce) bottle lager-style beer (such as Budweiser)
  • Cooking spray
  • 2 tablespoons melted butter, divided

Preparation

  1. Preheat oven to 375°.
  2. Heat oil in a small skillet over medium-low heat. Add onion to pan; cook 10 minutes or until browned, stirring occasionally. Stir in pepper and garlic; cook 1 minute.
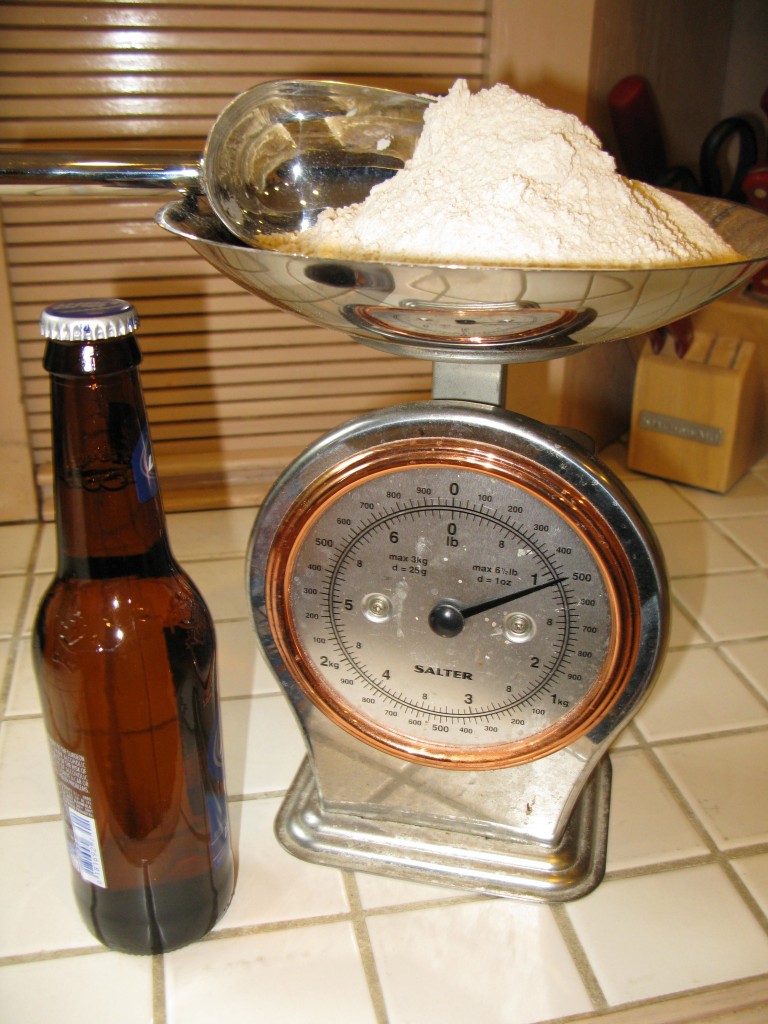
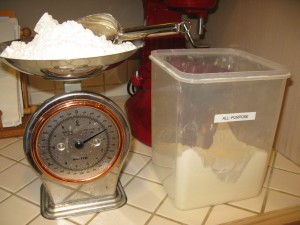
    weighing flour

    Get into the habit of weighing your flour. It is so much faster.

  3. Weigh or lightly spoon flour into dry measuring cups; level with a knife. Combine flour, sugar, baking powder, and salt in a large bowl, stirring with a whisk; make a well in center of mixture. Add onion mixture, cheese, and beer to flour mixture, stirring just until moist.
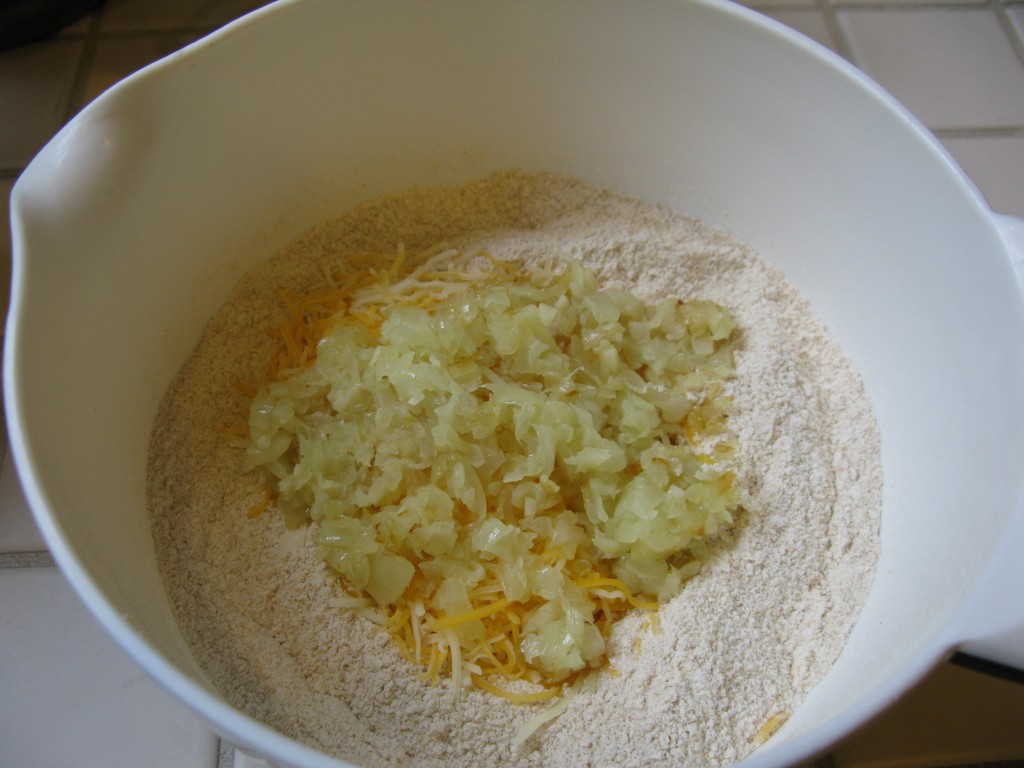
    cheese/onions/dry ingredients

    Make a well and place the cheese and onions into the well.
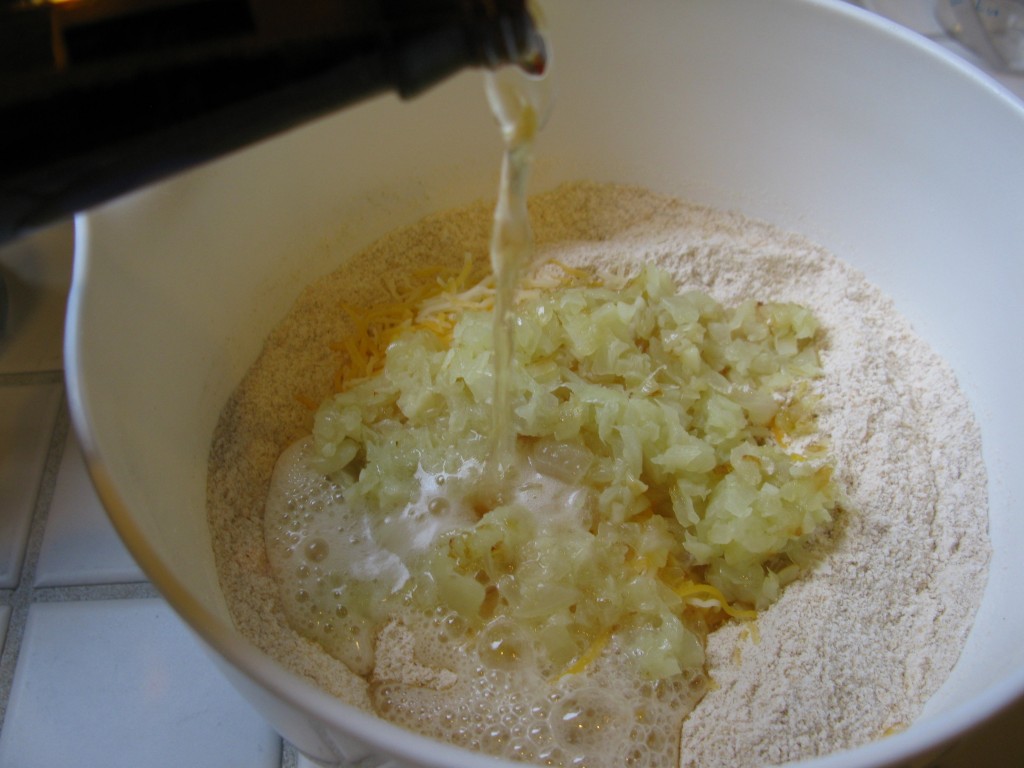
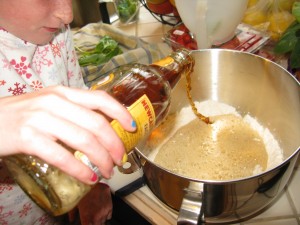
    add beer

    Slowly pour in the beer.

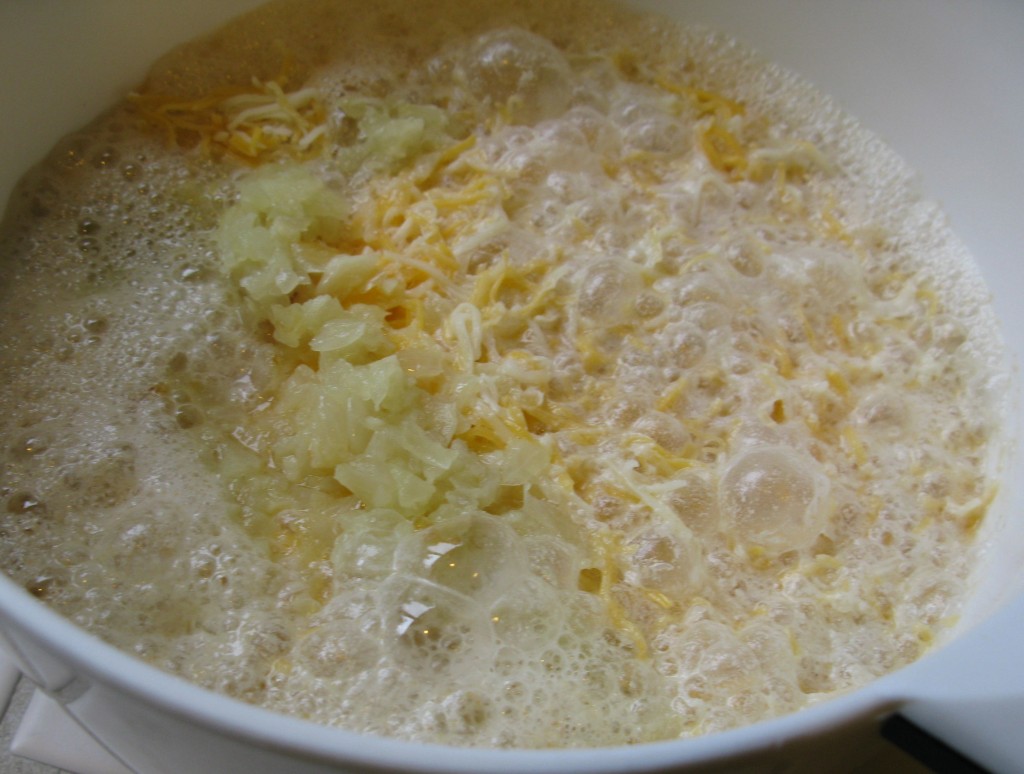
    all ingredients

    Stir until ingredients are combined but do not overmix.

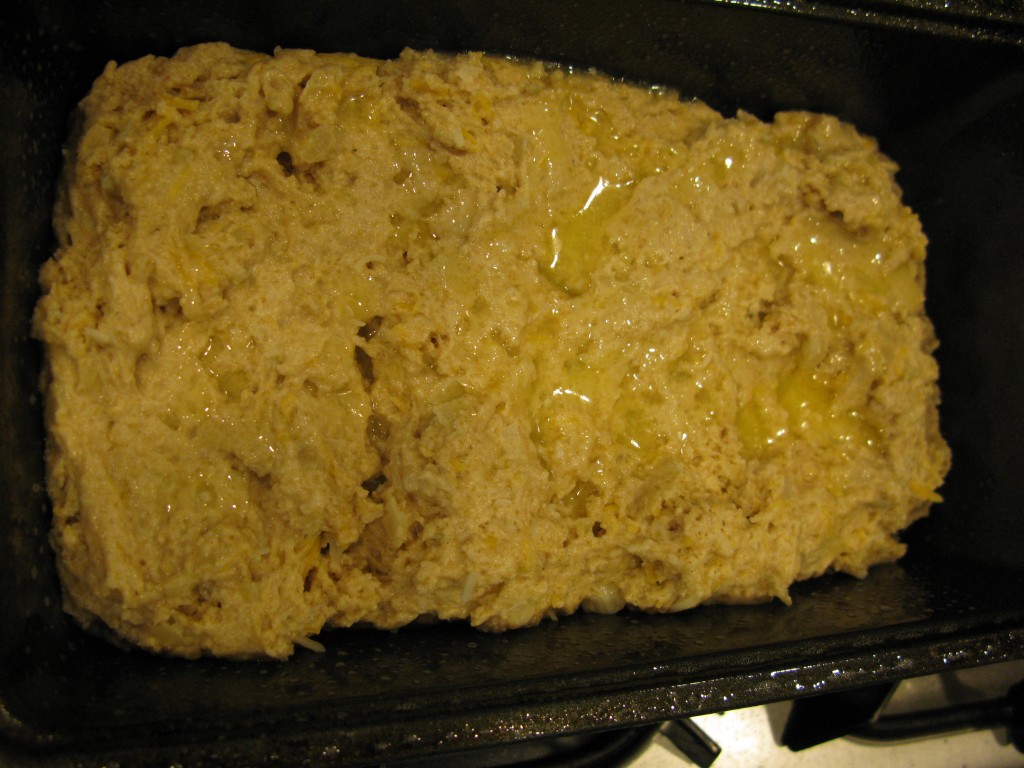
  4. 4. Spoon batter into a 9 x 5–inch loaf pan coated with cooking spray. Drizzle 1 tablespoon butter over batter. Bake at 375° for 35 minutes.

    ready for the oven

    Ready for the oven.

  5. Drizzle remaining 1 tablespoon butter over batter.

    par-baked

    Halfway done, time for the rest of the butter.

  6.  Bake an additional 25 minutes or until deep golden brown and a wooden pick inserted into the center comes out clean. Cool in pan 5 minutes on a wire rack; remove from pan. Cool completely on wire rack.

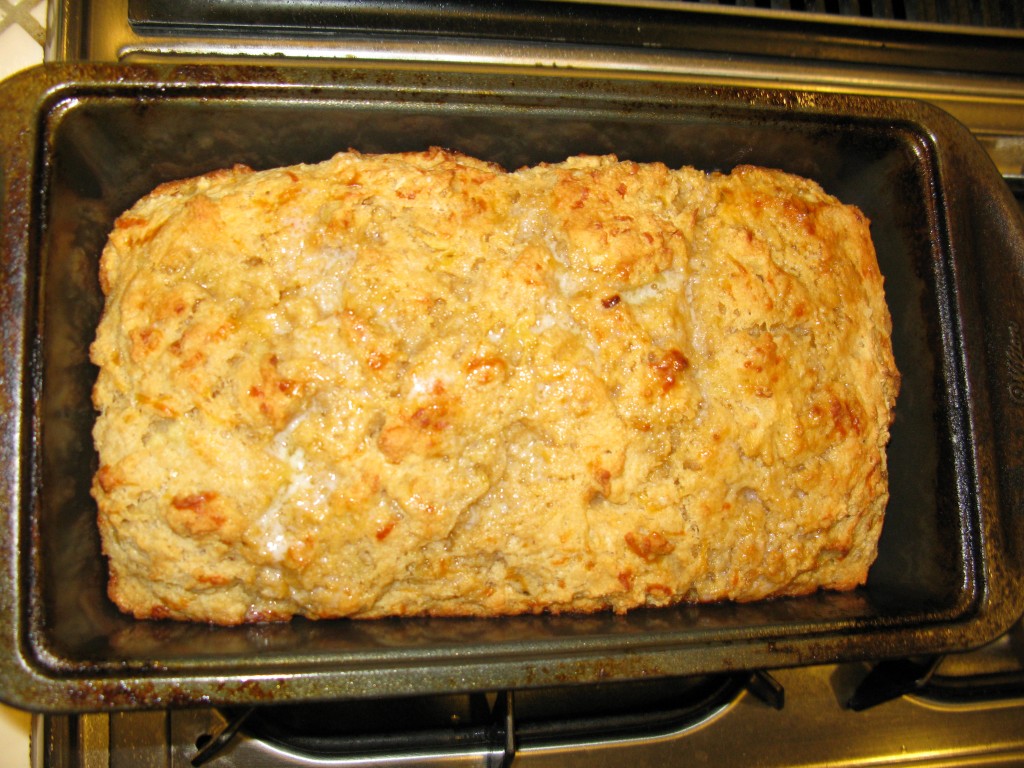
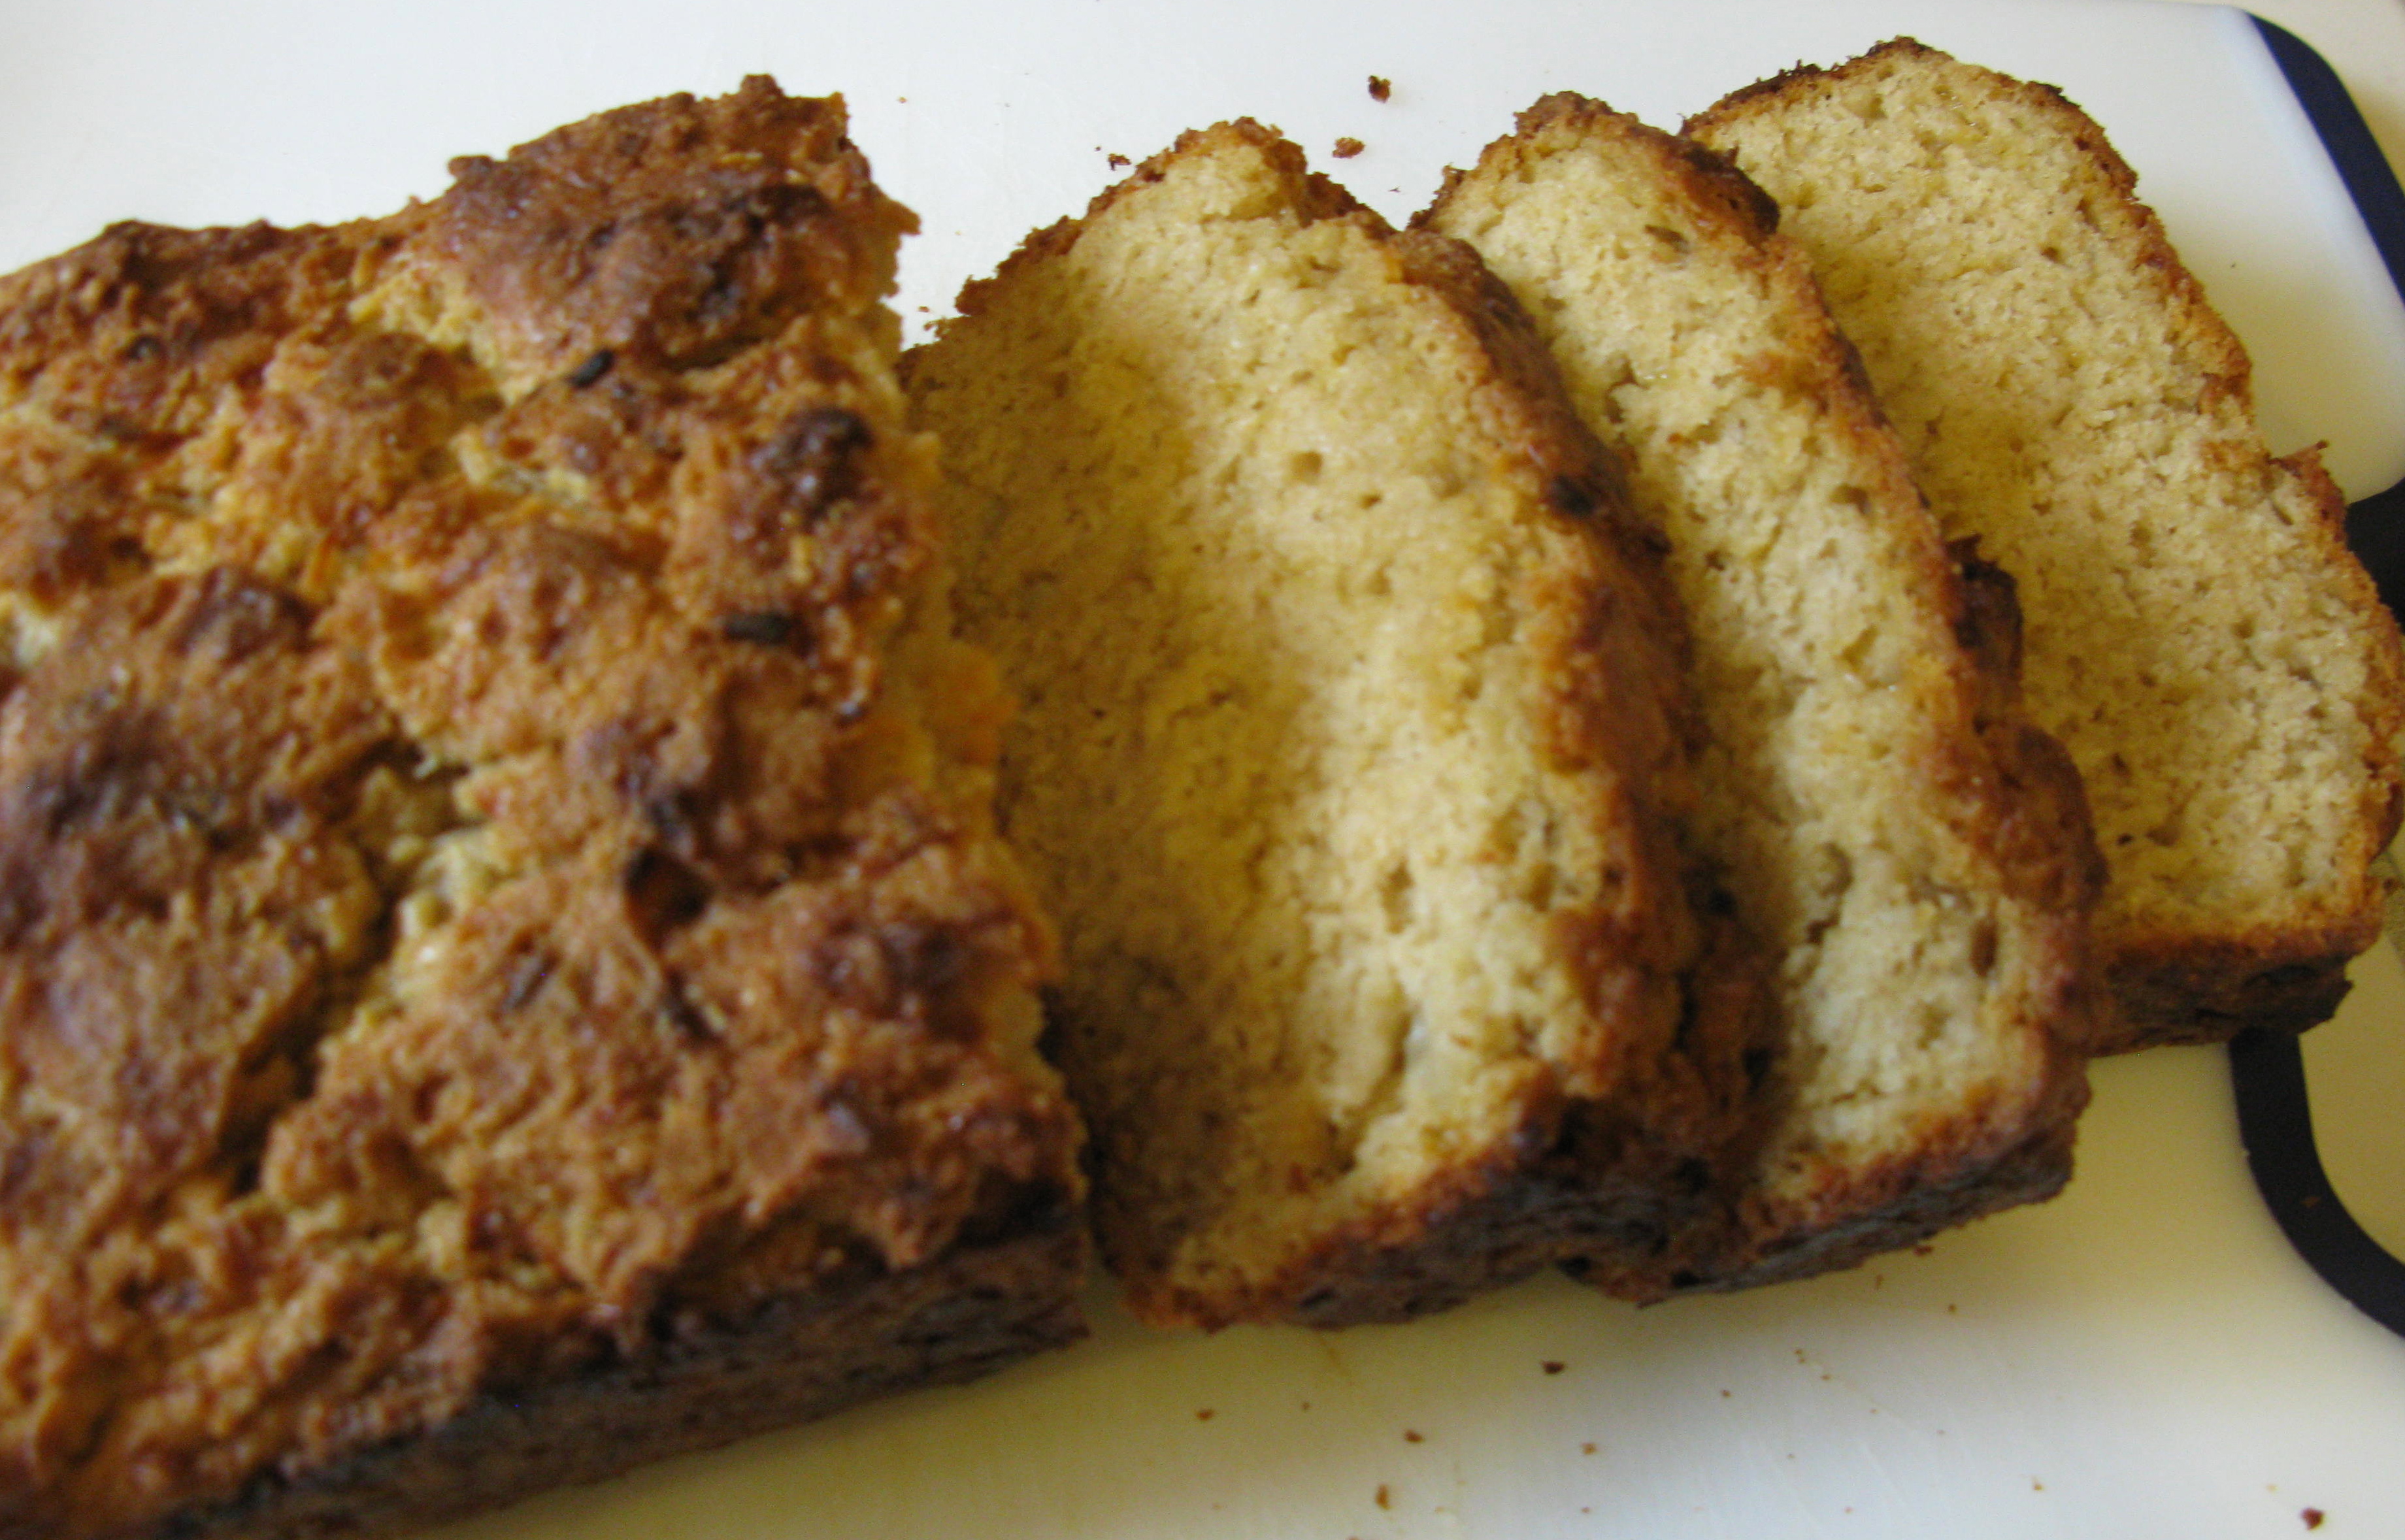
    finished bread

    The recipe specifies 16 slices, I get about 8 but I like it thick to dip into soup.

OTHER OPTIONS:  Apple-Cheddar Beer Bread: Substitute 1/2 cup minced shallots for onion. Place 1/2 cup shredded peeled Gala apple in paper towels; squeeze until barely moist. Cook shallots and apple in oil over medium heat for 7 minutes. Substitute 1 cup shredded extrasharp white cheddar cheese for Monterey Jack. Substitute 1 (12-ounce) bottle hard cider for lager. Yield: 16 servings (serving size: 1 slice)

Harvest Wheat Berry Salad

What, exactly, is a wheat berry?

The term wheatberry or wheat berry refers to the entire wheat kernel (except for the hull), composed of the bran, germ, and endosperm. Wheatberries have a tan to reddish brown color and are available as either a hard or soft processed grain. They are often added to salads or baked into bread to add a crunchy texture. If wheat berries are milled whole-wheat flour is produced.  It is also similar to farro. Thank you, Wikipedia!

I use wheat berries from Bluebird Grain Farms, mainly because they’re available from my CSA Full Circle.  Trader Joe’s doesn’t carry them and I hate going to Safeway.  Whole Foods and other big stores may carry them in bulk.  I should do a separate post on my CSA (community supported agriculture) since I’m such a big fan.

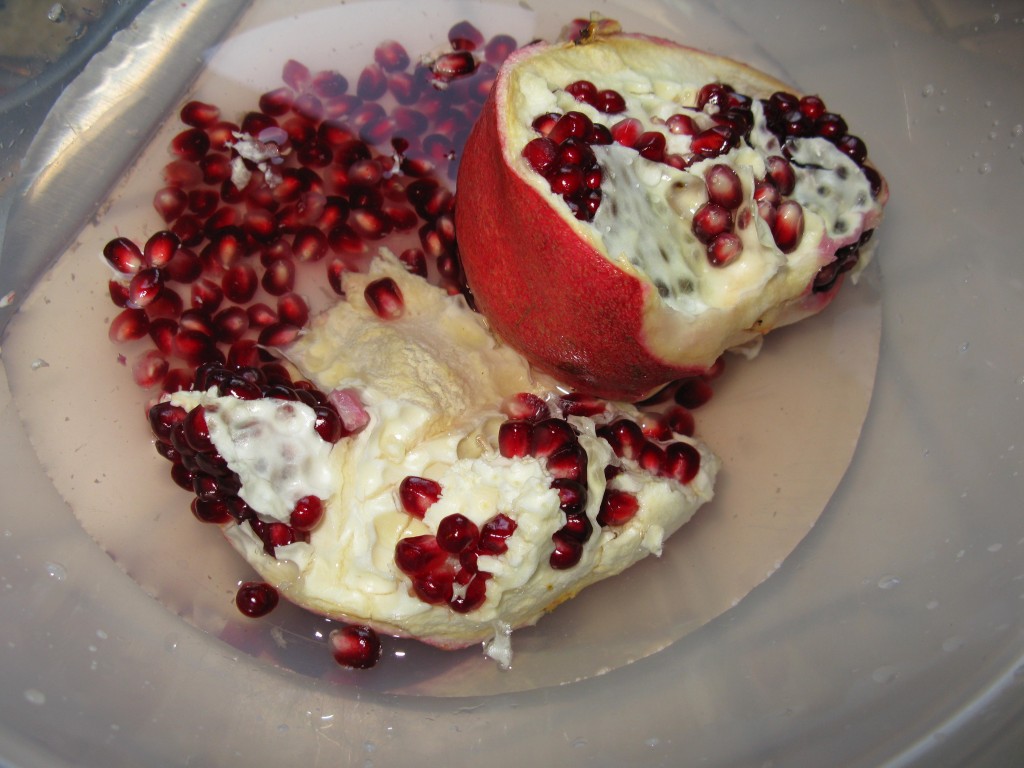
My favorite use for wheat berries is in a fall salad.  Seasonal fall produce is so different from the stone fruits and melons of summer and gathering the ingredients for this salad  together here, I feel slightly less sad about the end of summer.  My favorite tweak for this salad is to swap out the dried cranberries for pomegranate seeds.  The juicy, crunchy sweetness of the seeds is well worth the extra time it takes to seed the pomegranate.  Try seeding it in a large bowl of water.  It keeps the mess to a minimum.

seeding a pomegranate

Resist the urge to eat the entire thing while seeding it.

Harvest Wheat Berry Salad, Relish Magazine

Salad:
2 cups uncooked wheat berries
1 cup pumpkin seed kernels
1 cup chopped apples
1/2 cup chopped dried apricots
1/2 cup dried cranberries (or one seeded pomegranate)
1 cup finely chopped parsley
Ginger Ale Vinaigrette:
1/2 cup ginger ale
3 tablespoons apple cider vinegar
1/2 teaspoon salt
1/2 teaspoon black pepper
1/2 teaspoon ground nutmeg
1/2 teaspoon ground cinnamon
2 tablespoons extra-virgin olive oil
2 tablespoons lemon juice

Instructions

    1. To prepare salad, put wheat berries into a large bowl, cover with at least 2 inches of water and set aside to soak at least 1 hour. Drain well.
    2. Put 7 cups water into a medium pot and bring to a boil. Add wheat berries, reduce heat and simmer, uncovered, until thoroughly cooked about 40 minutes. (Wheat berries retain a firm, chewy texture when cooked.) Drain and let cool.
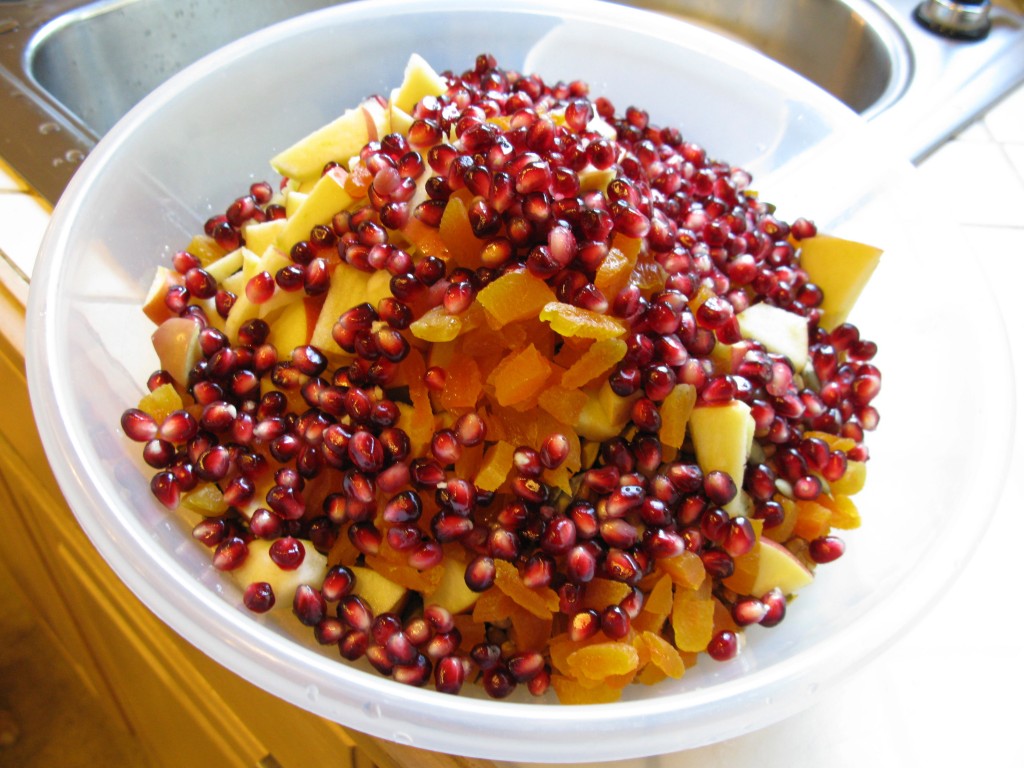
    3. Transfer wheat berries to a large bowl. Add pumpkin seeds, apples, apricots, cranberries and parsley.
      salad ingredients

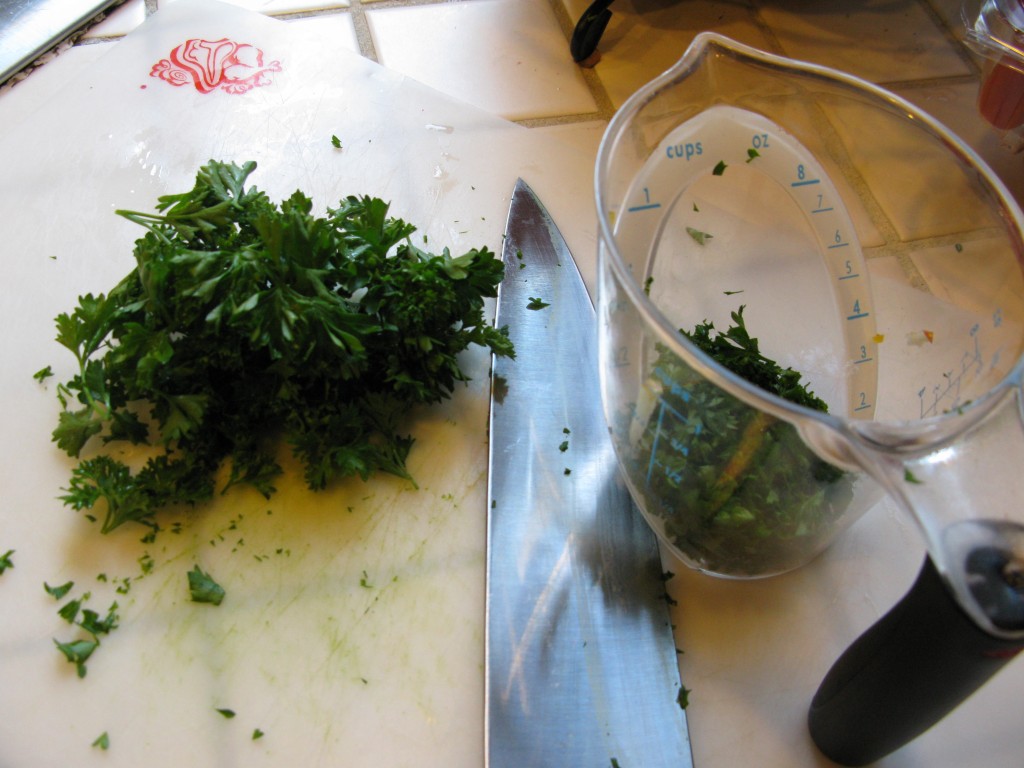
      chopping parsley

      This task seems to take forever.

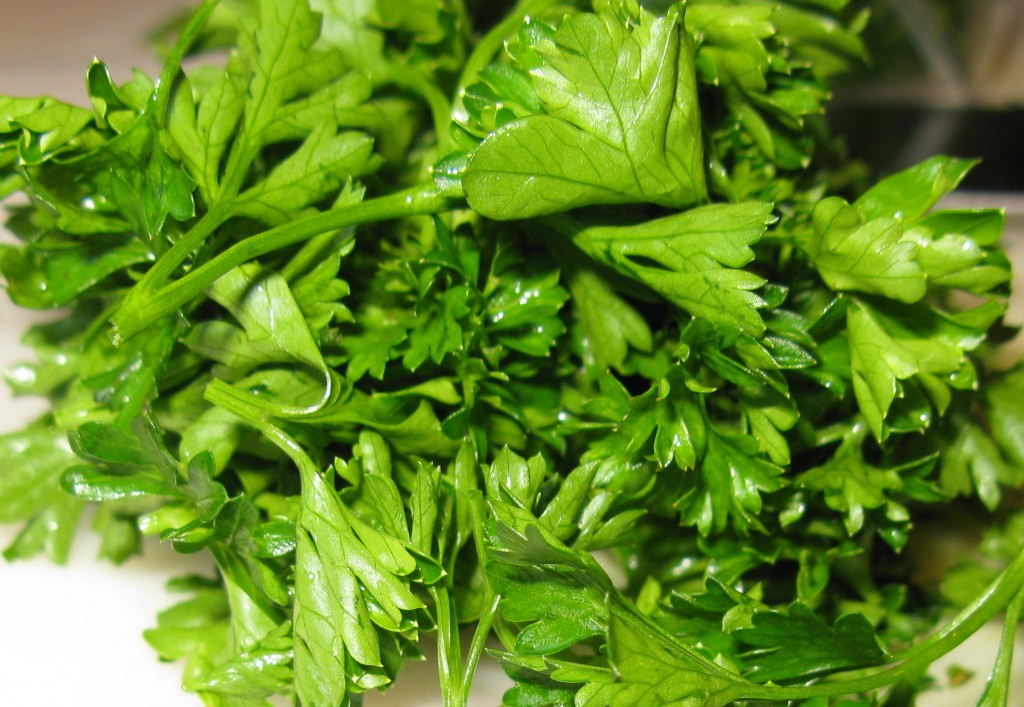
      parsley

      It takes nearly a full bunch to create a cup of finely chopped parsley. I do about 1/4 cup at a time.

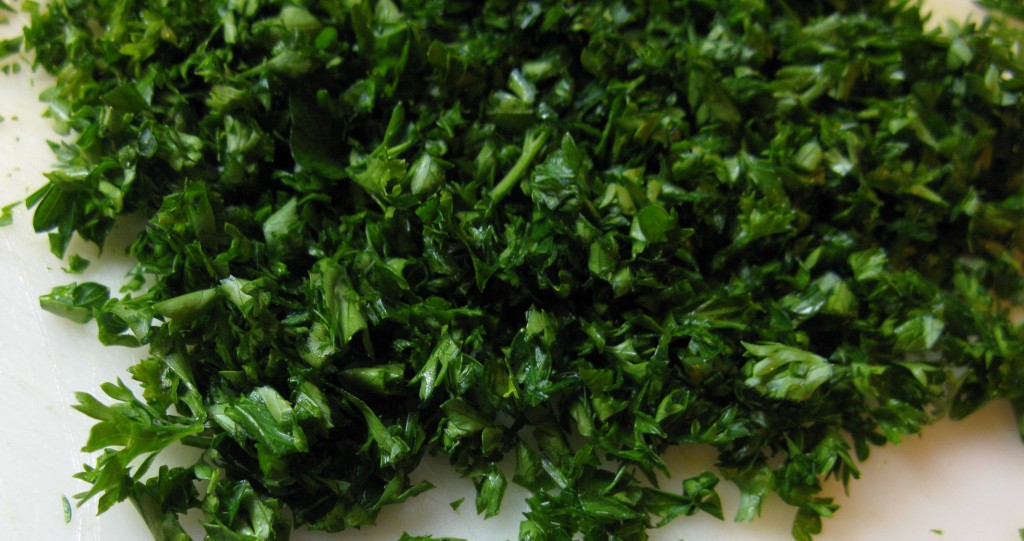
      parsley

      This task is so slow but pay attention and don’t lose a finger.

    4. To prepare dressing, combine all ingredients in a small bowl. Whisk well. Add to salad ingredients and mix well.


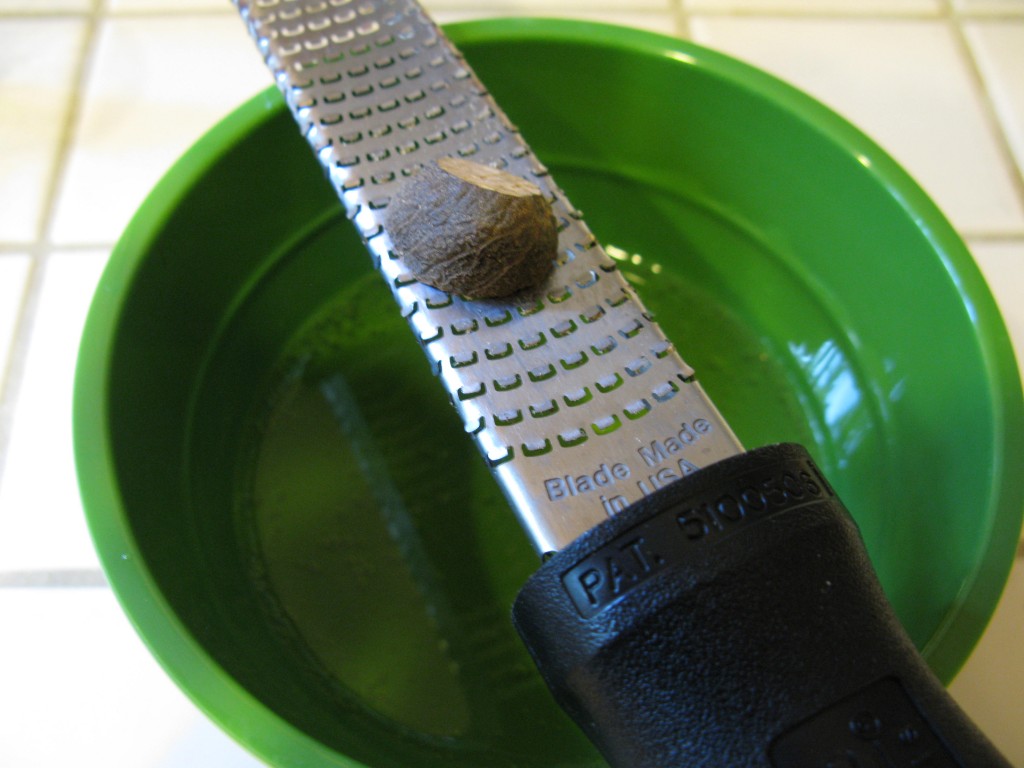
nutmeg and grater

Get a microplane and grate your own nutmeg. It’s worth it.

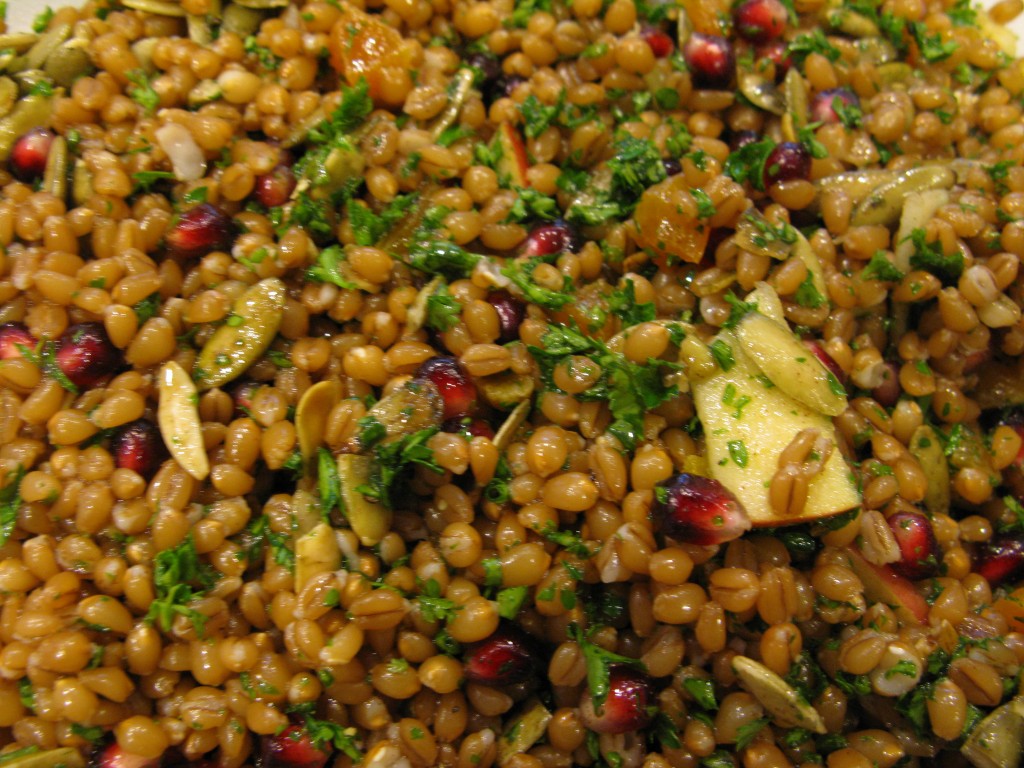
salad prepped

Toss the salad before adding the dressing.

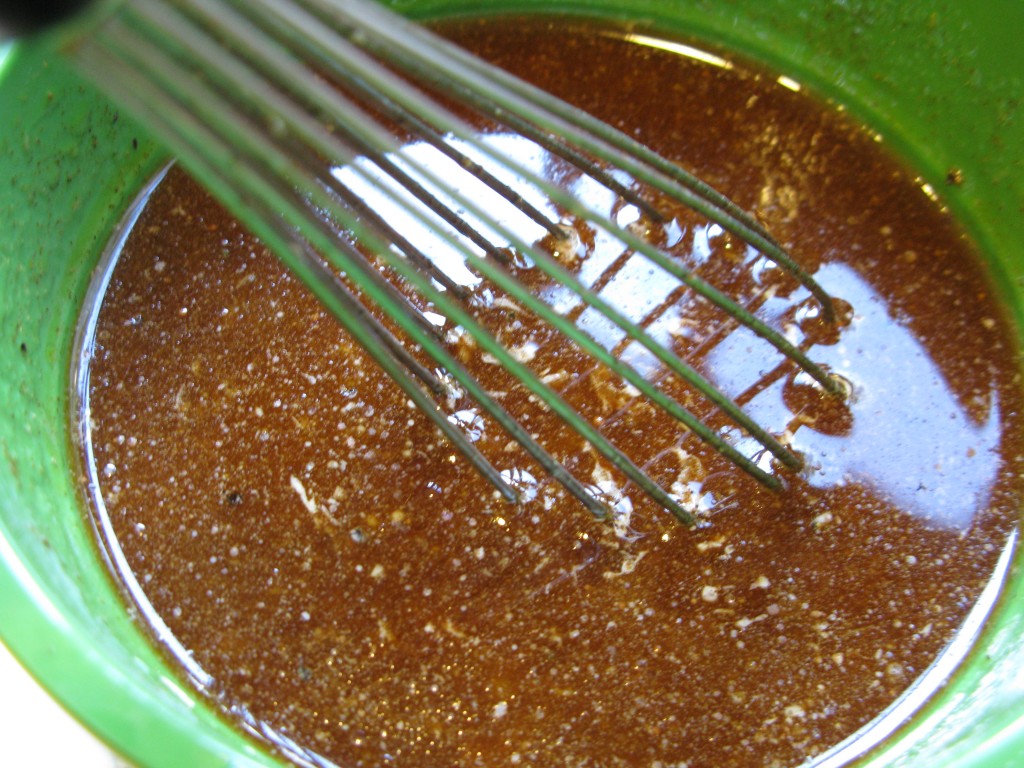
dressing

Whisk, add to salad, toss then chill for a few hours before serving.

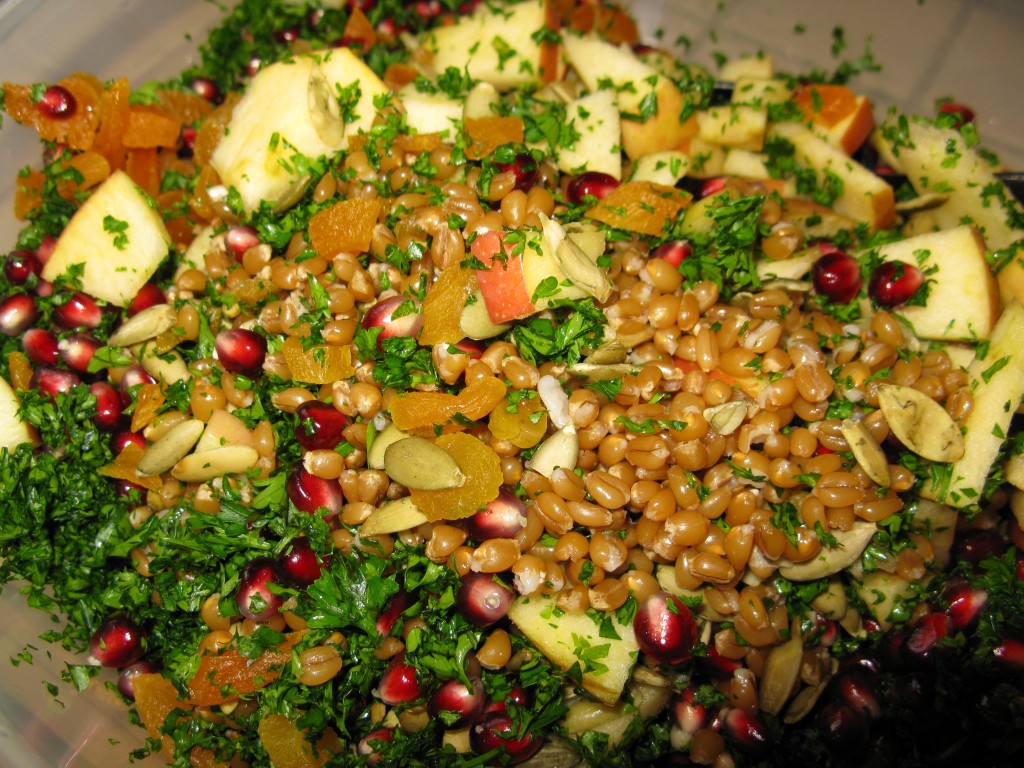
harvest wheat berry salad

Focaccia for Beginners

Focaccia is one of my favorite breads to bake, mainly because it is both very forgiving AND can be ready at dinner time when you realize at 3pm that you do want fresh bread with dinner after all.  An excellent starting point for beginning bakers, it can be as easy or as complicated as you want it to be.  And like me, some days I’m easy and some days I’m more complicated.

I use a lot of the Cooking Light recipes for bread.  They’re written for the home cook with some skill but not a degree from the CIA.  I have their baking book but I’m intimidated by most of the recipes in it.  Here are two of my most-used focaccia recipes.

Herbed Focaccia from Cooking Light

Ingredients

  • All-purpose Pizza Dough (I add about a TBSP of honey and 2TBSP olive oil to dough, click link for recipe).
  • 1 tablespoon chopped fresh flat-leaf parsley
  • 1 teaspoon dried rubbed sage
  • 1 teaspoon dried rosemary
  • 1 teaspoon dried thyme
  • Cooking spray
  • 1 tablespoon yellow cornmeal
  • 1 tablespoon extra-virgin olive oil
  • 1/2 teaspoon kosher salt

Preparation

  1. Roll prepared dough into a 12 x 8-inch rectangle on a floured surface. Sprinkle the parsley, sage, rosemary, and thyme over the dough. Fold the dough into thirds. Knead lightly 1 minute or until the herbs are blended into the dough. Cover and let stand for 10 minutes. Roll dough into a 14 x 12-inch rectangle. Place dough on a baking sheet coated with cooking spray and sprinkled with cornmeal. Cover and let rise in a warm place 35 minutes or until doubled in size.
  2. Preheat oven to 450°.
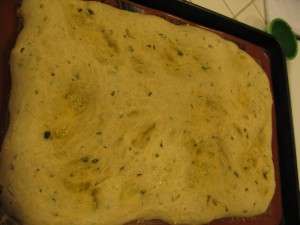
  3. Uncover the dough. Make indentations in top of dough using the handle of a wooden spoon or your fingertips. Gently brush the dough with olive oil. Sprinkle with kosher salt. Bake dough at 450° for 15 minutes or until browned.

When you’re ready to attempt one that’s a bit more time consuming, here’s another one I like (tweaked of course). It calls for creating a sponge first which is a lot less complicated than it sounds.  I adapted this recipe from Cooking Light’s Rosemary Focaccia, which is also very good, especially in the winter when good tomatoes are hard to find. Thinly sliced potatoes are another winter topping option.

Tomato Basil Focaccia

Ingredients

  • Sponge:
  • 1 teaspoon honey
  • 1 package dry yeast (about 2 1/4 teaspoons)
  • 1 1/4 cups warm water (100° to 110°)
  • 1 1/2 cups all-purpose flour (180 grams)
  • 2 tablespoons extra-virgin olive oil
  • Dough:
  • 1 cup all-purpose flour (120 grams)
  • 1/2 cup whole wheat flour (60 grams)
  • 1 teaspoon salt
  • 2 tablespoons chopped fresh basil
  • Cooking spray
  • Topping:
  • 1 tablespoon olive oil
  • 1 cup basil, cut in a chiffonade
  • 1 cup very thinly sliced tomatoes
  • 1/2 teaspoon kosher salt

Preparation

  1. To prepare sponge, dissolve honey and yeast in warm water in a large bowl; let stand 5 minutes. Lightly spoon 1 1/2 cups all-purpose flour into dry measuring cups; level with a knife or weigh flour. Add 1 1/2 cups all-purpose flour and 2 tablespoons oil to yeast mixture, stirring until well combined. Cover and let rise in a warm place (85°), free from drafts, 1 hour.
    focaccia sponge

    The sponge covered with plastic wrap to keep the humidity in. I place a towel under and one over the bowl too.

    sponge + 1 hour

    After an hour.

  2. To prepare dough, lightly spoon 1 cup all-purpose flour and whole wheat flour into dry measuring cups; level with a knife or weigh. Stir 1 cup all-purpose flour, whole wheat flour, 1 teaspoon salt, and chopped basil into yeast mixture; beat with a mixer at medium speed 6 minutes or until dough is smooth and elastic (dough will be sticky). Cover and let rise in a warm place (85°), free from drafts, 1 1/2 hours or until doubled in size (dough will be wet).
    dough in mixer

    Dough is sticky, scrape into a bowl or dough doubler to rise or cover mixer bowl and leave to rise.

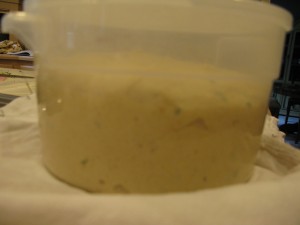
    dough doubler

    I use a tightly sealed container to rise dough.

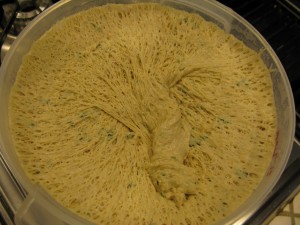
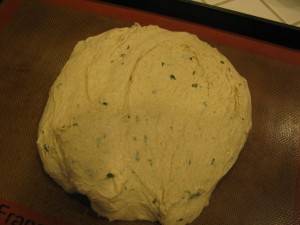
    finished rising

    Dough was ready in about an hour, deflate then scrape out onto pan.

  3. Preheat oven to 400°.  Use an oven thermometer to make sure your oven is really hot.
  4. Scrape dough into a 15 x 10-inch jelly roll pan coated with cooking spray.

    scraped dough

    Resist the urge to touch it with your fingers. It’s still really sticky.

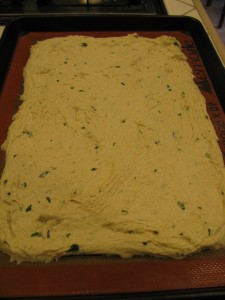
  5. Gently press dough into a 12 x 8-inch rectangle.

    push into pan

    Use a rubber spatula to scrape dough and push into shape.

  6. Brush dough with 1 tablespoon oil; sprinkle 1/2 teaspoon kosher salt.

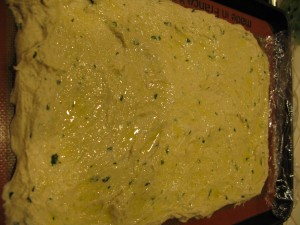
    brush dough with oil

    Brush dough with olive oil, cover with plastic wrap and let it rise again for about 30 minutes.

  7. Cover; let rest 30 minutes.
  8. Slice tomatoes thinly.  Chiffonadebasil.
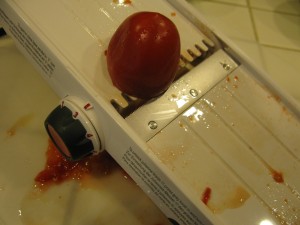
    mandolin

    I used a mandolin to slice the tomatoes.

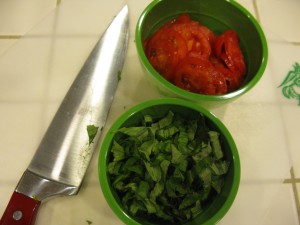
    basil and tomatoes

    About a cup of each.

  9. Par-bake bread for 15 minutes if you are using a wet topping.
    par-baked bread

    Bake the bread for 15 minutes, then pull out of oven to add the toppings.

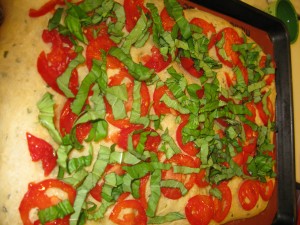
    focaccia toppings

    Quickly add toppings then finish in the oven.

  10. Bake for another 10 minutes or until golden brown. Cool 5 minutes.  Slice with a pizza cutter.
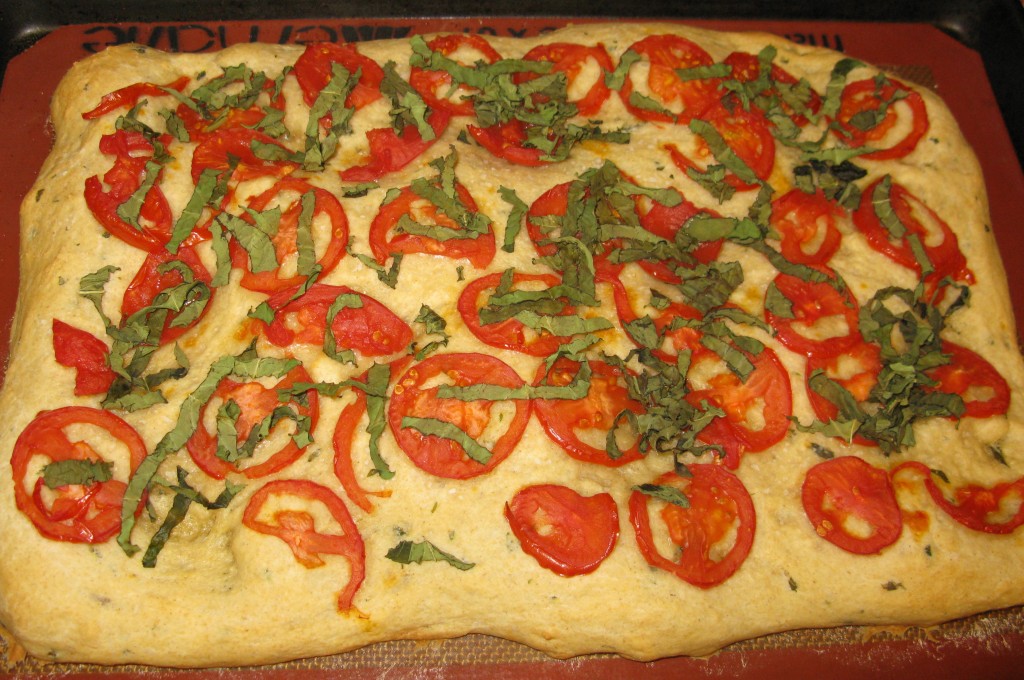
tomato basil focaccia

The finished product- YUM!


Best-Ever Banana Muffins

Another confession…..I am a total tweaker.  I’ll make something the way it’s written once and before I’m even finished the recipe has already evolved and changed in my mind.  This one is a great example.  Cooking Light has a fabulous banana bread recipe that I have been making for years.  The structure hasn’t changed much (eggs, yogurt and butter provide the fat and the binding ingredients) but I’ve added flax seed for crunch (and avoids the nut-allergy issues), swapped the all-purpose flour for a combo of AP and whole wheat or all white-wheat flour for added fiber and protein and cut the sugar in half.  If I’m feeling especially generous I’ll toss in half a cup of mini chocolate chips. The purchase of my latest favorite kitchen gadget, the one-tablespoon cookie scoop along with a few mini-muffin pans ensures that I can make these quickly, and do so at least once a week.  They’re eaten as fast as I can make them and are a great during or after-school snack.

Ingredients

  • 2 cups flour (240 grams)  white-wheat OR 1 cup all-purpose and 1 cup whole wheat
  • 3/4 teaspoon baking soda
  • 1/2 teaspoon salt
  • 1/2 cup sugar
  • 1/4 cup butter, softened
  • 2 large eggs
  • 1 1/2 cups mashed ripe banana (about 3 bananas)
  • 1/3 cup vanilla low-fat yogurt
  • 1/8 cup flax seed
  • Cooking spray

Preparation

  1. Preheat oven to 350°.
  2. Lightly spoon flour into dry measuring cups; level with a knife or measure by weight. Combine the flour, baking soda, and salt, stirring with a whisk.
  3. Place sugar and butter in a large bowl, and beat with a mixer at medium speed until well blended (about 1 minute). Add the eggs, 1 at a time, beating well after each addition. Add banana, yogurt, and vanilla; beat until blended. Add flour mixture; beat at low speed just until moist.  Add flax seed and mix briefly.

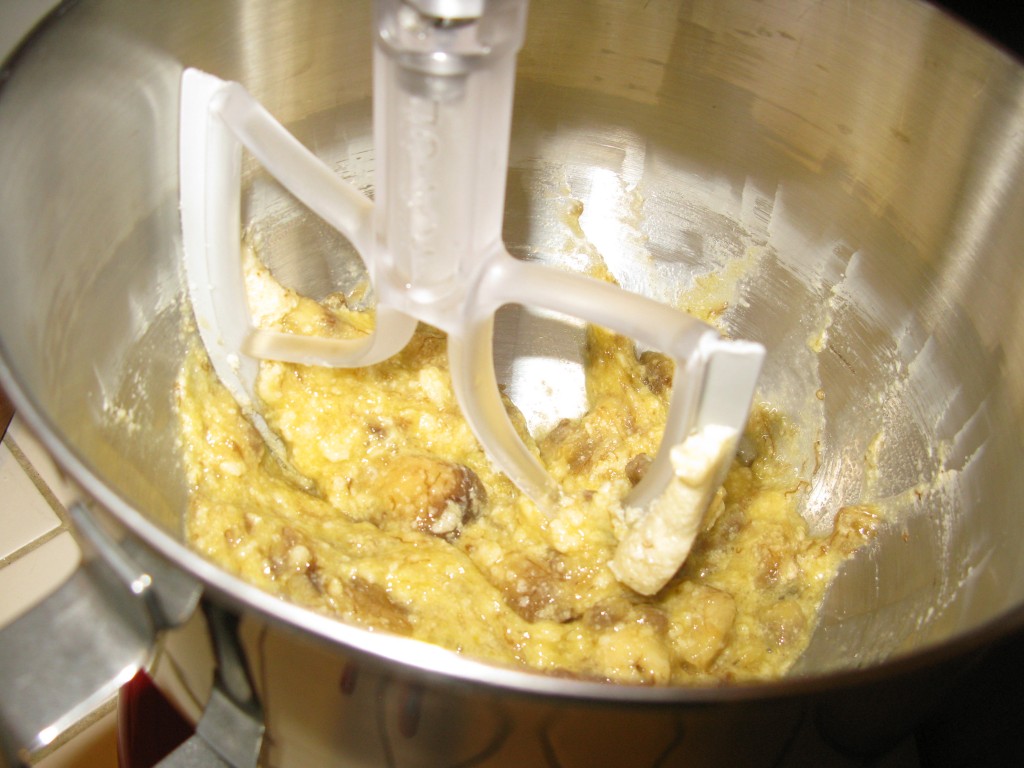
    banana muffin batter

    I use my stand mixer and toss the bananas in whole.

  4. Scoop batter into mini-muffin tins coated with cooking spray.

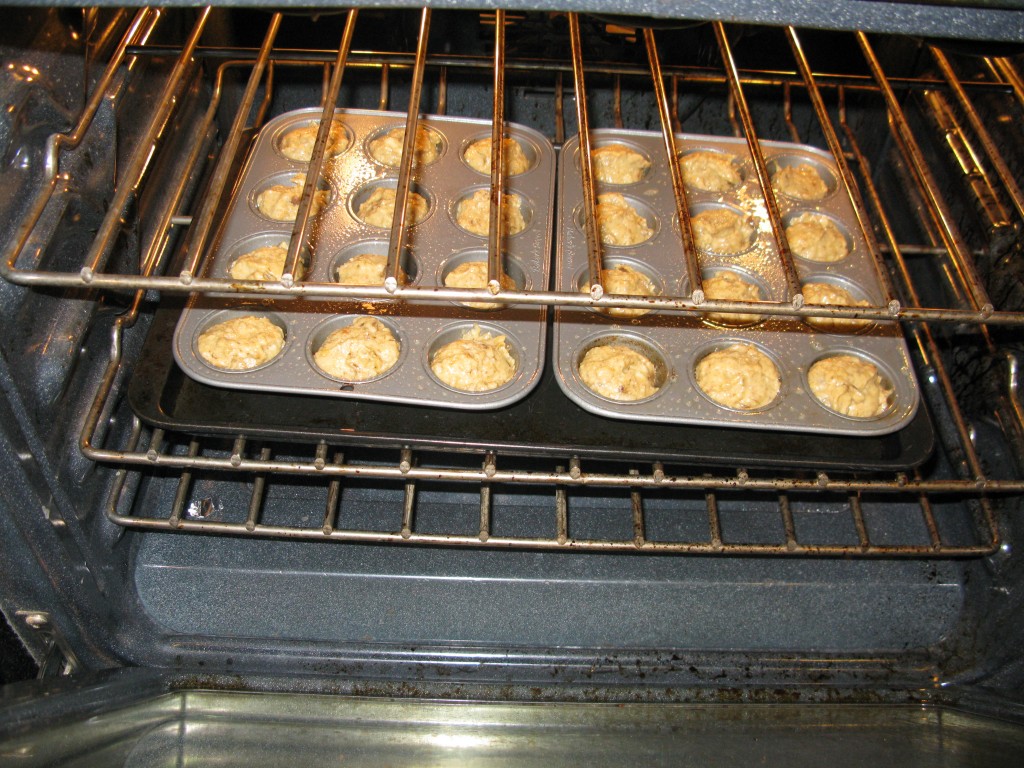
    muffin tray in oven

    Fill using one-tablespoon cookie dough scoop. Do not overfill.

  5.  Bake at 350° for 18 minutes or until a wooden pick inserted in center comes out clean. Cool 10 minutes in pan on a wire rack; remove from pan. Cool completely on wire rack.  (Can also bake as a loaf.  Coat an 8 1/2 x 4 1/2-inch loaf pan with cooking spray and bake for 1 hour).

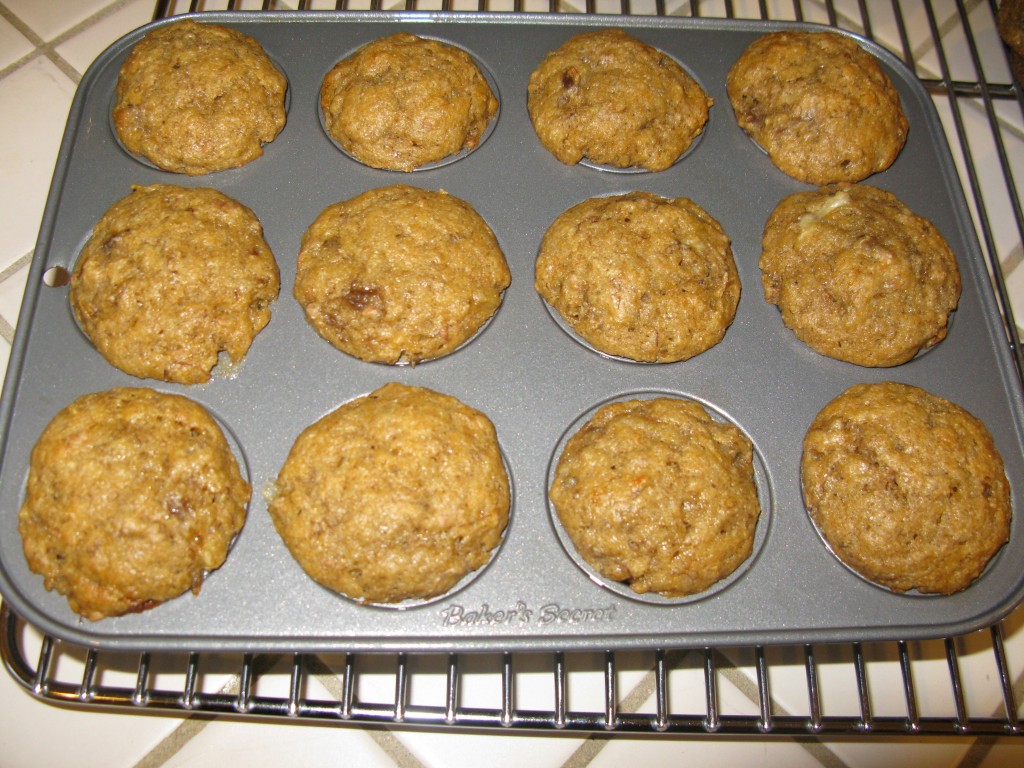
    finished muffins

    Cool in the tray for a few minutes then finish cooling on a wire rack.

Cooking Light
SEPTEMBER 2003

Basil Beer Bread

I am a big fan of spoon breads (breads you mix up with a spoon as opposed to a yeast bread that needs to be kneaded and rise and be kneaded again and rise again….)  A spoon bread can be ready for the oven before the oven is ready for the bread.  I was intrigued by a spoon bread that also required yeast but no rise time.  After a rainy afternoon spent on the soccer field I wanted a bread that could be ready quickly but also complemented the baked ziti I was making for dinner.  Beer breads usually go best with chili or stew but I was willing to give this one a try.  As a added bonus, it was easy enough to put together that Princess Leia could actually do most of the work.

Basil Beer Bread from Real Simple

Makes 1 loaf | Hands-On Time: 10m | Total Time: 1hr 05m

Ingredients

scale

Get into the habit of weighing your flour. It’s faster, less messy and more accurate.

Directions

  1. Heat oven to 400° F. Oil a baking sheet. In the bowl of a standing mixer on low, or in a large bowl using a spoon, combine the flour, yeast, salt, pepper, and Parmesan.

    grating cheese

    Lots of jobs for little hands.


2.  Add the beer and mix just until the dough comes together. Turn the dough onto a lightly floured surface. Sprinkle with the basil and knead gently just until incorporated. Shape the dough into a round loaf and transfer to the prepared sheet.


3.  Bake until the loaf is lightly browned and a toothpick inserted in the center comes out clean, 40 to 45 minutes. Turn the loaf onto a wire rack. Let cool for at least 10 minutes before slicing.

Basil Beer Bread

The finished loaf.

The bread looked finished at 40 minutes, but upon cutting it open I realized it needed that additional 5 minutes.  Err on the side of overcooking it a bit.  It’s so moist it can handle it.  I think I would use a slightly lighter beer next time (I used a Newcastle).  Fans of ales or darker beers would probably be just fine with the result.  That being said, there’s hardly any left post-dinner tonight. Toasted in the morning with breakfast?  Absolutely.

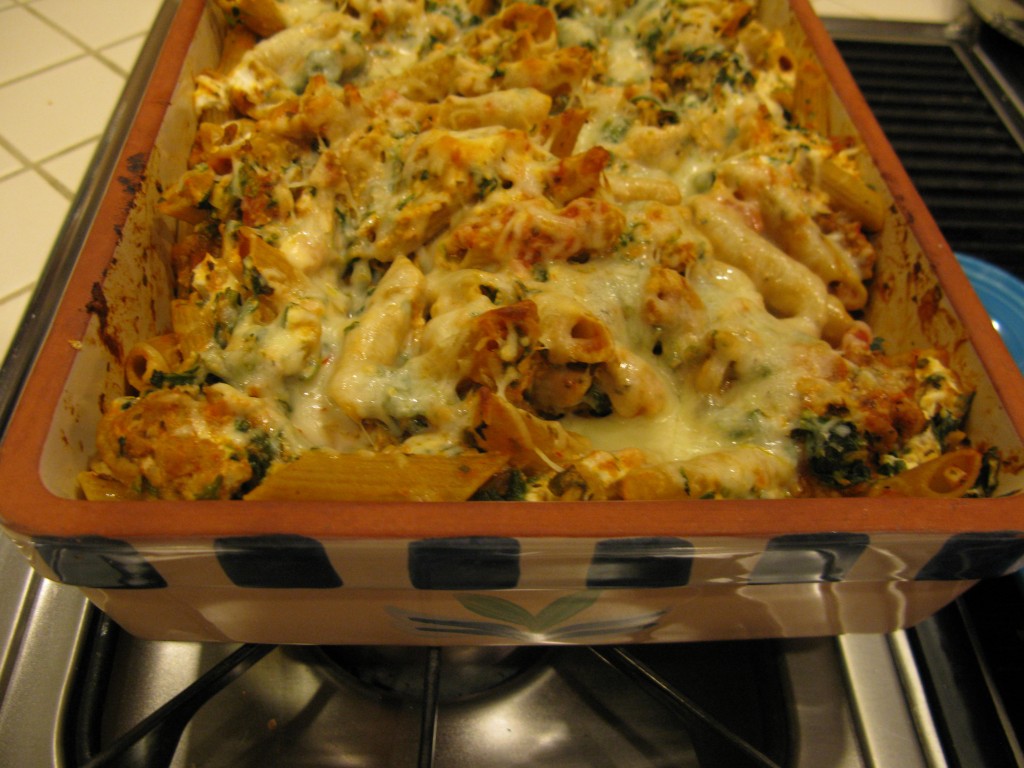
Baked Ziti

PS This is the baked ziti we had for dinner.

It’s Pronounced Keen-Wa

Quinoa…it’s a nutritional powerhouse, a complete protein, a whole grain that satisfies like a starch and cooks up faster than rice.  Yep, I’m in love with it.  And this is one of my favorite recipes for it from the Real Simple magazine.

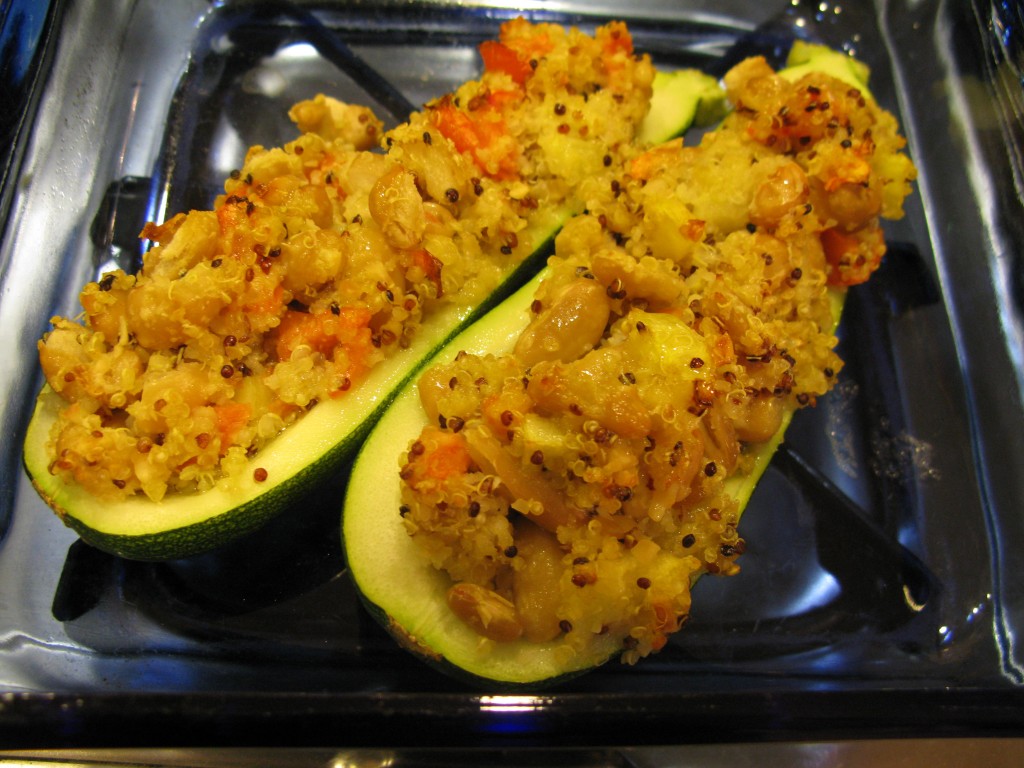
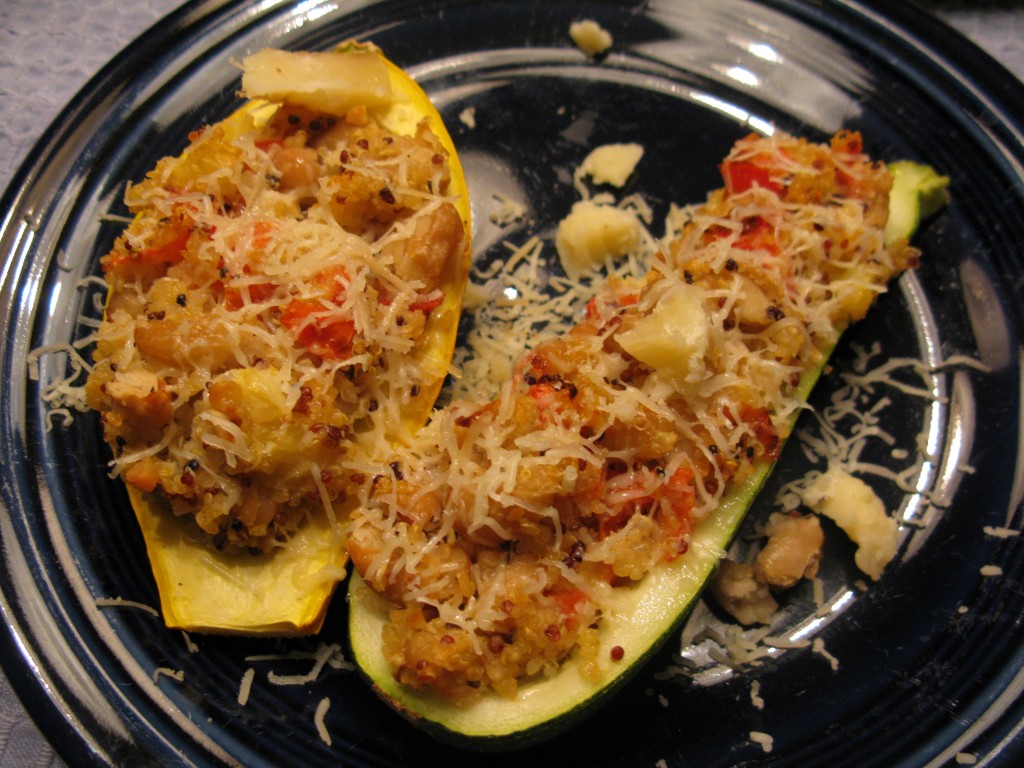
Zucchini with Quinoa Stuffing

Serves 4| Hands-On Time: 20m| Total Time: 55m

Ingredients

Directions

  1. Heat oven to 400° F. In a large saucepan, combine the quinoa and 1 cup water and bring to a boil. Reduce heat to medium-low, cover, and simmer until the quinoa is tender and the water is absorbed, 12 to 15 minutes.
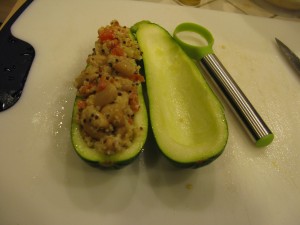
  2. Meanwhile, cut the zucchini in half lengthwise and scoop out the seeds. Arrange in a large baking dish, cut-side up.

zucchini scooped


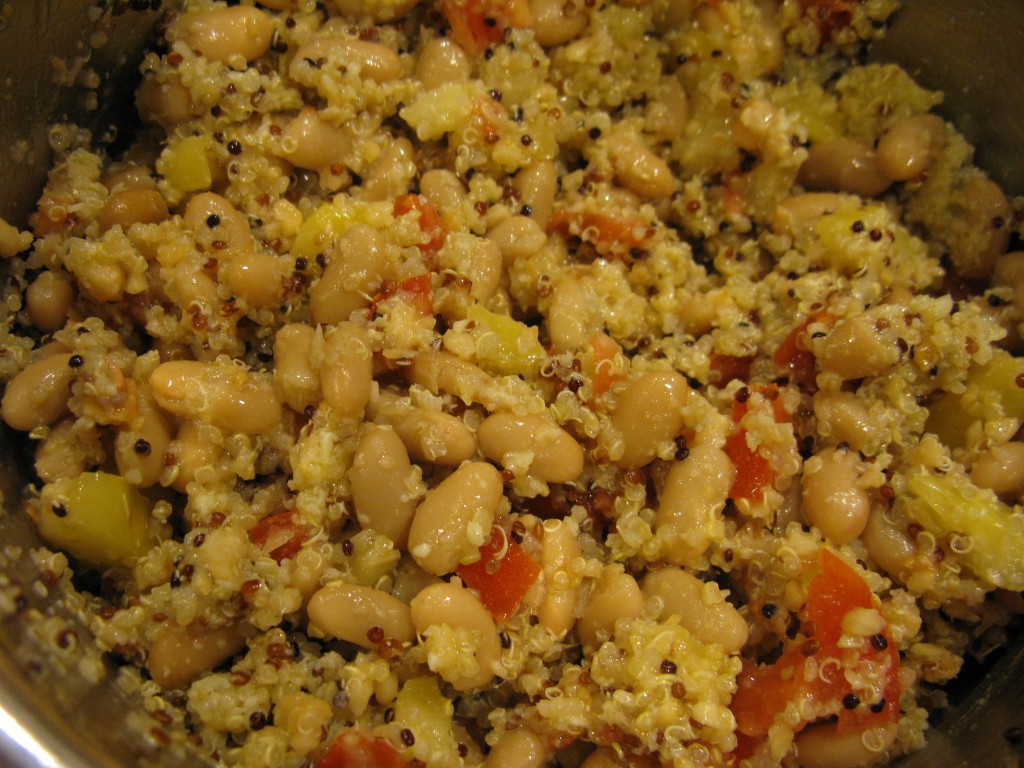
3.  Fluff the quinoa and fold in the beans, tomatoes, almonds, garlic, ½ cup of the Parmesan, and 3 tablespoons of the oil.

Quinoa Mix

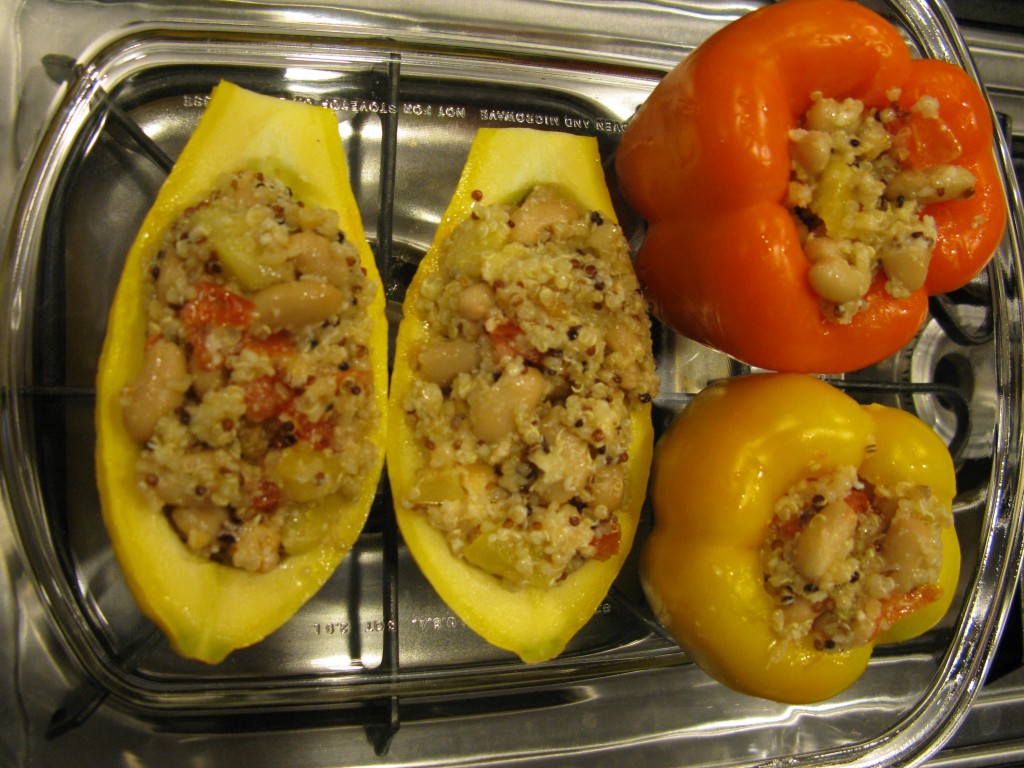
4.  Spoon the mixture into the zucchini. Top with the remaining tablespoon of oil and ¼ cup Parmesan. Cover with foil and bake until the zucchini is tender, 25 to 30 minutes. Remove the foil and bake until golden, 8 to 10 minutes.

stuffed zukesout of oven zukes

Dog Treat Bakery

I have a confession to make…..I hate “floor time”. I’ll take my kids anywhere in the world, I’ll read any book with them, but I just cannot spend time on the floor. But I do love to cook with them and they love to cook with me, especially when friends come over. (Who cares if we’re secretly working on math, science, fine motor and large motor skills?  And social skills like sharing the jobs, taking turns and cleaning up?  Shhhhh…I won’t tell if you don’t).

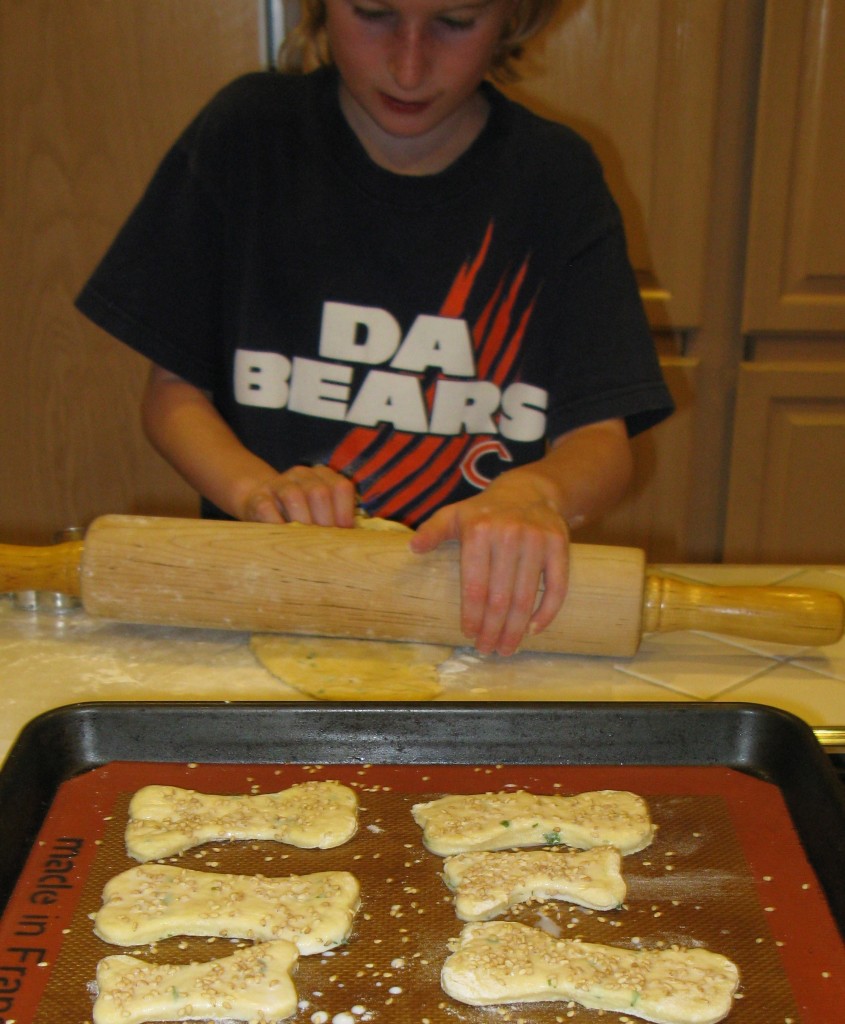
Luke Skywalker was invited to a slumber party and Princess Leia’s heart was broken…until she invited another Princess over to spend the night.  Plans for the evening included make-your-own mini-pizza and homemade dog treats.

 Dog Cookies

  • 1 1/4 cup flour (150 grams)
  • 1/4 cup cheese powder or the envelope of cheese powder from a box of mac & cheese
  • 2 TBSP parsley (chopped fresh or dried)
  • 1/4 cup water
  • 1 egg
  • milk
  • sesame and/or poppy seeds

1.  Preheat the oven to 350.

2.  Combine the flour, parsley and cheese powder in a bowl and stir.

3.  Lightly beat the egg and the water together in a separate bowl.

4.  Mix the egg mixture into the dry ingredients, kneading with your hands if necessary. (Kids ALWAYS think this is necessary).

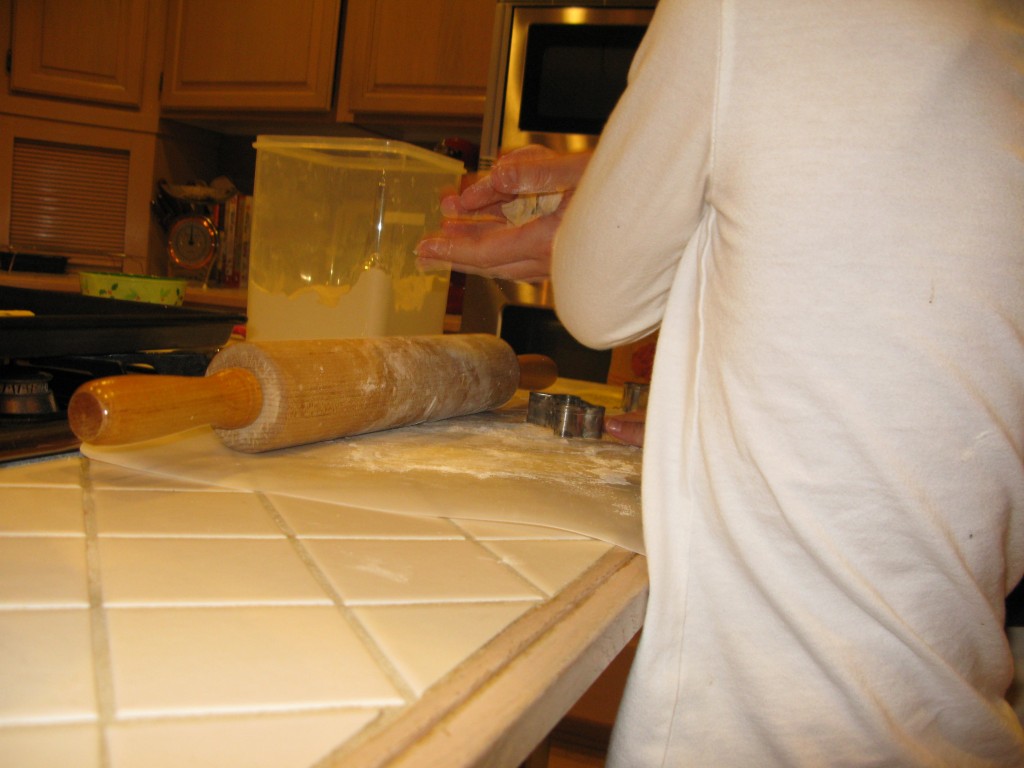
5.  Roll out the dough onto a floured cutting board or counter.  It will look like this:

rolling out the doughJust keep adding flour to keep the dough from sticking….to everything.  And remember, it’s for dogs and they eat anything.

6.  Use cookie cutters to cut out shapes and place onto a greased cookie sheet (or onto a Silpat, one of my very favorite things).

7.  Brush milk onto the cookies and sprinkle with sesame or poppy seeds.

8.  Bake for 20min and cool on a wire rack.

Christmastime is a fun time to make these for all of the furry friends in our lives.


The Inaugural Post aka Why Canning With Friends is More Fun

Mint, Cucumber & Vodka CocktailsRule # 1 Nobody talks about Fight Club Establish what you’re drinking. In this case, it was Mint, Cucumber and Vodka cocktails. Had to love the look on the checkout guy’s face at the local Fred Meyer when three sweaty women (thank you, muscle toning class) roll up a cart filled with produce, canning jars and a bottle of triple sec.

Rule # 2 Figure out all of the math before you start drinking. Canning is a lot of math (and science). Why I love it, I really have no idea.

Rule # 3 Canning is always more fun with friends and, despite the drinking, more efficient.

Rennie & I have been canning quite a bit this summer and a conversation on facebook inspired another friend, Monique, to join us. She quickly admitted no prior experience but that was no problem, she could peel 10lbs of carrots just fine. Without the pressure of feeding a family throughout the winter, canning can be a lot of fun, especially if you divvy up the jobs, mix drinks and crank up the music.

Today’s canning project was inspired by a book I read years ago, Blue Jelly. Somewhere between Los Angeles and Fresno (in the armpit of Southern California, probably Bakersfield) I stopped with my then-boss at an outlet mall and in a discount bookstore picked up a small book on getting over a broken heart through canning. My boss looked at me like I was crazy (nothing new) when he read the back but I bought it anyway and have been thinking about the Mexican relish ever since. Funny how things stick with you. Searching online for the recipe to send to Rennie, I came across this blog and she had written up what I had already been thinking.

Canning is best done with someone that’s done it before. It moves really fast and you can always use an extra set of hands, especially when the other set of hands is far better than you at packing the jars and making them look nice. Here we go….

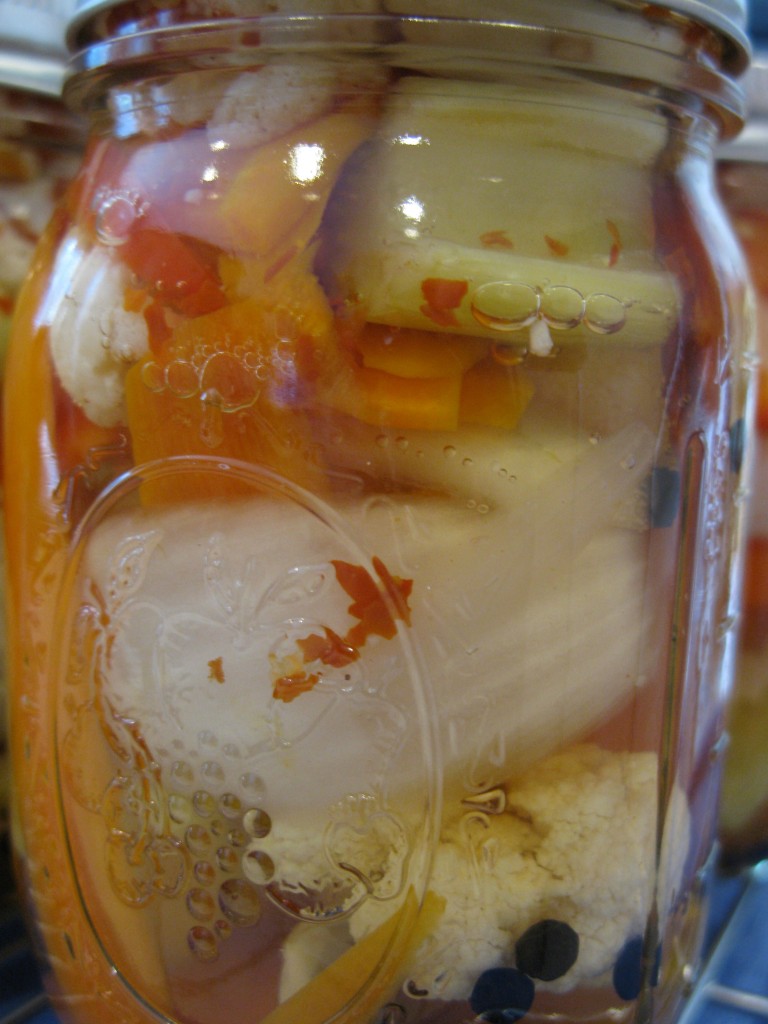
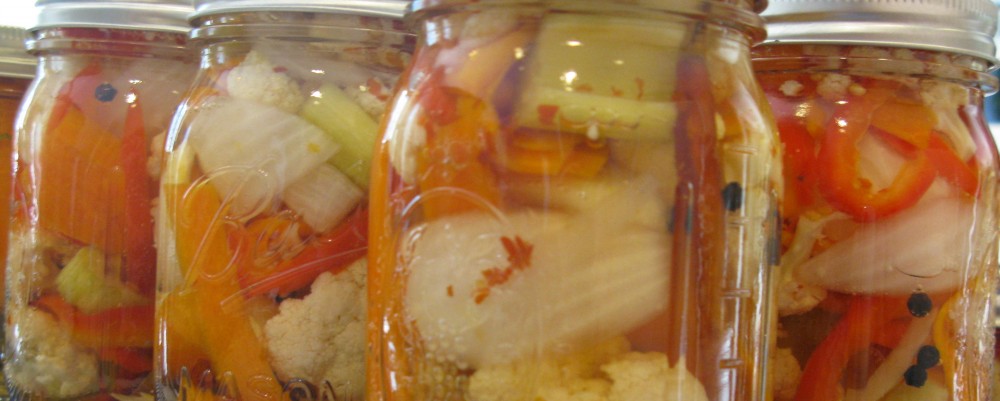
SPICY MEXICAN RELISH by Debby Bull

  • pint jars (my batch made 6 pints)
  • 1 cauliflower, broken into florets
  • 1 red sweet pepper, cut into strips
  • 2 or 3 c. baby carrots, or sliced adult carrots (I used 2 cups and used my mandolin to cut them really thin).
  • 2 c. celery, cut into 1 inch slices
  • 2 c. small whole onions, or 2 medium onions, quartered (I used the medium onions)
  • pickling salt (do not use table salt)

Pickling Solution:

  • 5 c. distilled white vinegar, 5% acidity
  • 1 c. water
  • 1/2 c. sugar

For Packing in Jars:

  • garlic cloves, peeled (I used 1 per jar)
  • chile peppers, dried or fresh (I used 1 dried red chili and 1/4 teaspoon red pepper flakes per jar)

Put all the cut up vegetables into a large glass, stainless, or stoneware bowl and cover with cold water and 1/4 c. pickling salt. Dissolve the salt in a little hot water before adding it to the water poured over the veggies. Cover the bowl with a plate or another bowl that presses down on the veggies to keep them submerged. Let it sit for at least one hour.

Wash the jars in hot soapy water or run through the dishwasher, keeping them warm until ready for use. Have a large pot of water (preferably a canning pot with a rack to lift the jars in/out) simmering on the stove (I keep my jars in the canning pot until ready to fill). Lids (new lids, every time) and bands (OK to reuse bands) are also on the stove in a little saucepan simmering in hot water. The hot water softens the rubber gaskets so help the jars seal correctly during processing.

In a large pot, combine the pickling solution and simmer for 15 minutes. Keep the lid on to keep it from both evaporating and irritating your eyes. It’s strong.

Pack the jars with a garlic clove and your desired amount of heat. Cram as many veggies in as you can without breaking the jars or extending over the top. They’ll shrink during the processing and you don’t want half-empty jars. Fill with the boiling pickling solution, leaving 1/4 inch headspace. Wipe the jar rims with a clean cloth and place the lid and band, tightening to fingertip tight. Don’t wrench the lid on, the jars expand and contract during the processing.

When all jars are packed, place into the simmering pot and bring to a full rolling boil. Keep in the boiling water for 15 minutes (use a timer as you will probably have a good buzz at this point). Remove the jars and cool on a rack or a towel on the counter. Do not place hot jars on a cold tile counter. Leave alone for 24 hours, then check lid. It should NOT flex up/down. If it does, reprocess the jar. Otherwise, tighten the bands and store jars in a cool dark place for 6 weeks. I may end up ultimately adjusting the amount of heat in the ones I recently made and I am counting the weeks until I can open my jars.